It’s that time of year where I’m not really getting away in the van, particularly when the weather is cold and wet like it has been. Therefore, it’s a good time to address the small matters on the van in order to be ready for when the weather improves.
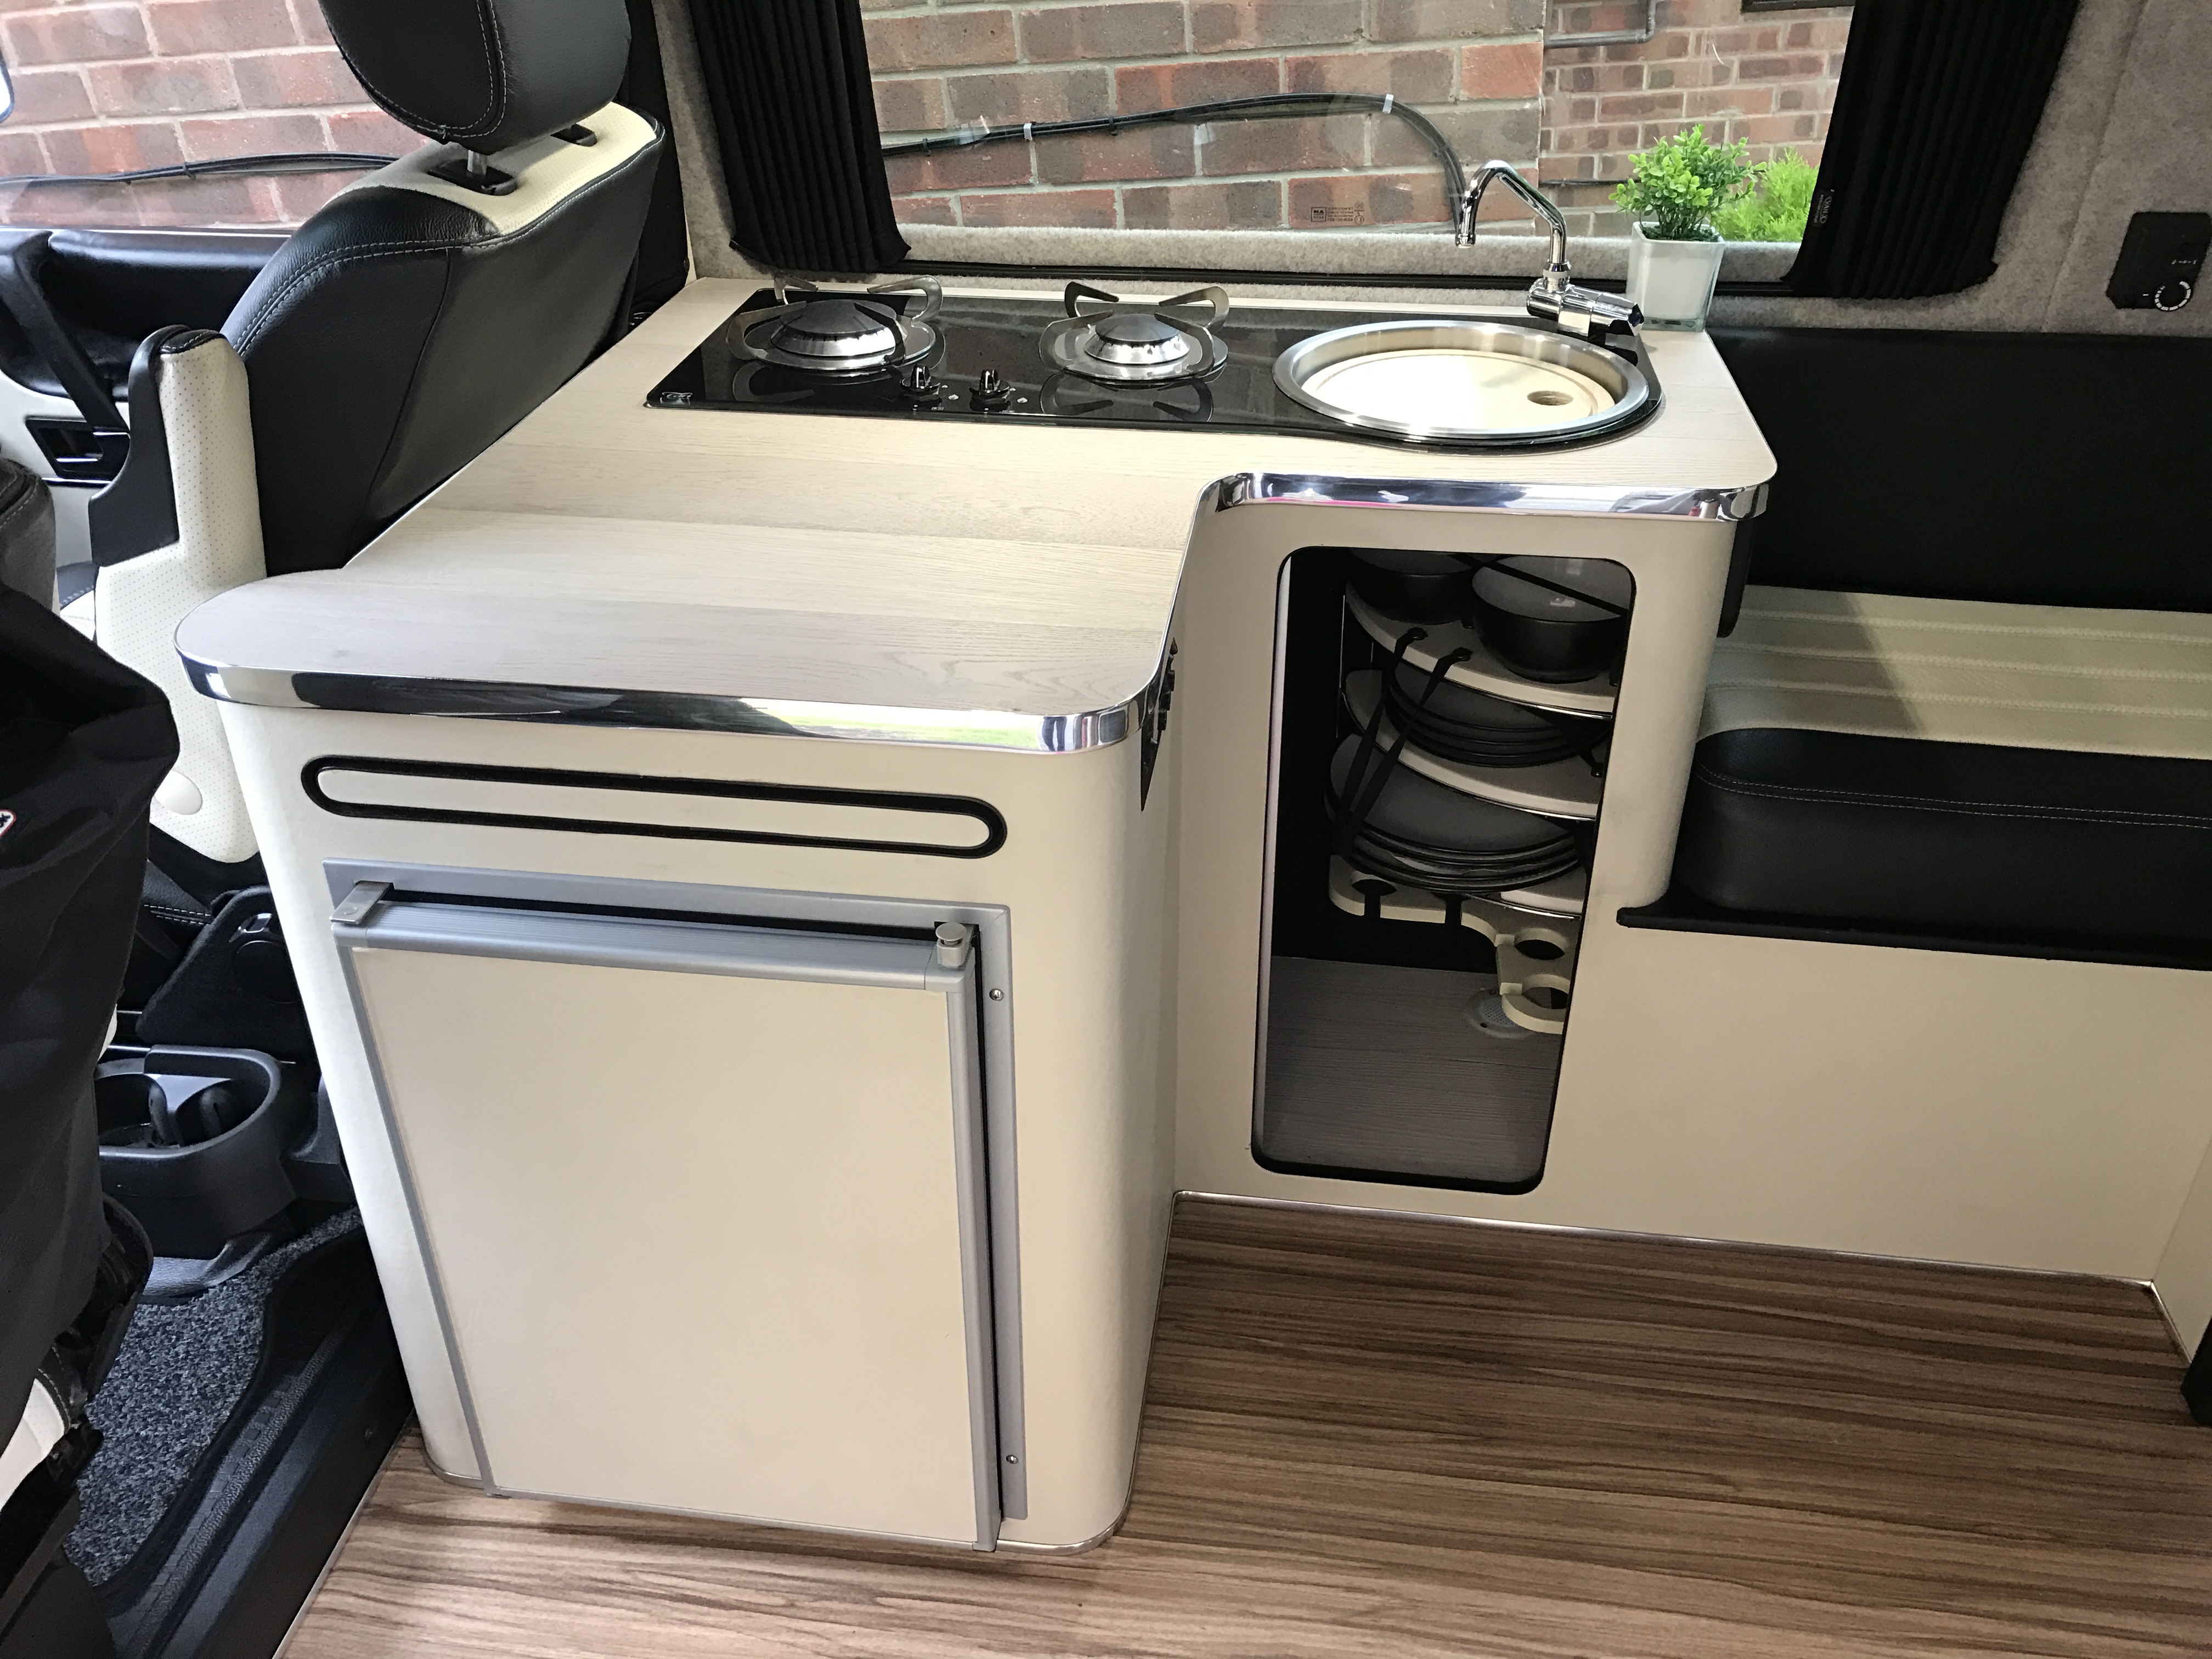
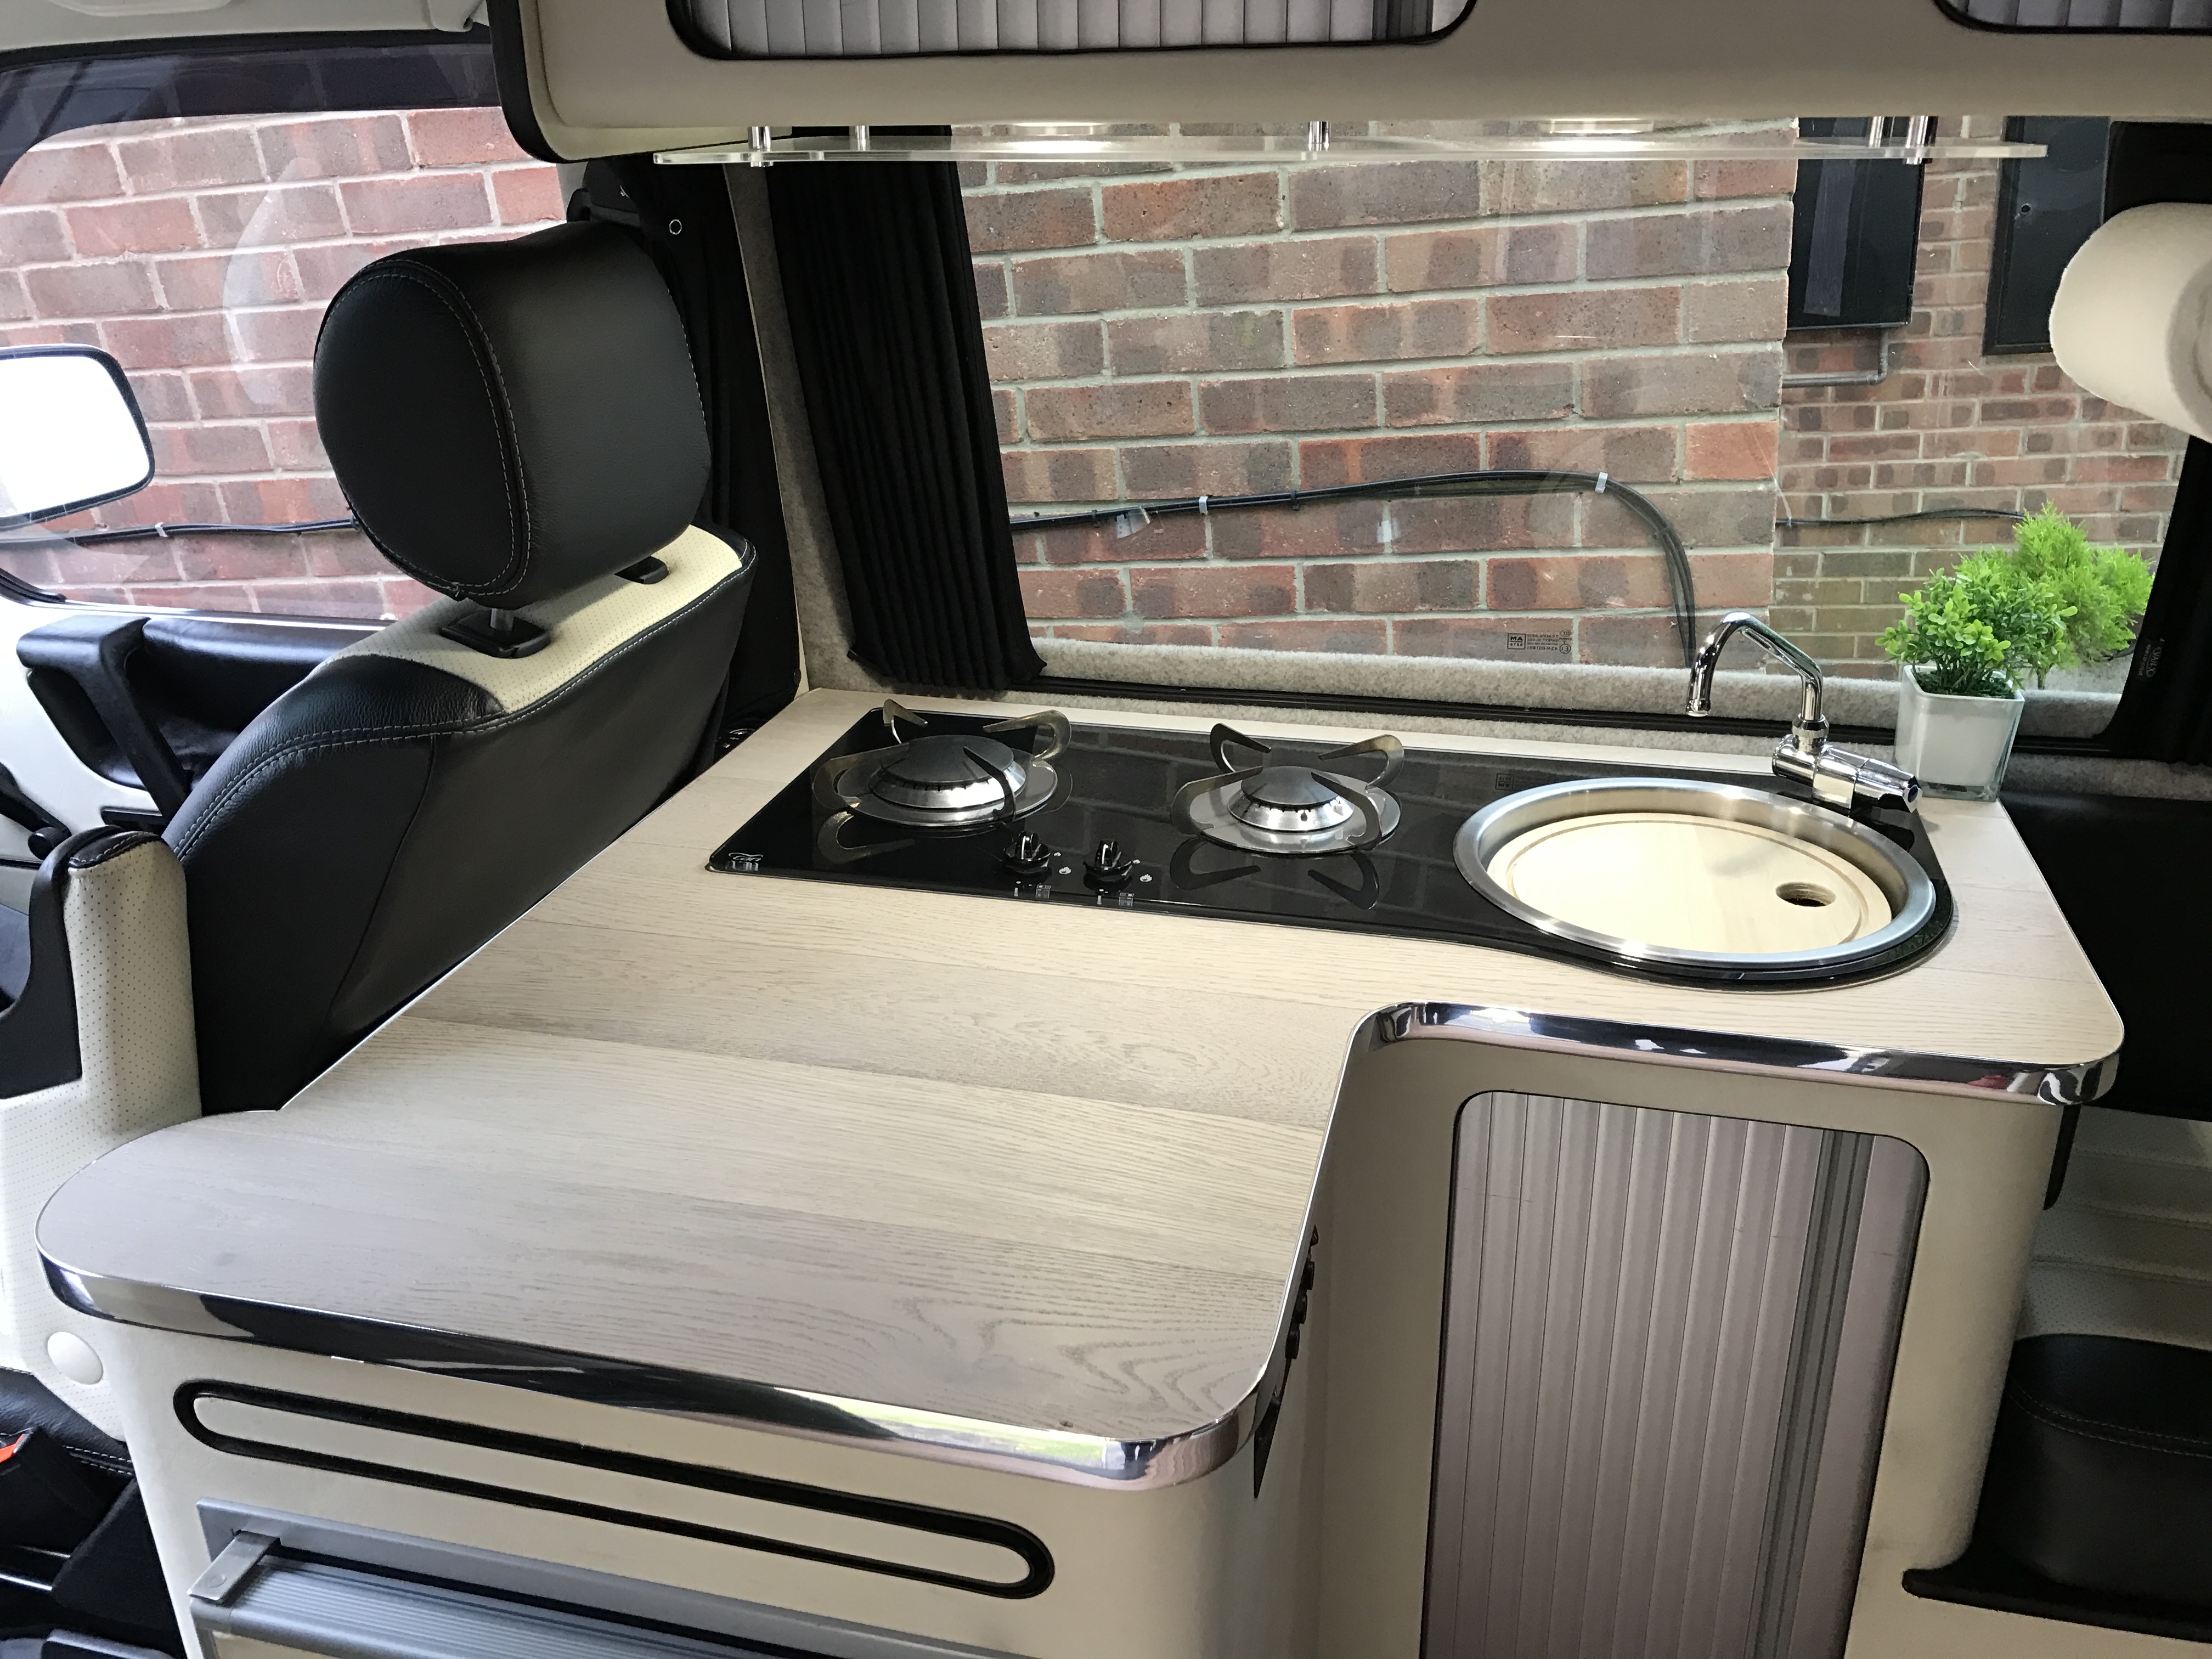
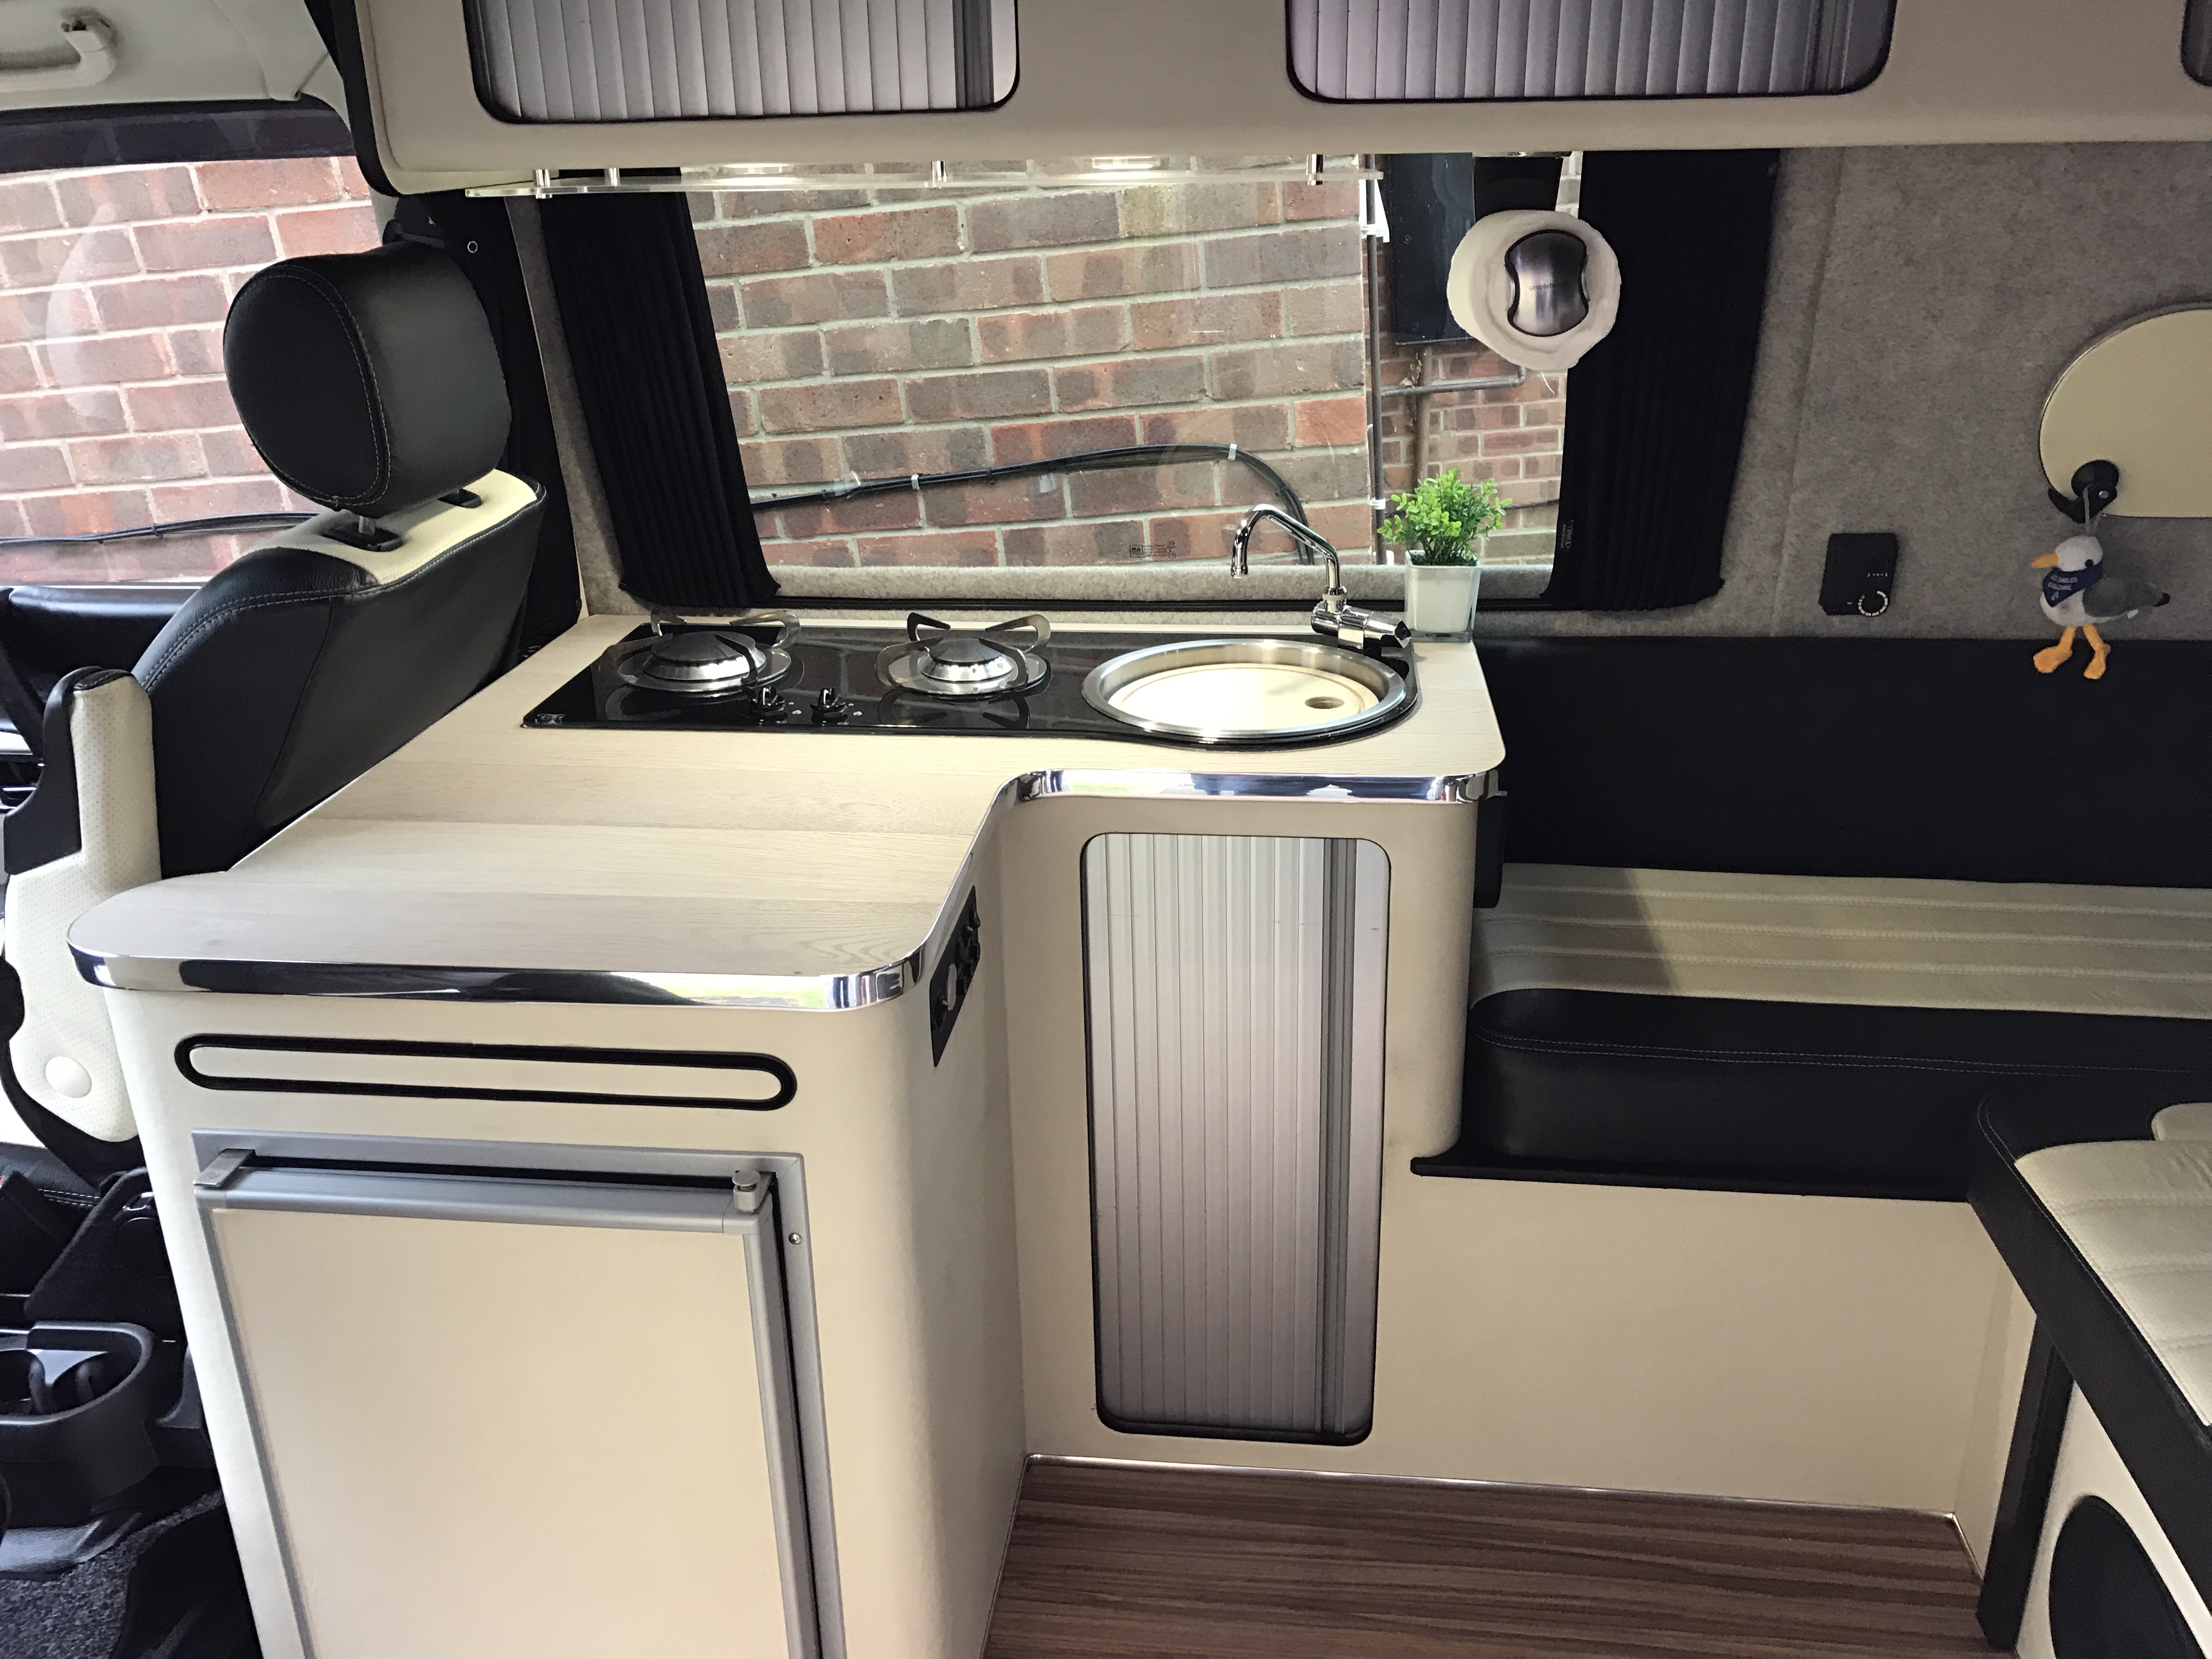
The Formica style worktop I had originally installed in the van looked fine when I first installed it, but being gloss black it soon began showing scratches and on top of that, I chipped a piece off near the basin so I started thinking of how to replace.
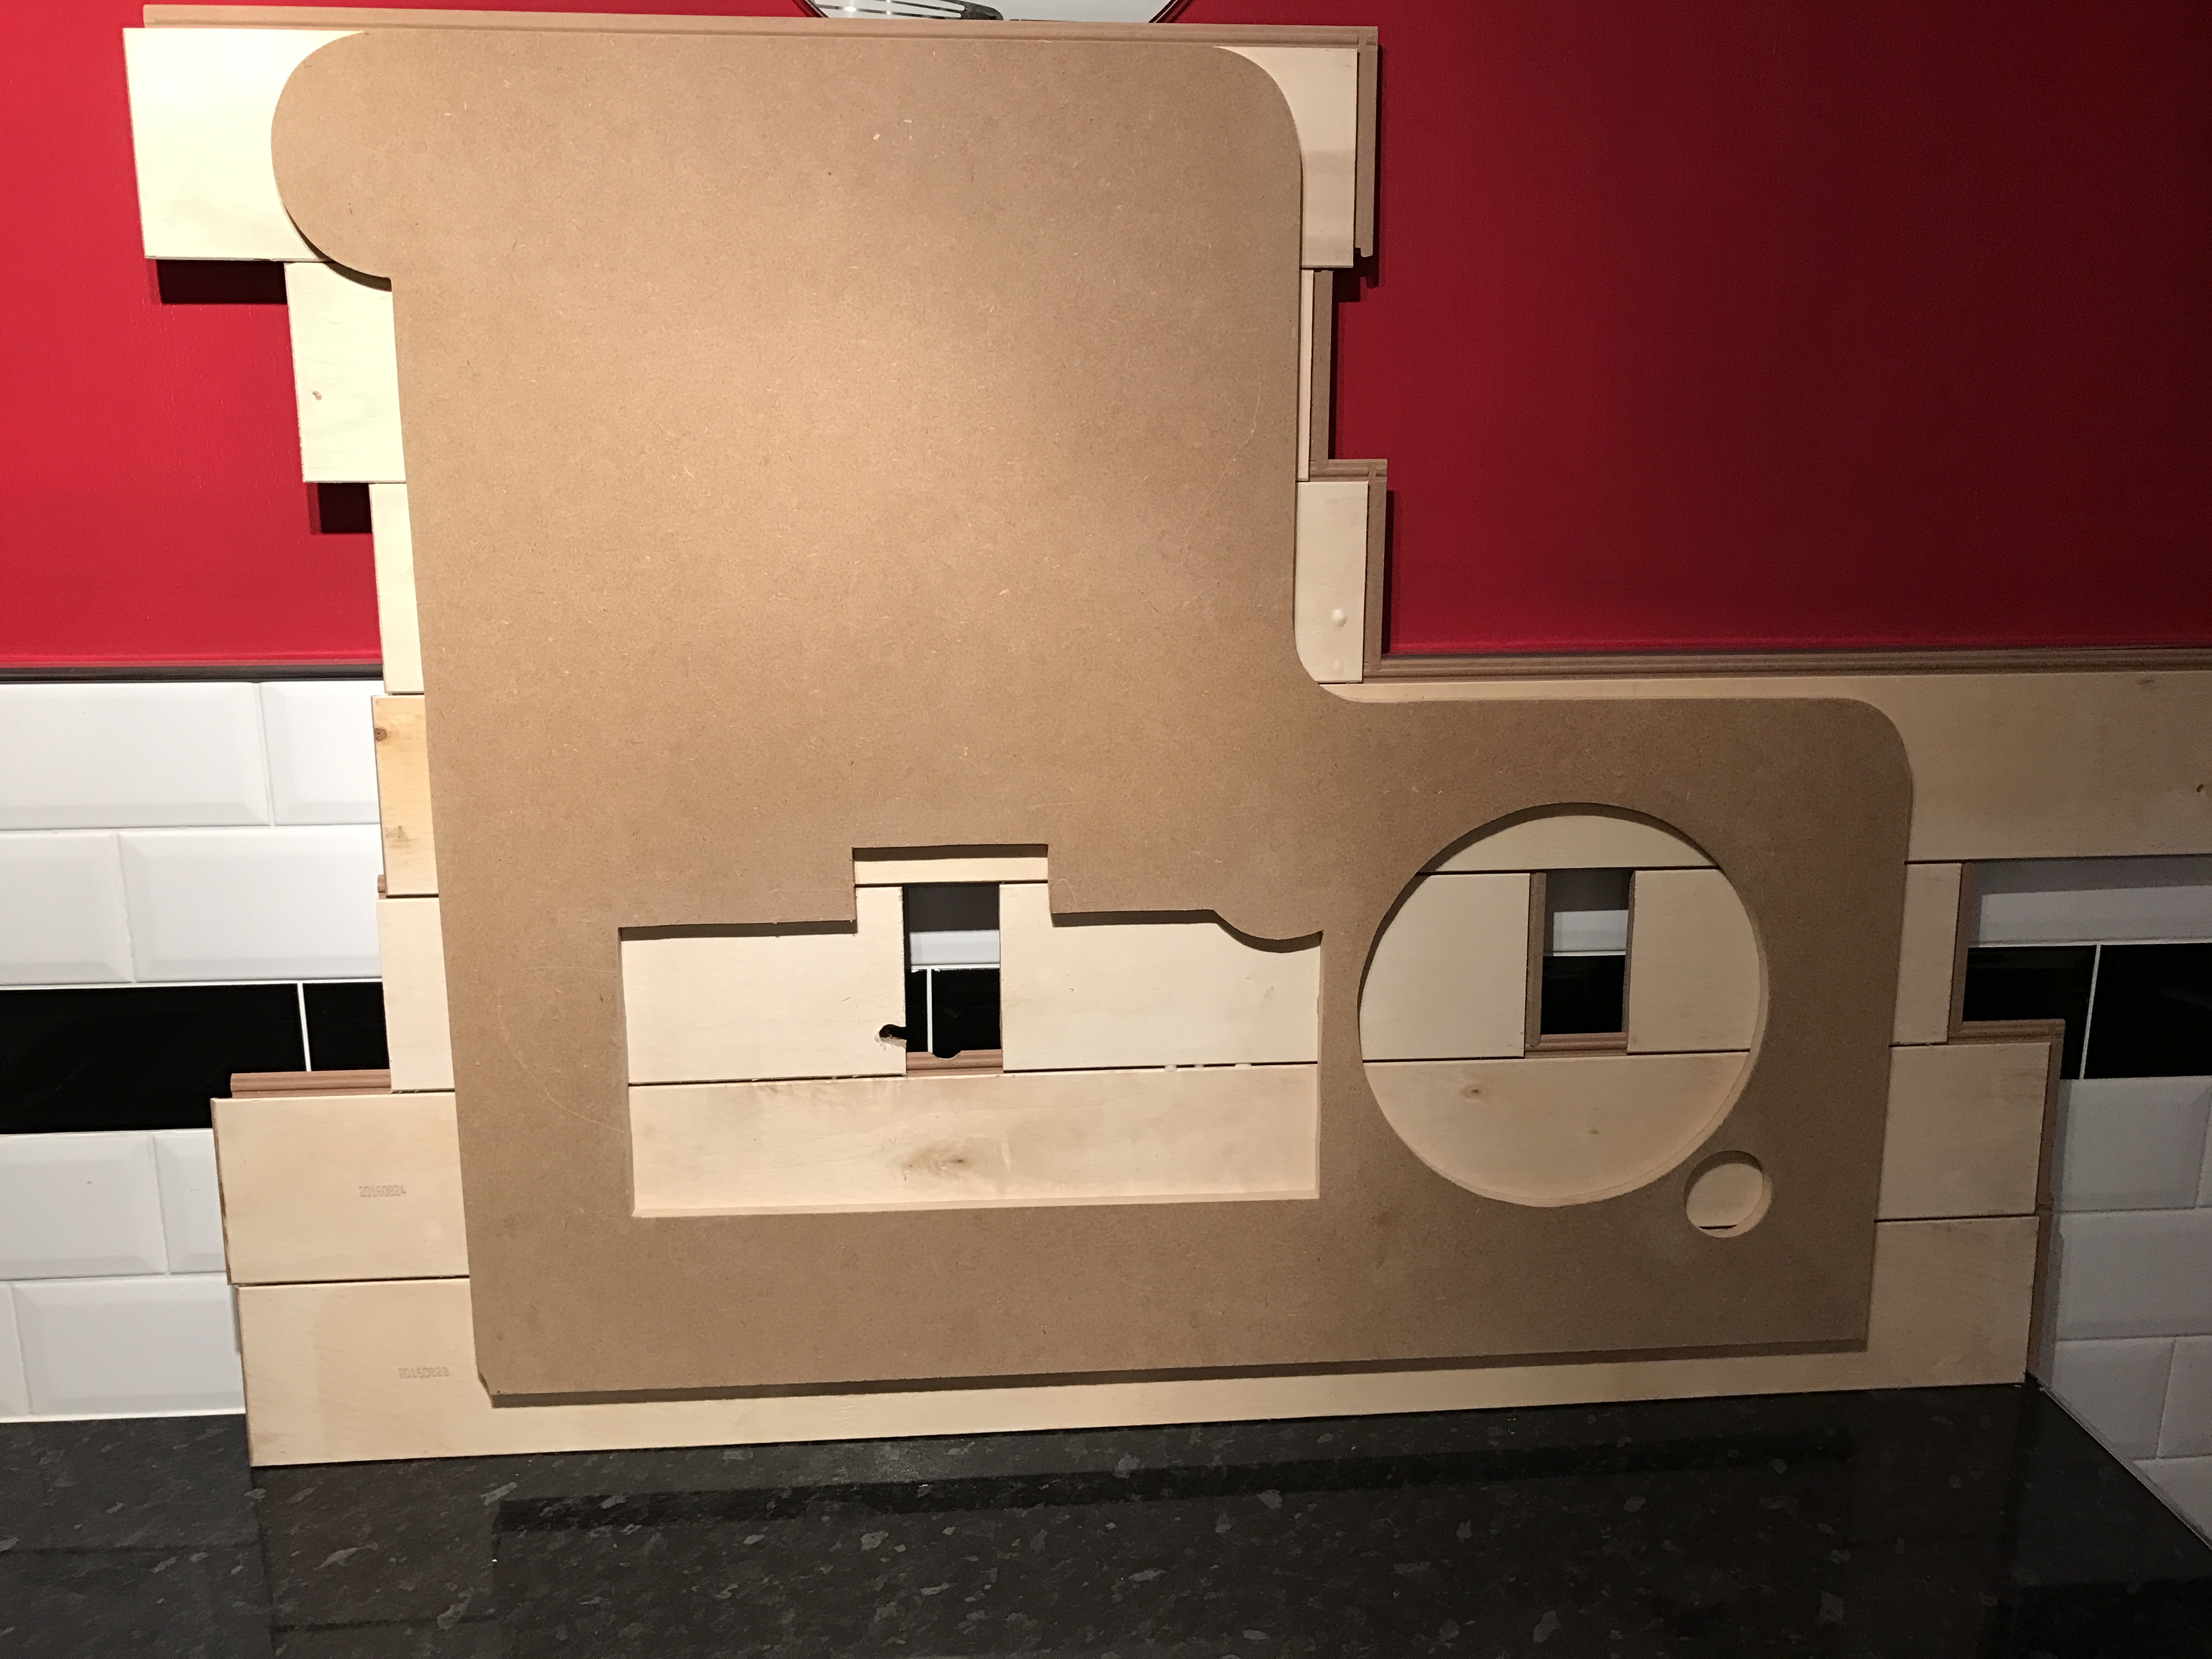
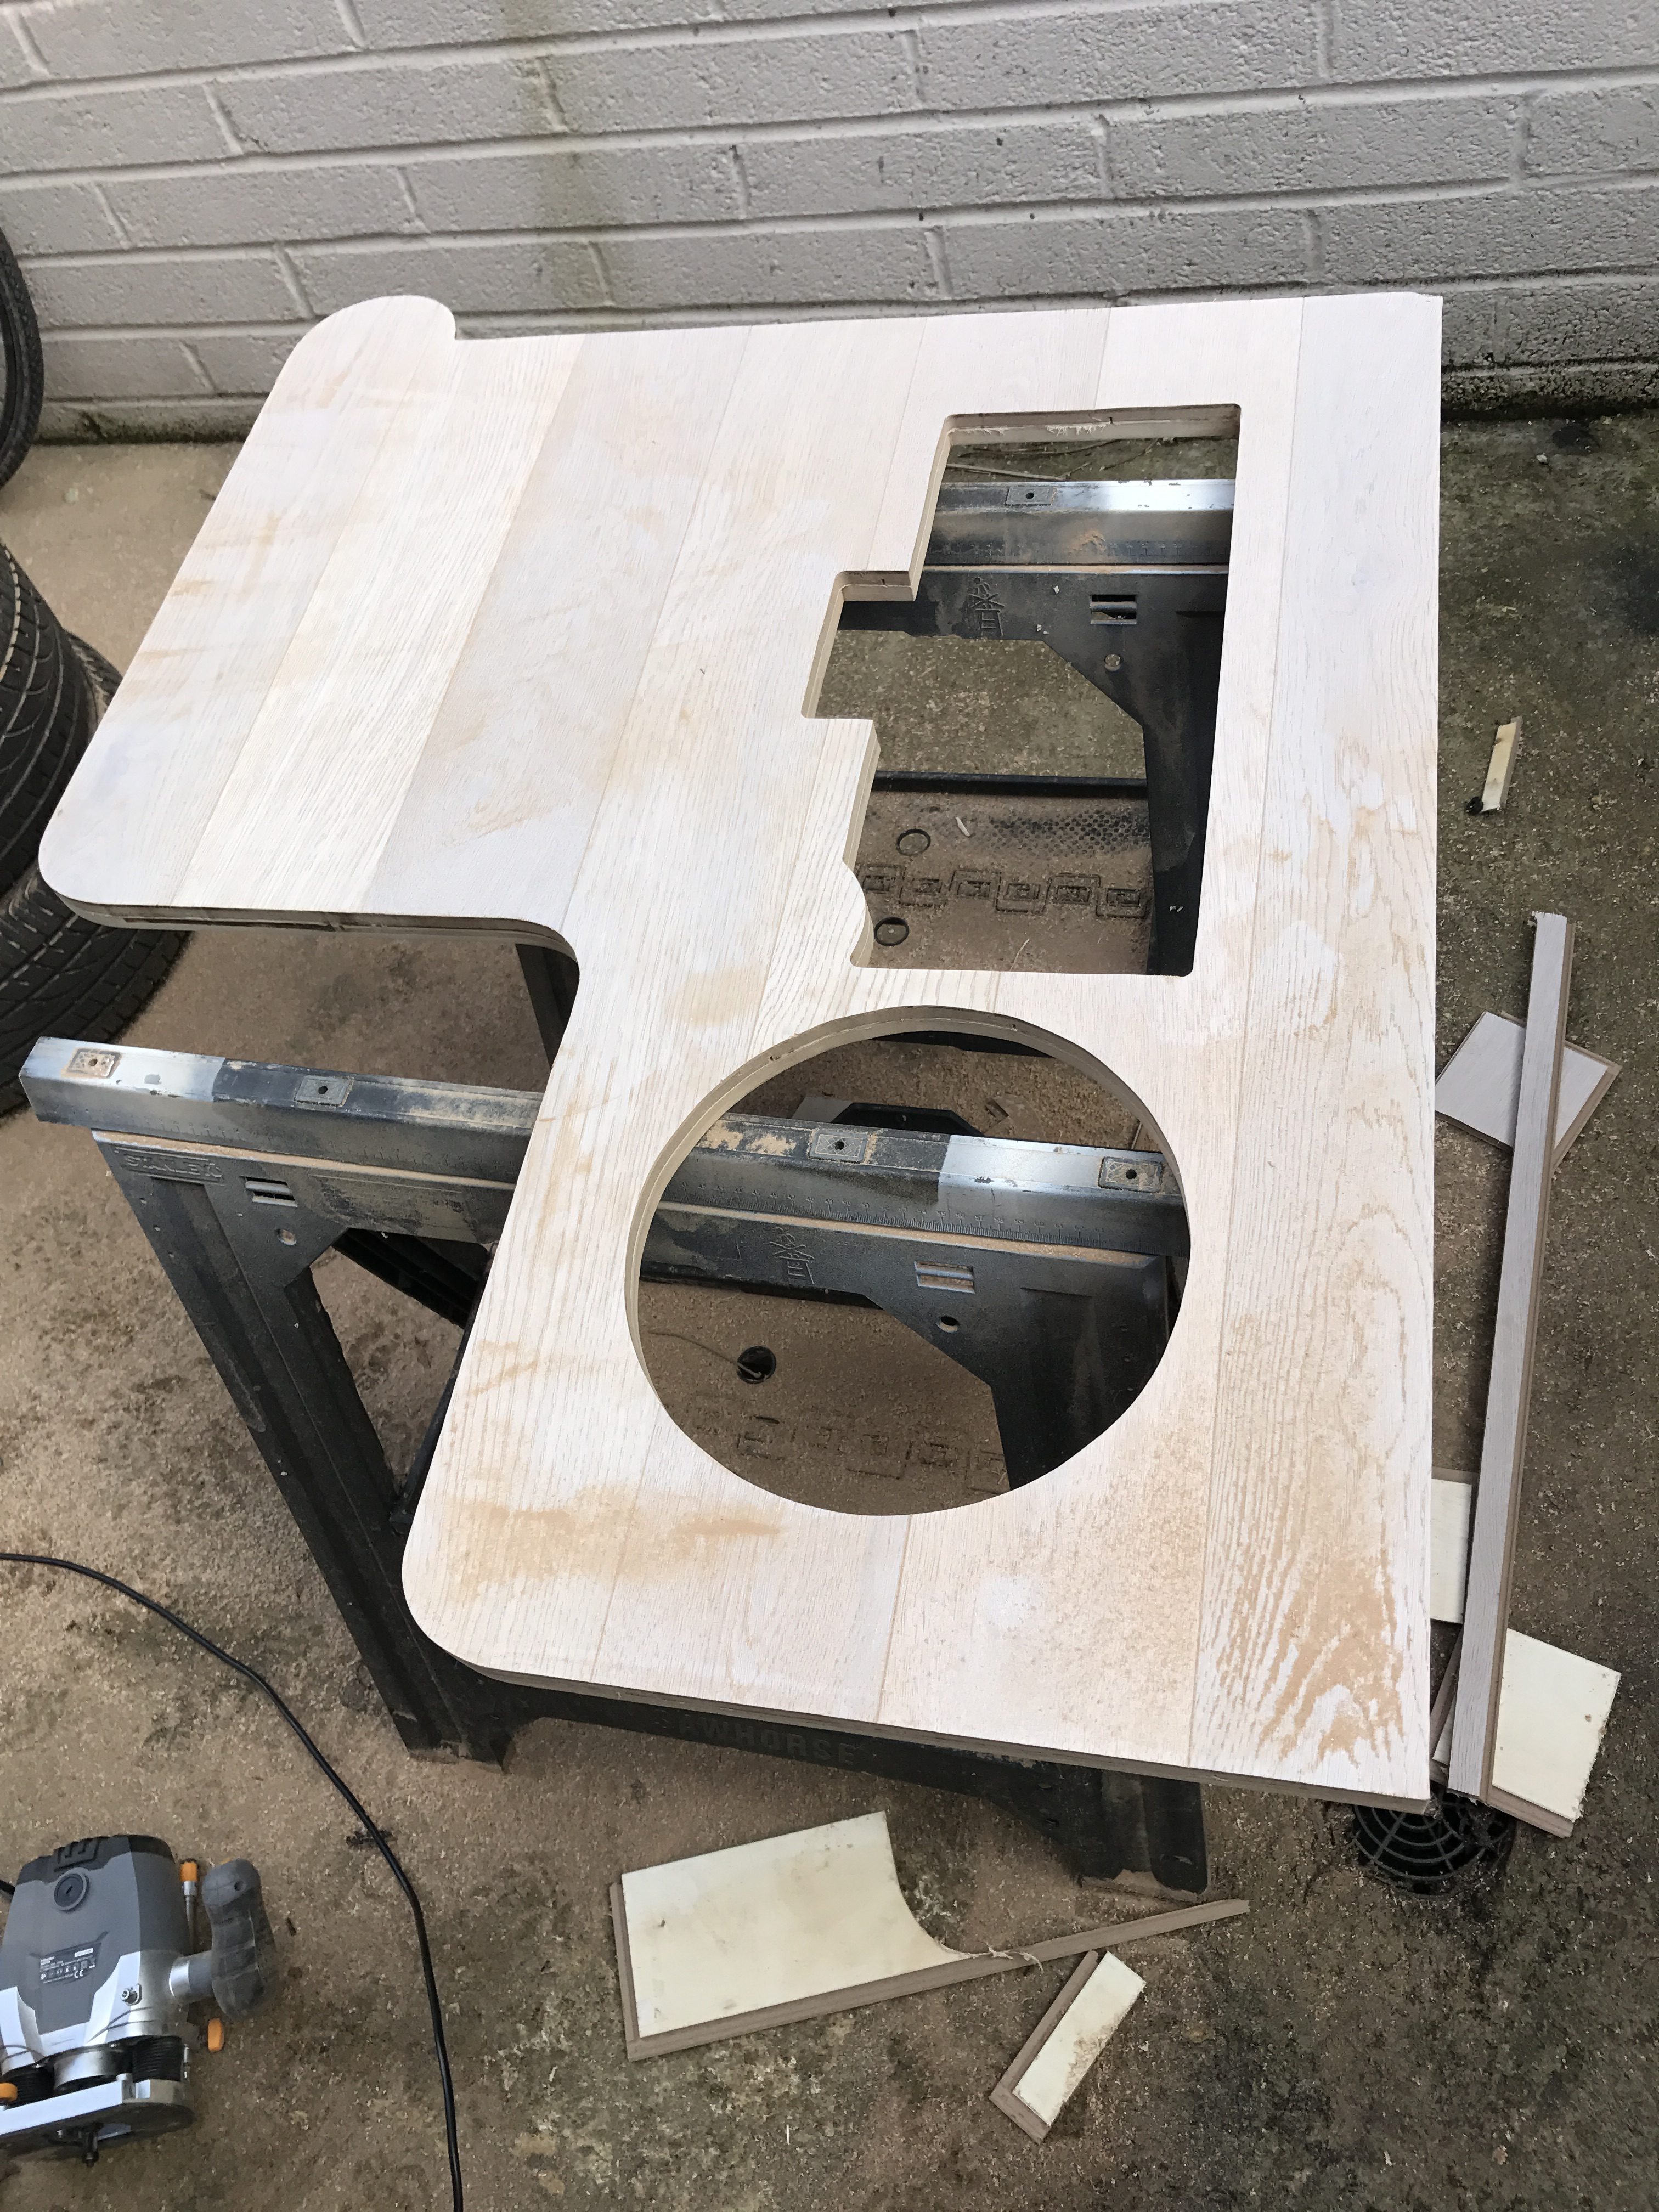
The first thing I realised I would need to do is cut a new base for the worktop, this was originally done in ply, but I had no ply left and wanted to keep cost down so opted for MDF. The good thing about MDF is it’s easy to cut and shape. Using the original worktop I cut a new base.
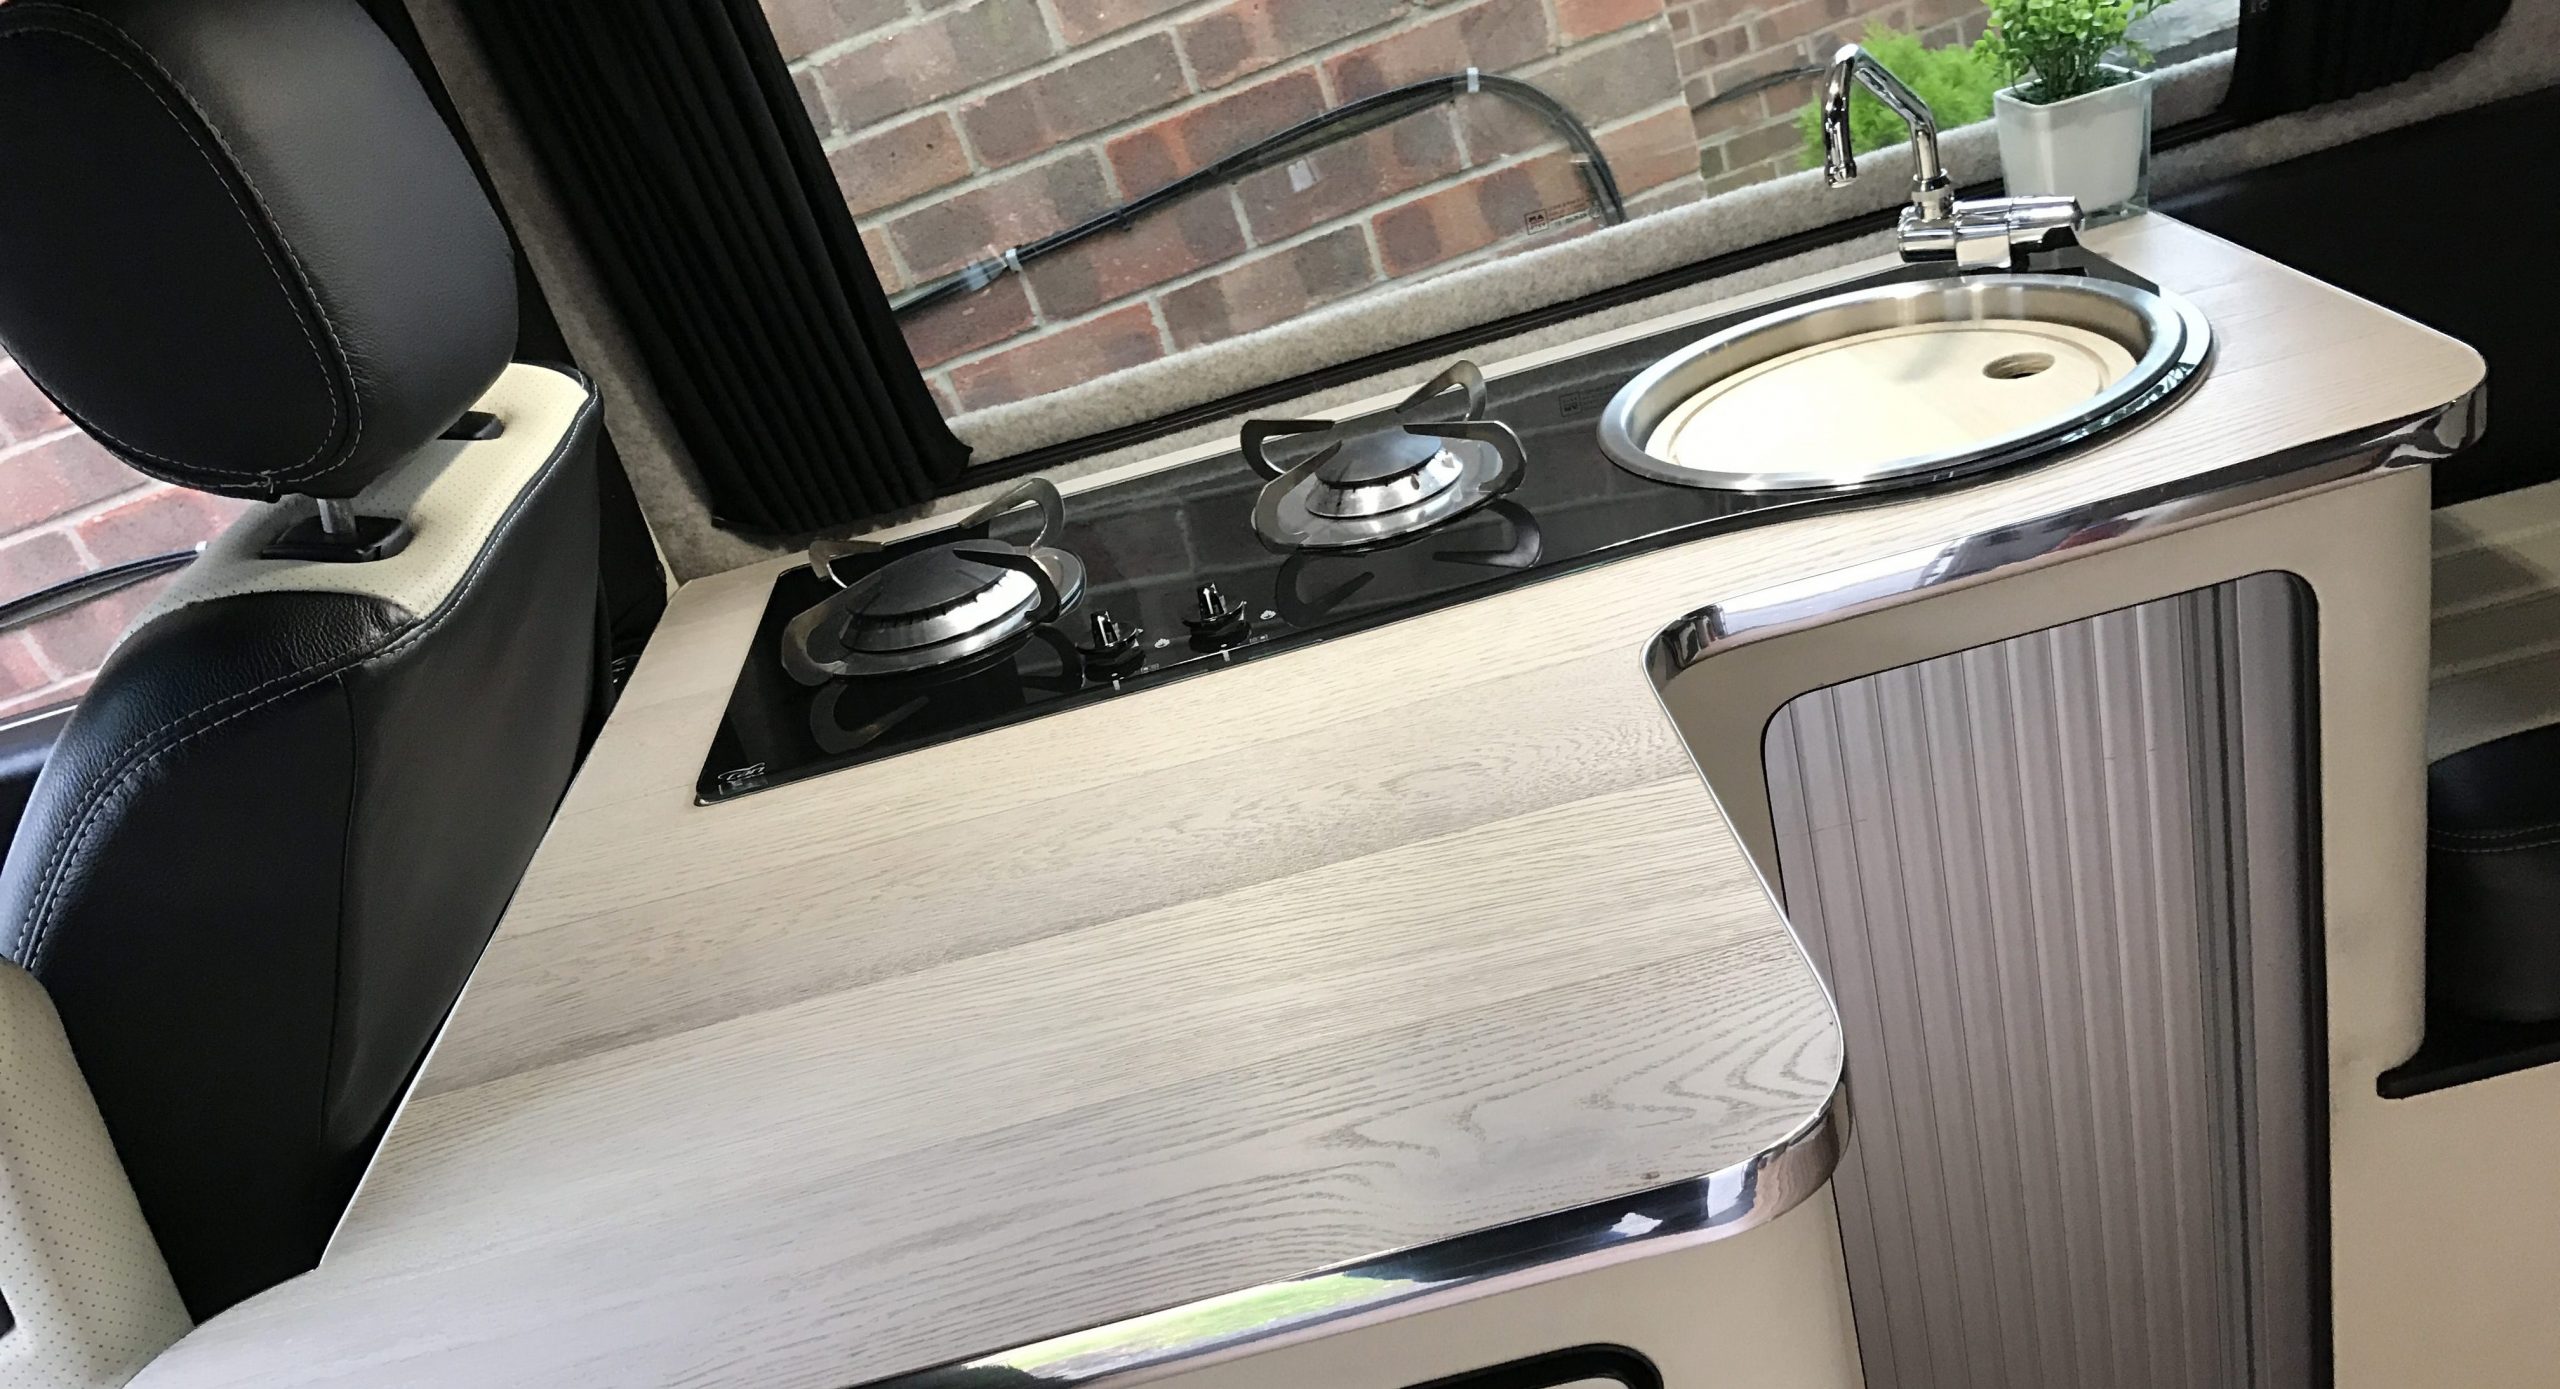
Once cut, I just checked it would all fit OK with the hob in place. It was at this time that I realised I liked the look of a lighter worktop, rather than black. It certainly gave a warmer homely feel to the van.
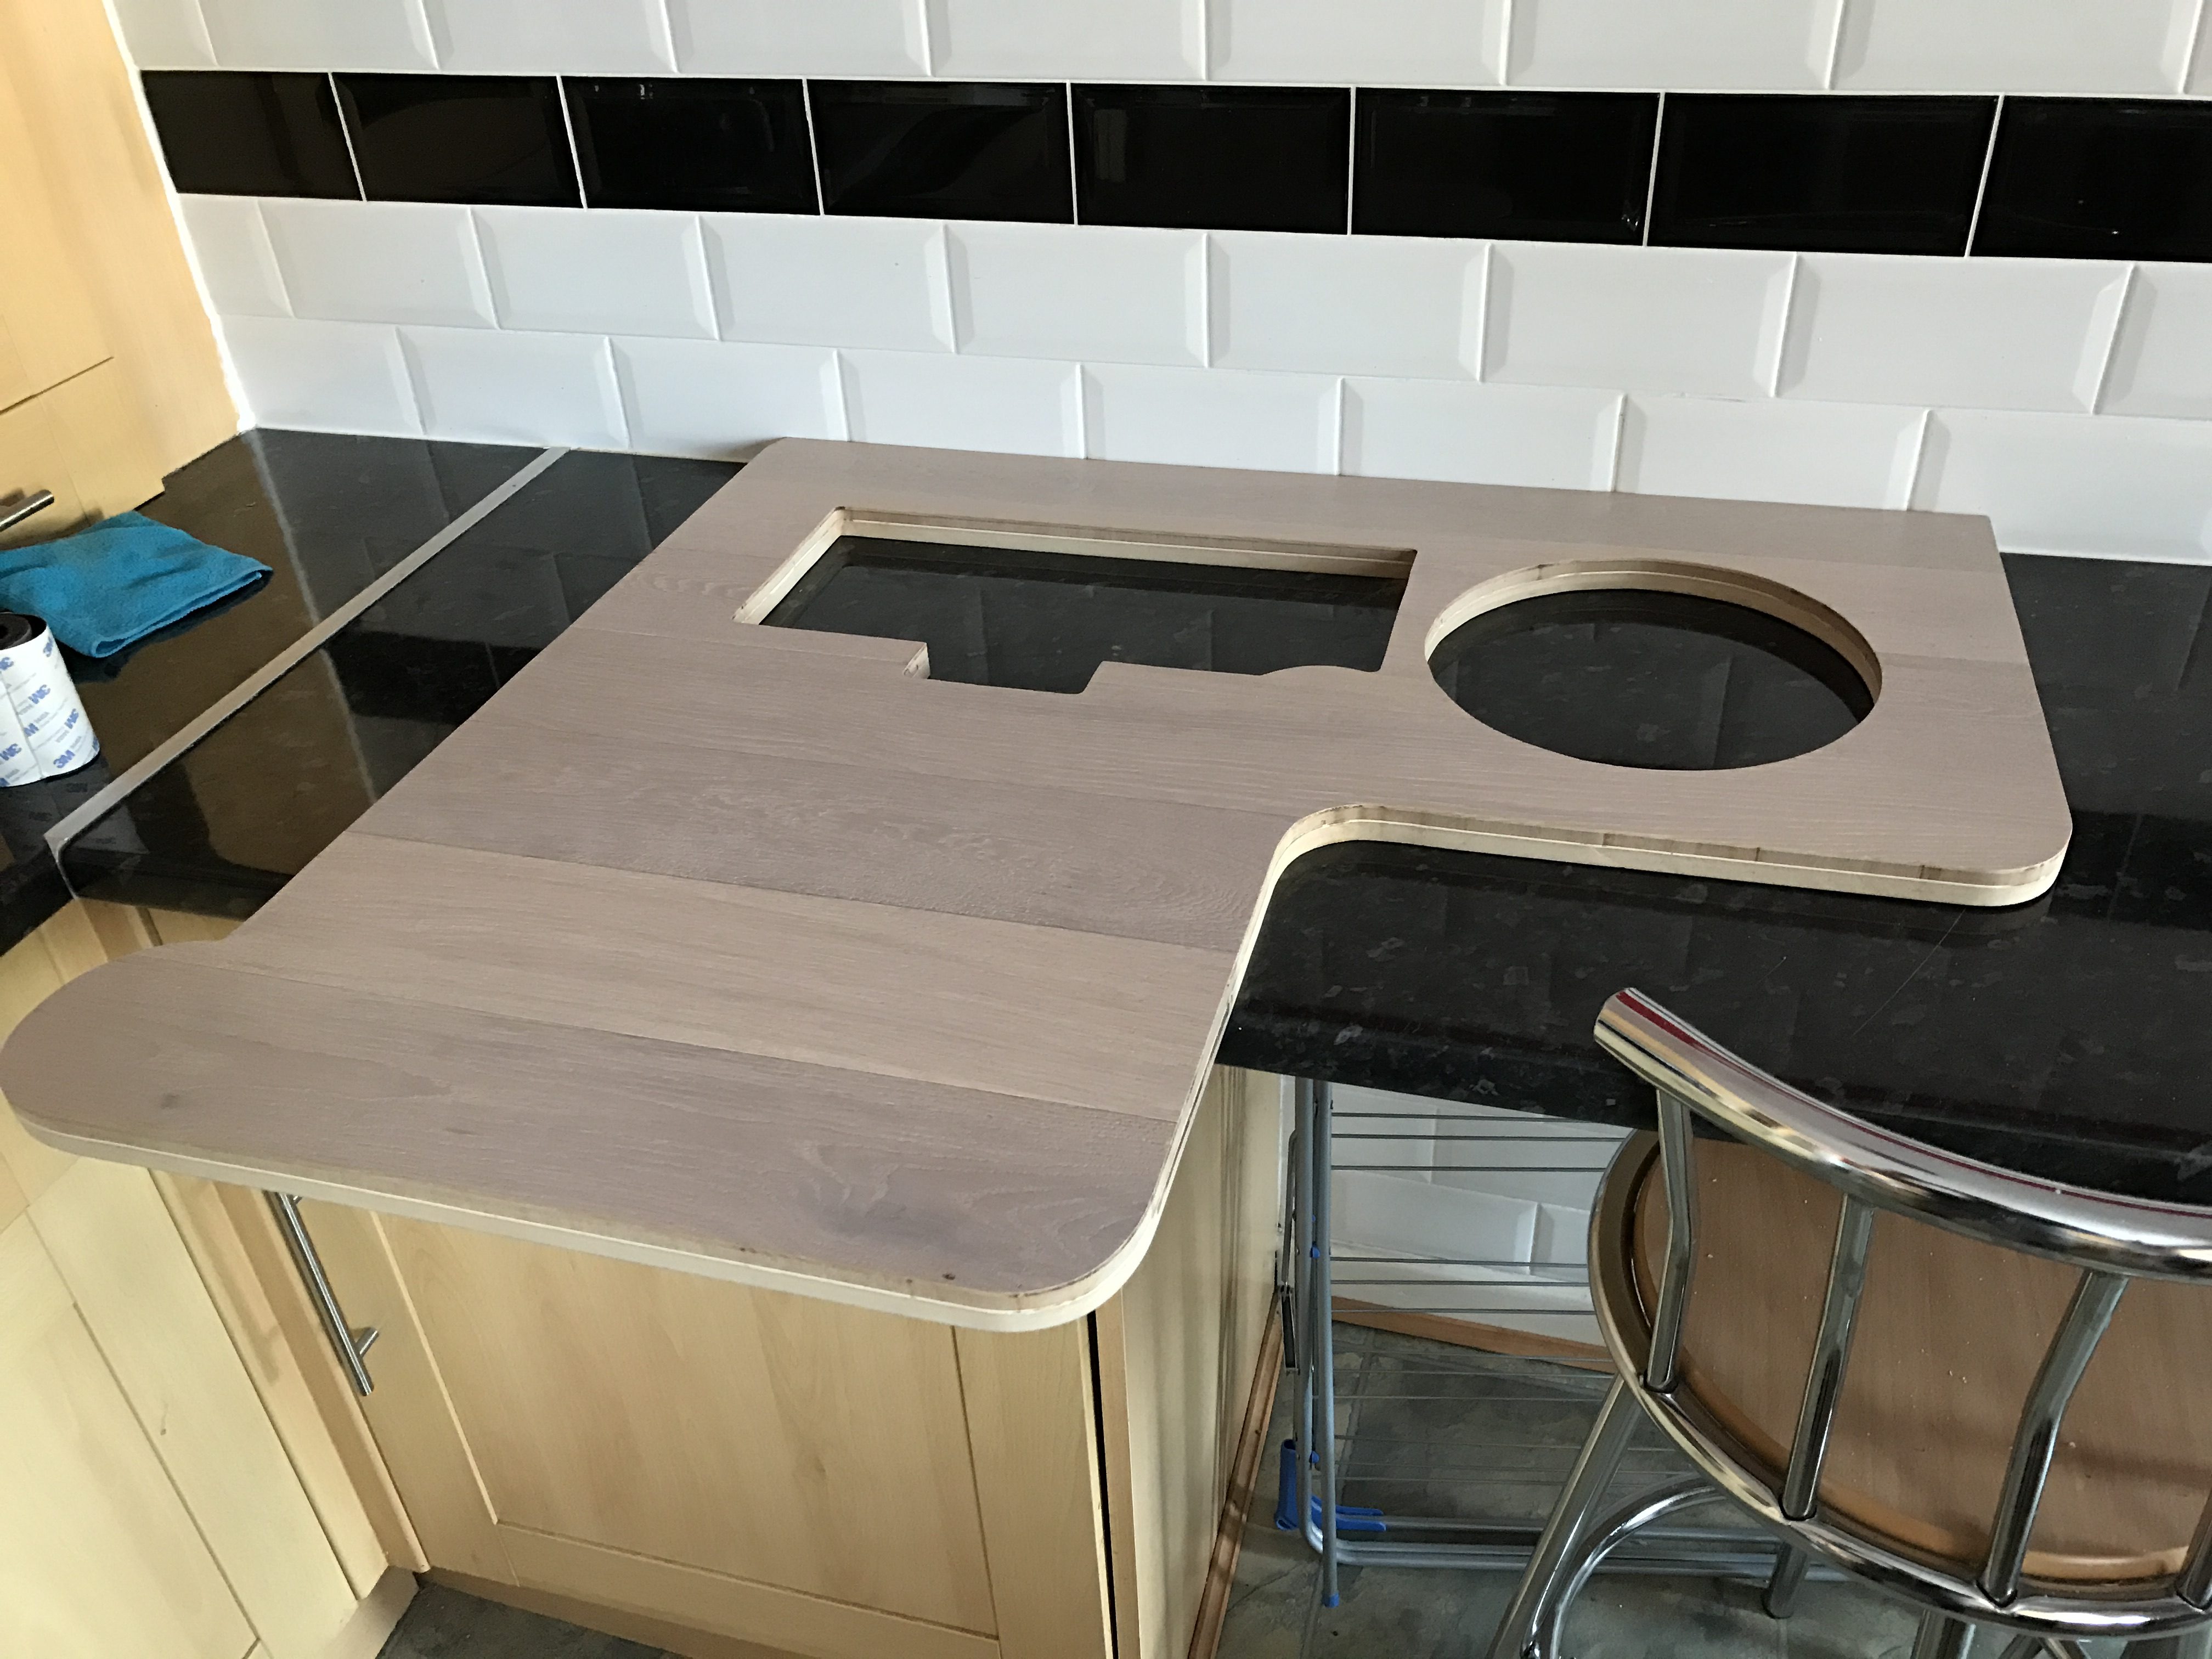
The obvious choice in materials would seem to be a form of flooring, not only cheap but hard wearing. Although not the cheapest, I opted for flooring with a real wood top, in this case a white washed oak bought from B&Q.
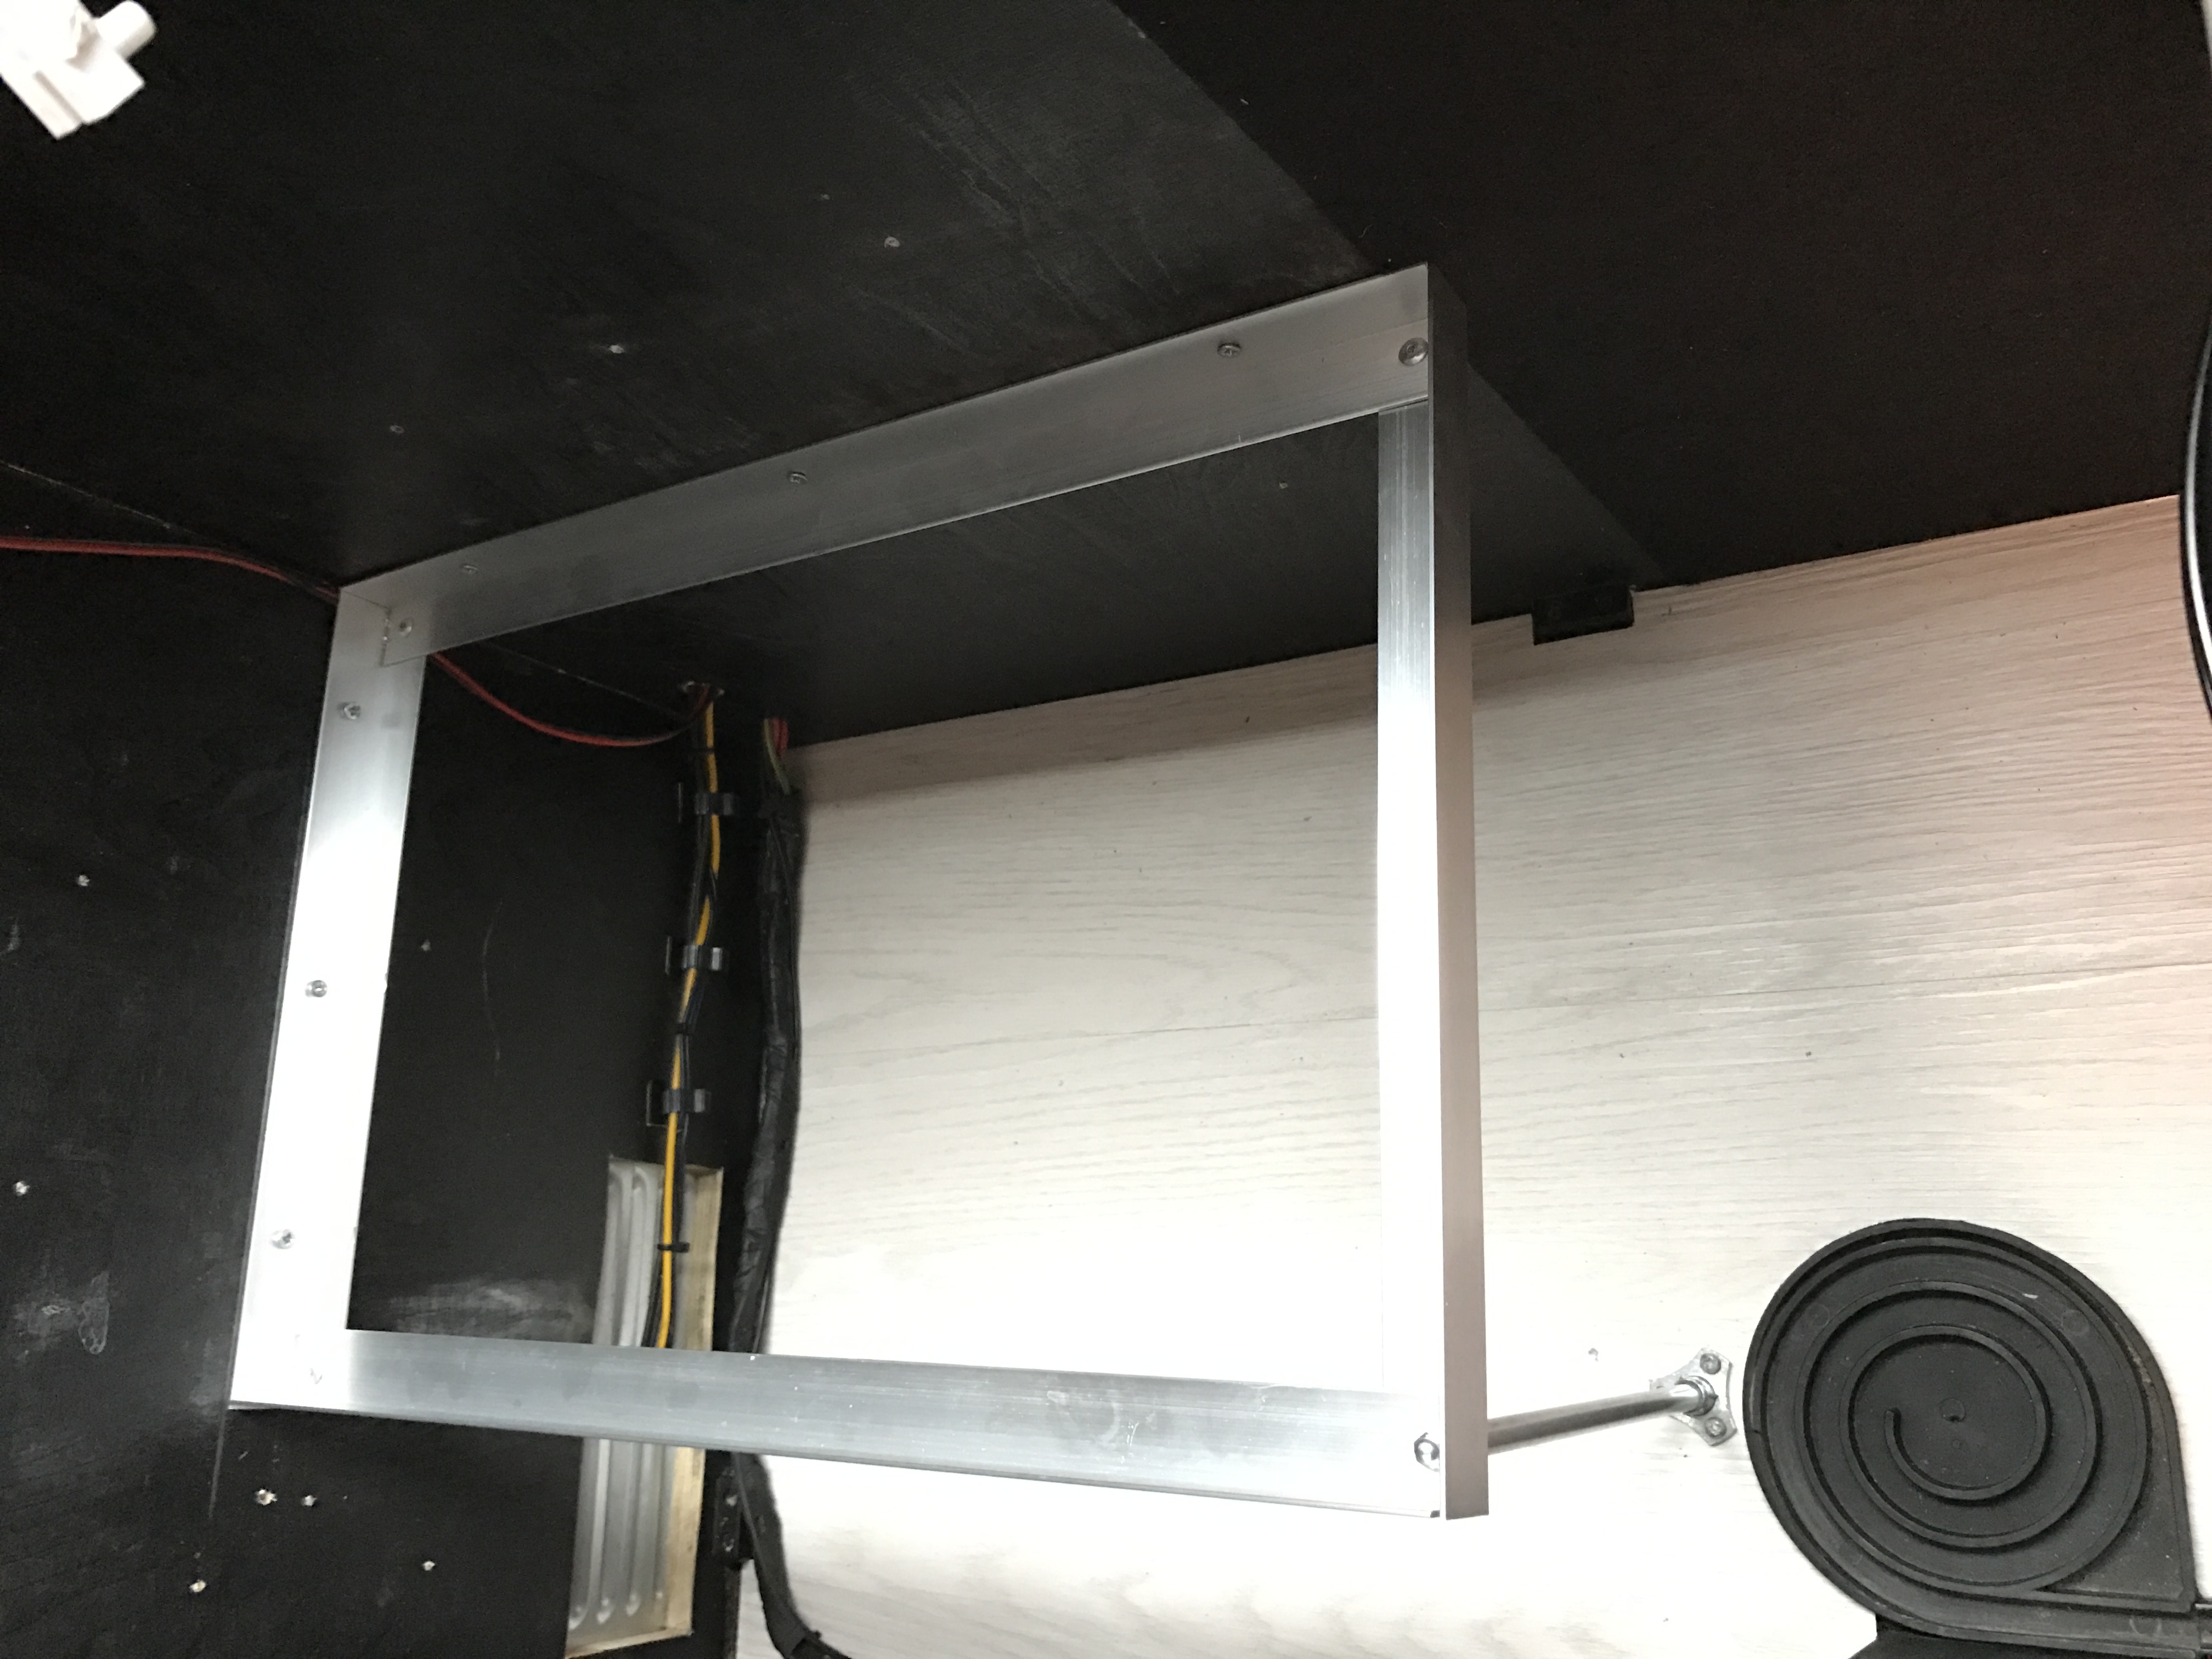
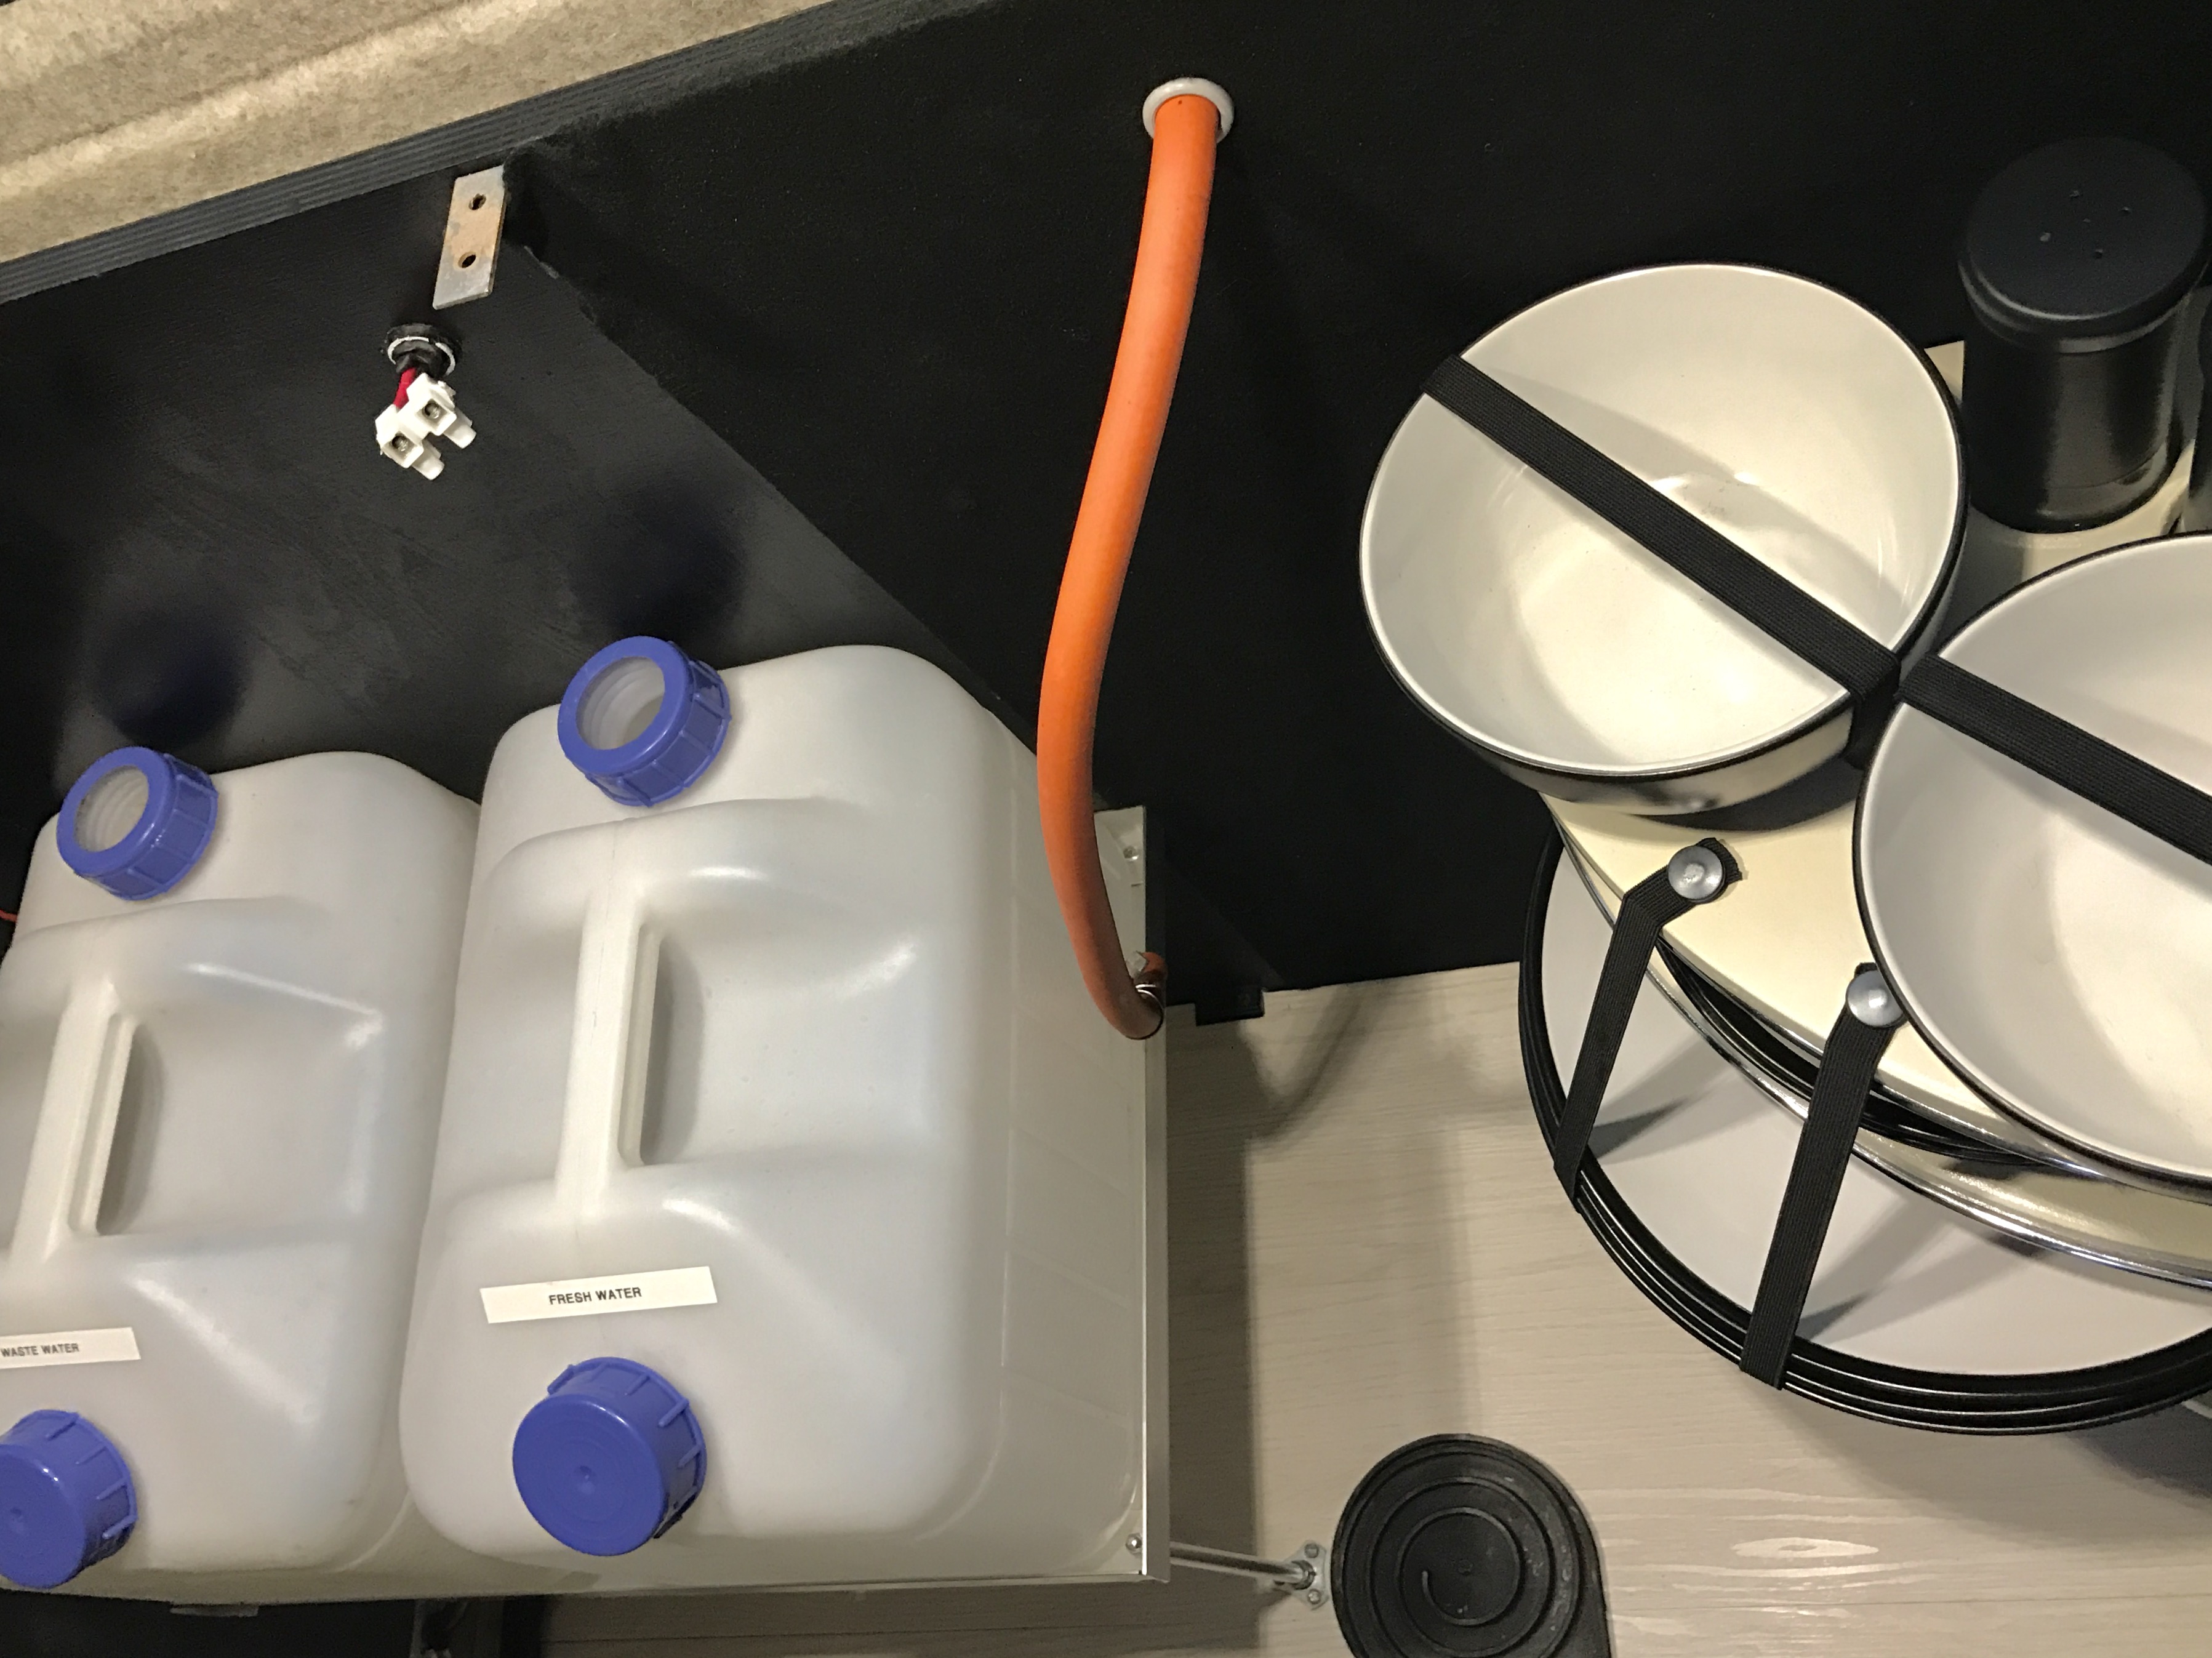
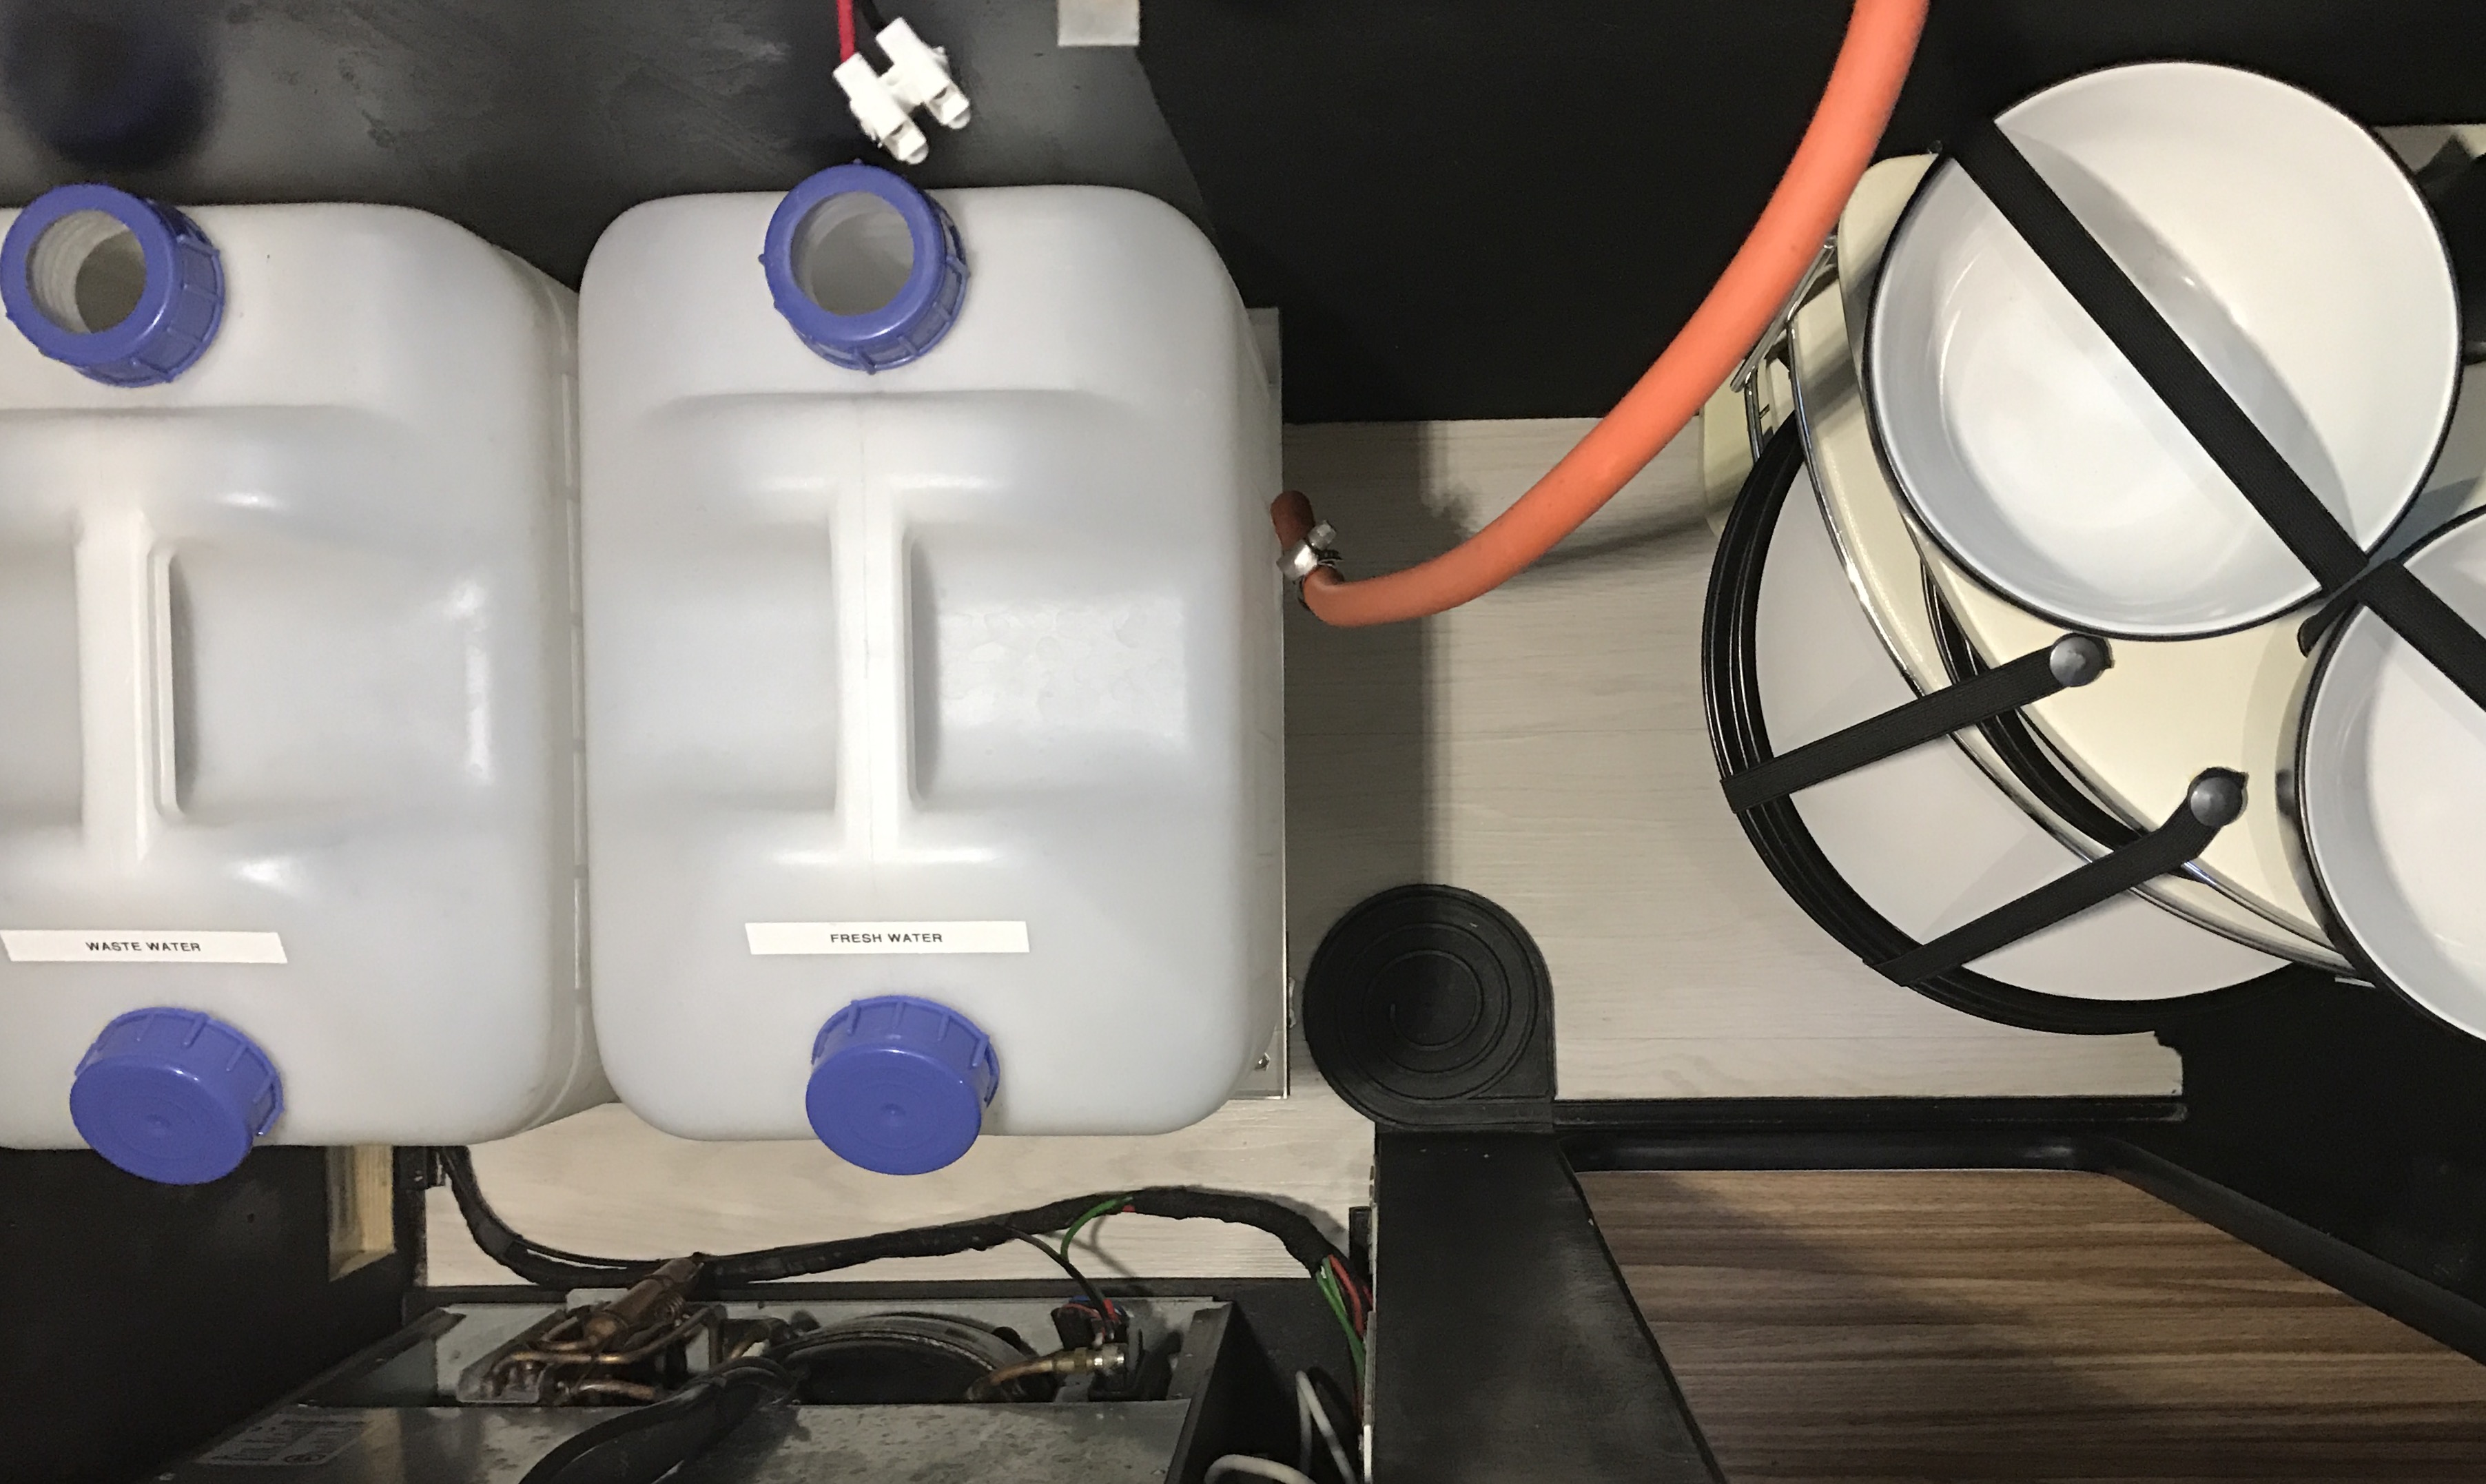
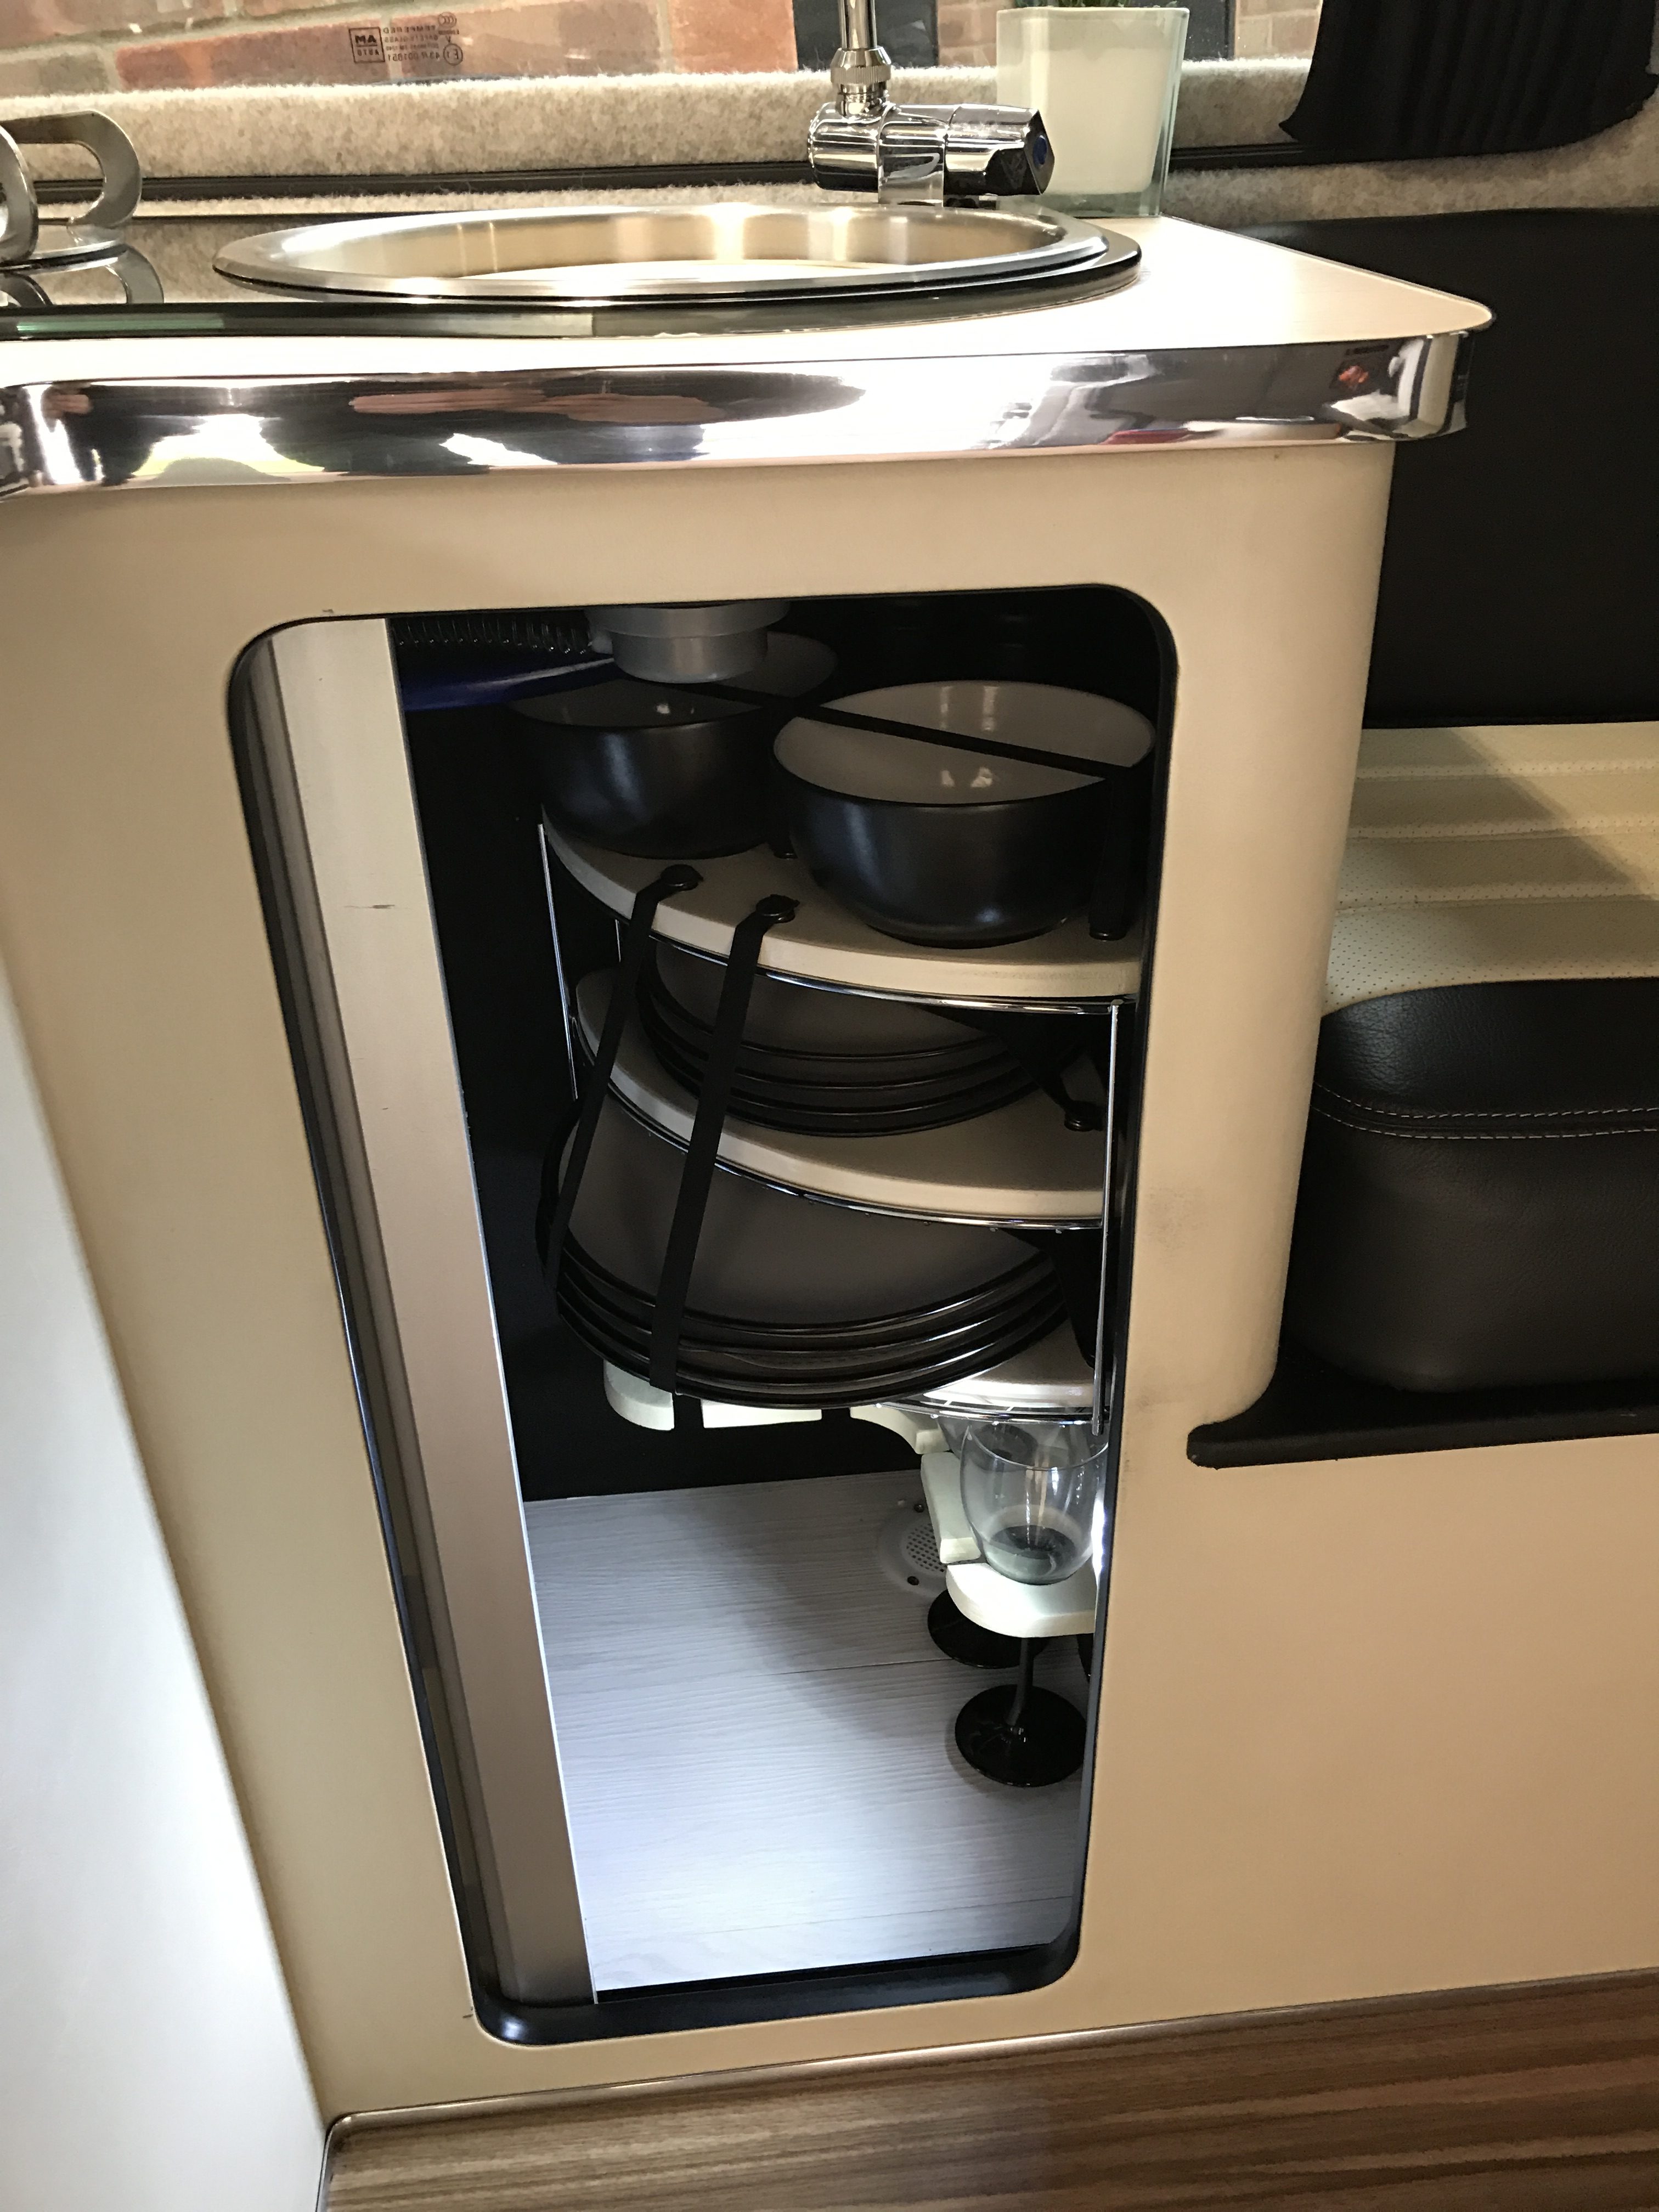
While the worktop was off, it was a good time to just tidy up the contents of the cupboard. The original shelf for the water containers was made of ply and had absorbed some of the water that had splashed so was not looking good. I decided to replace with an aluminium frame made from angled strips riveted together. I also added a new base to the unit which is just laminate strips with an adhesive backing bought from B&Q.
The laminate flooring was glued onto the MDF base using wood glue and left to cure overnight. Once cured, I used a router to trim off the excess laminate.
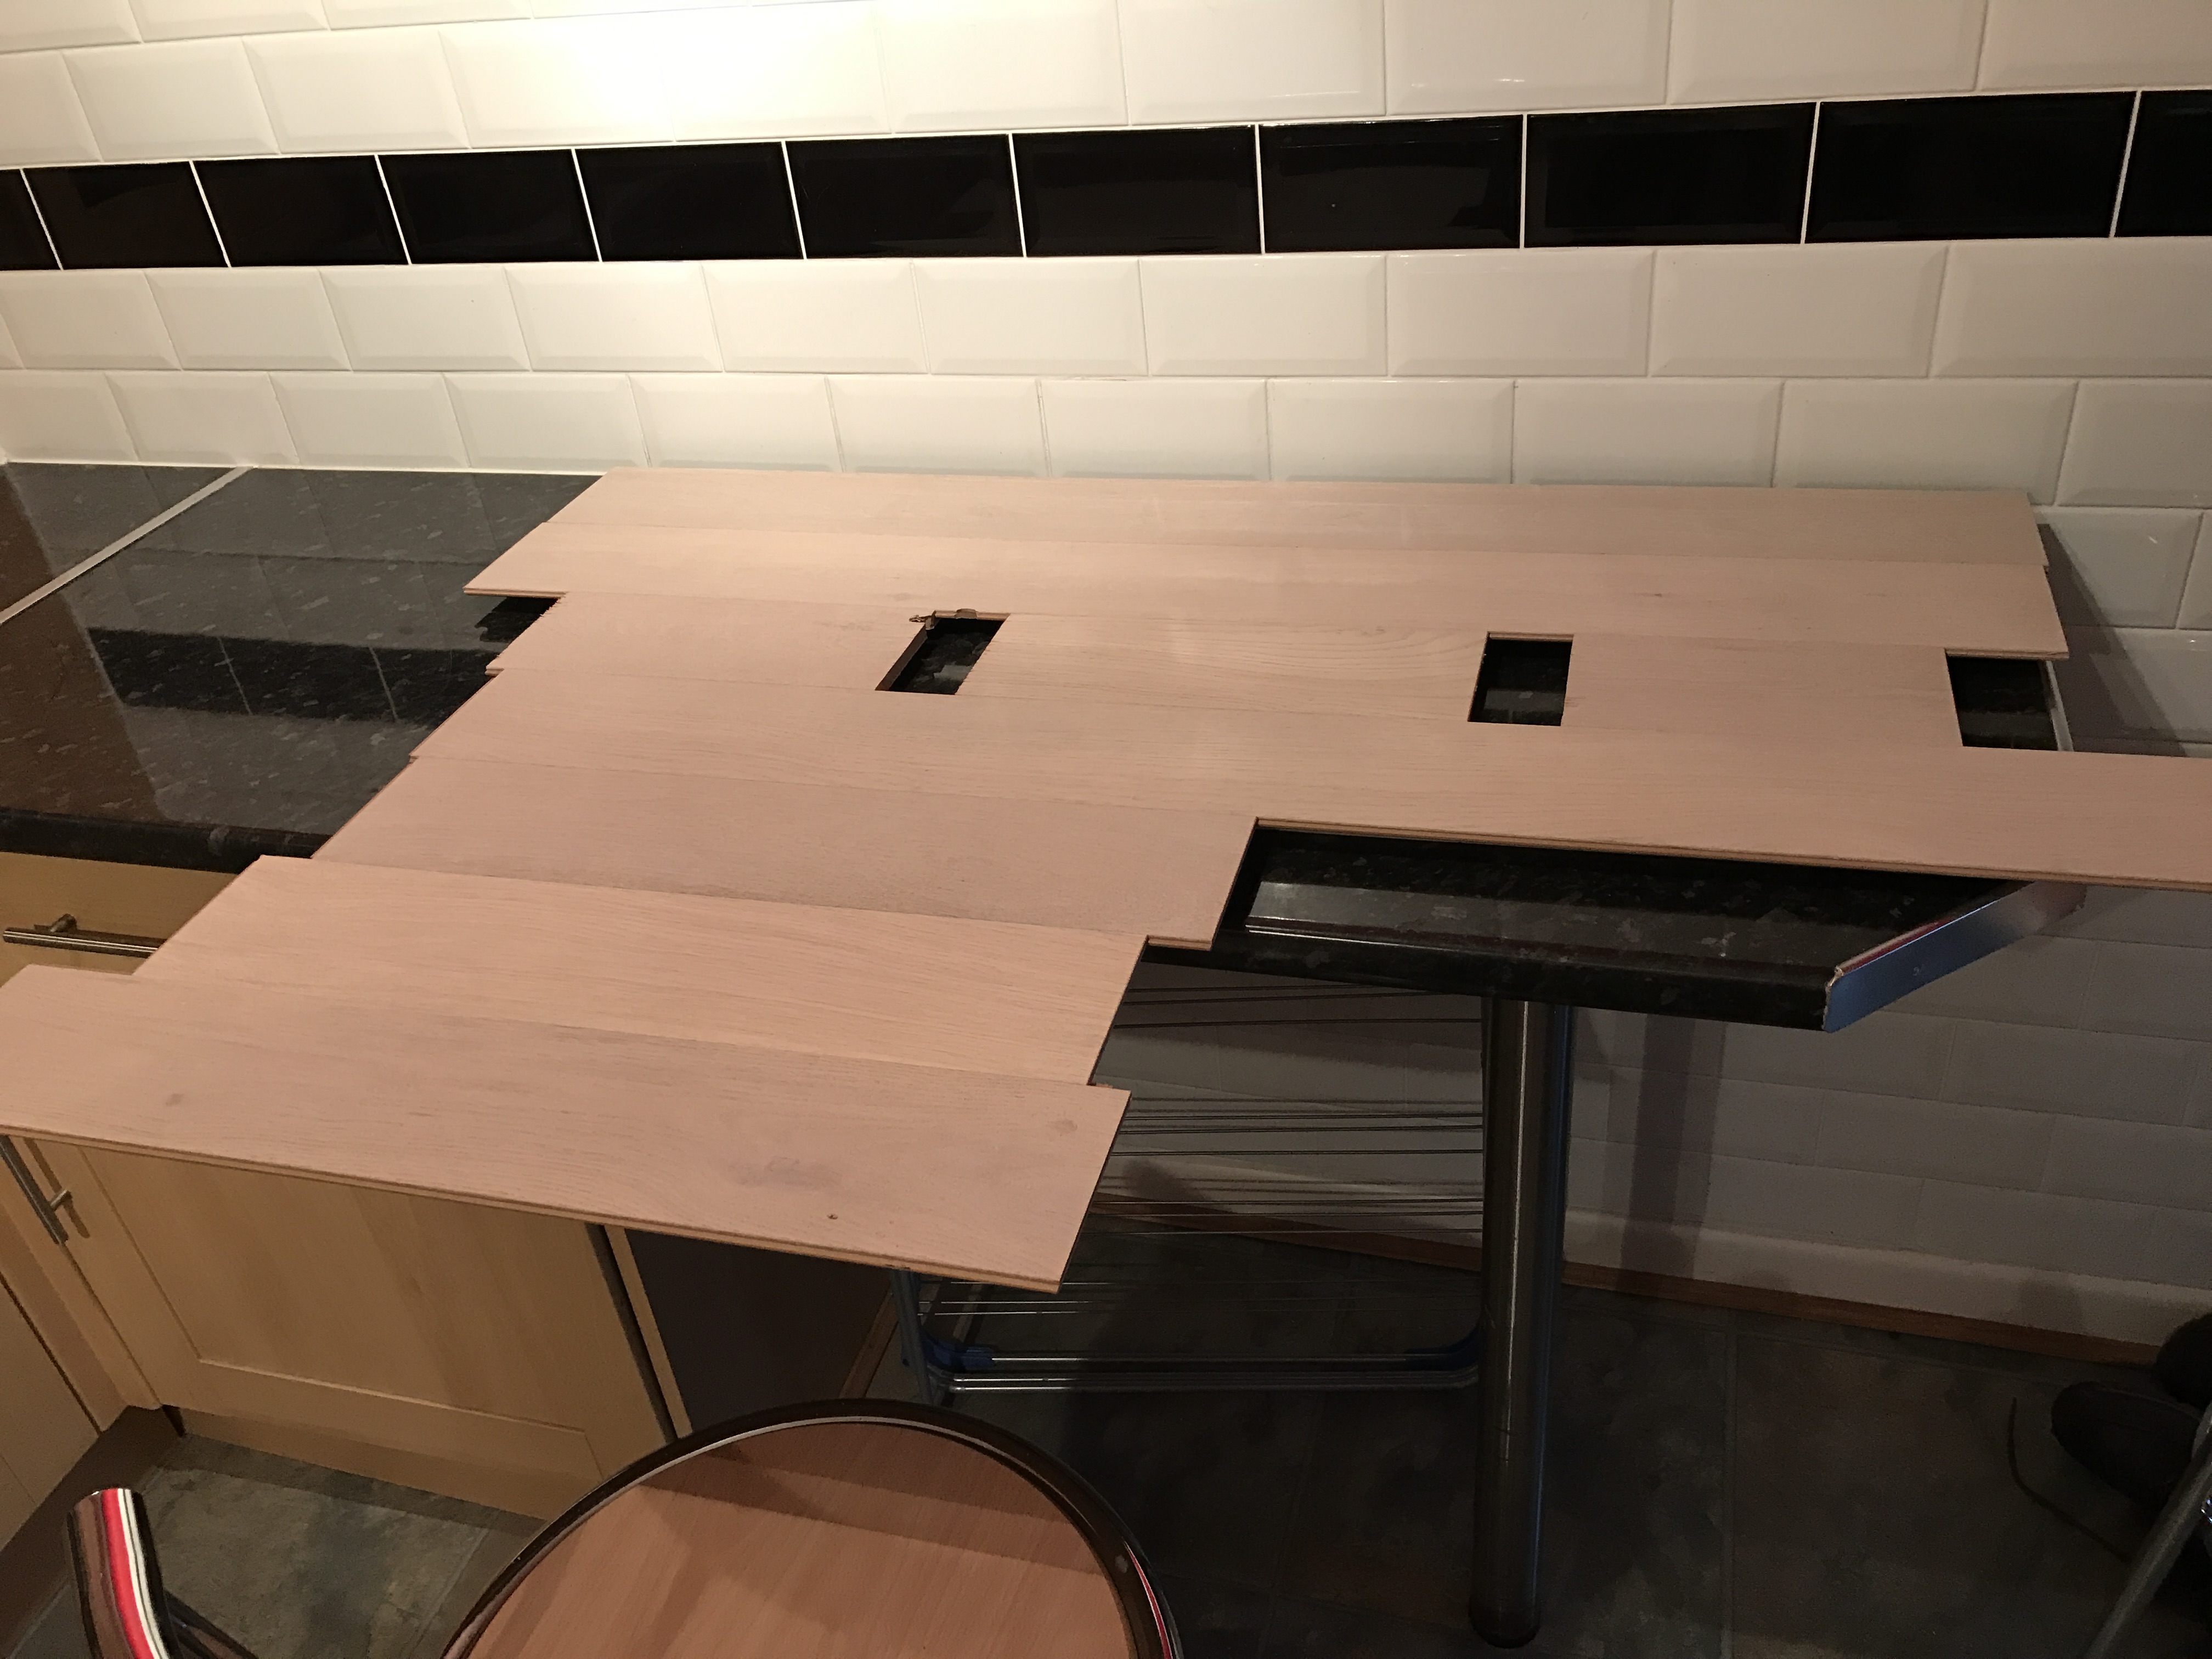
Trimming the excess laminate with the router made a real mess of my back yard, sawdust everywhere but it worked out well. The edges just needed a little sanding to give a smooth finish.
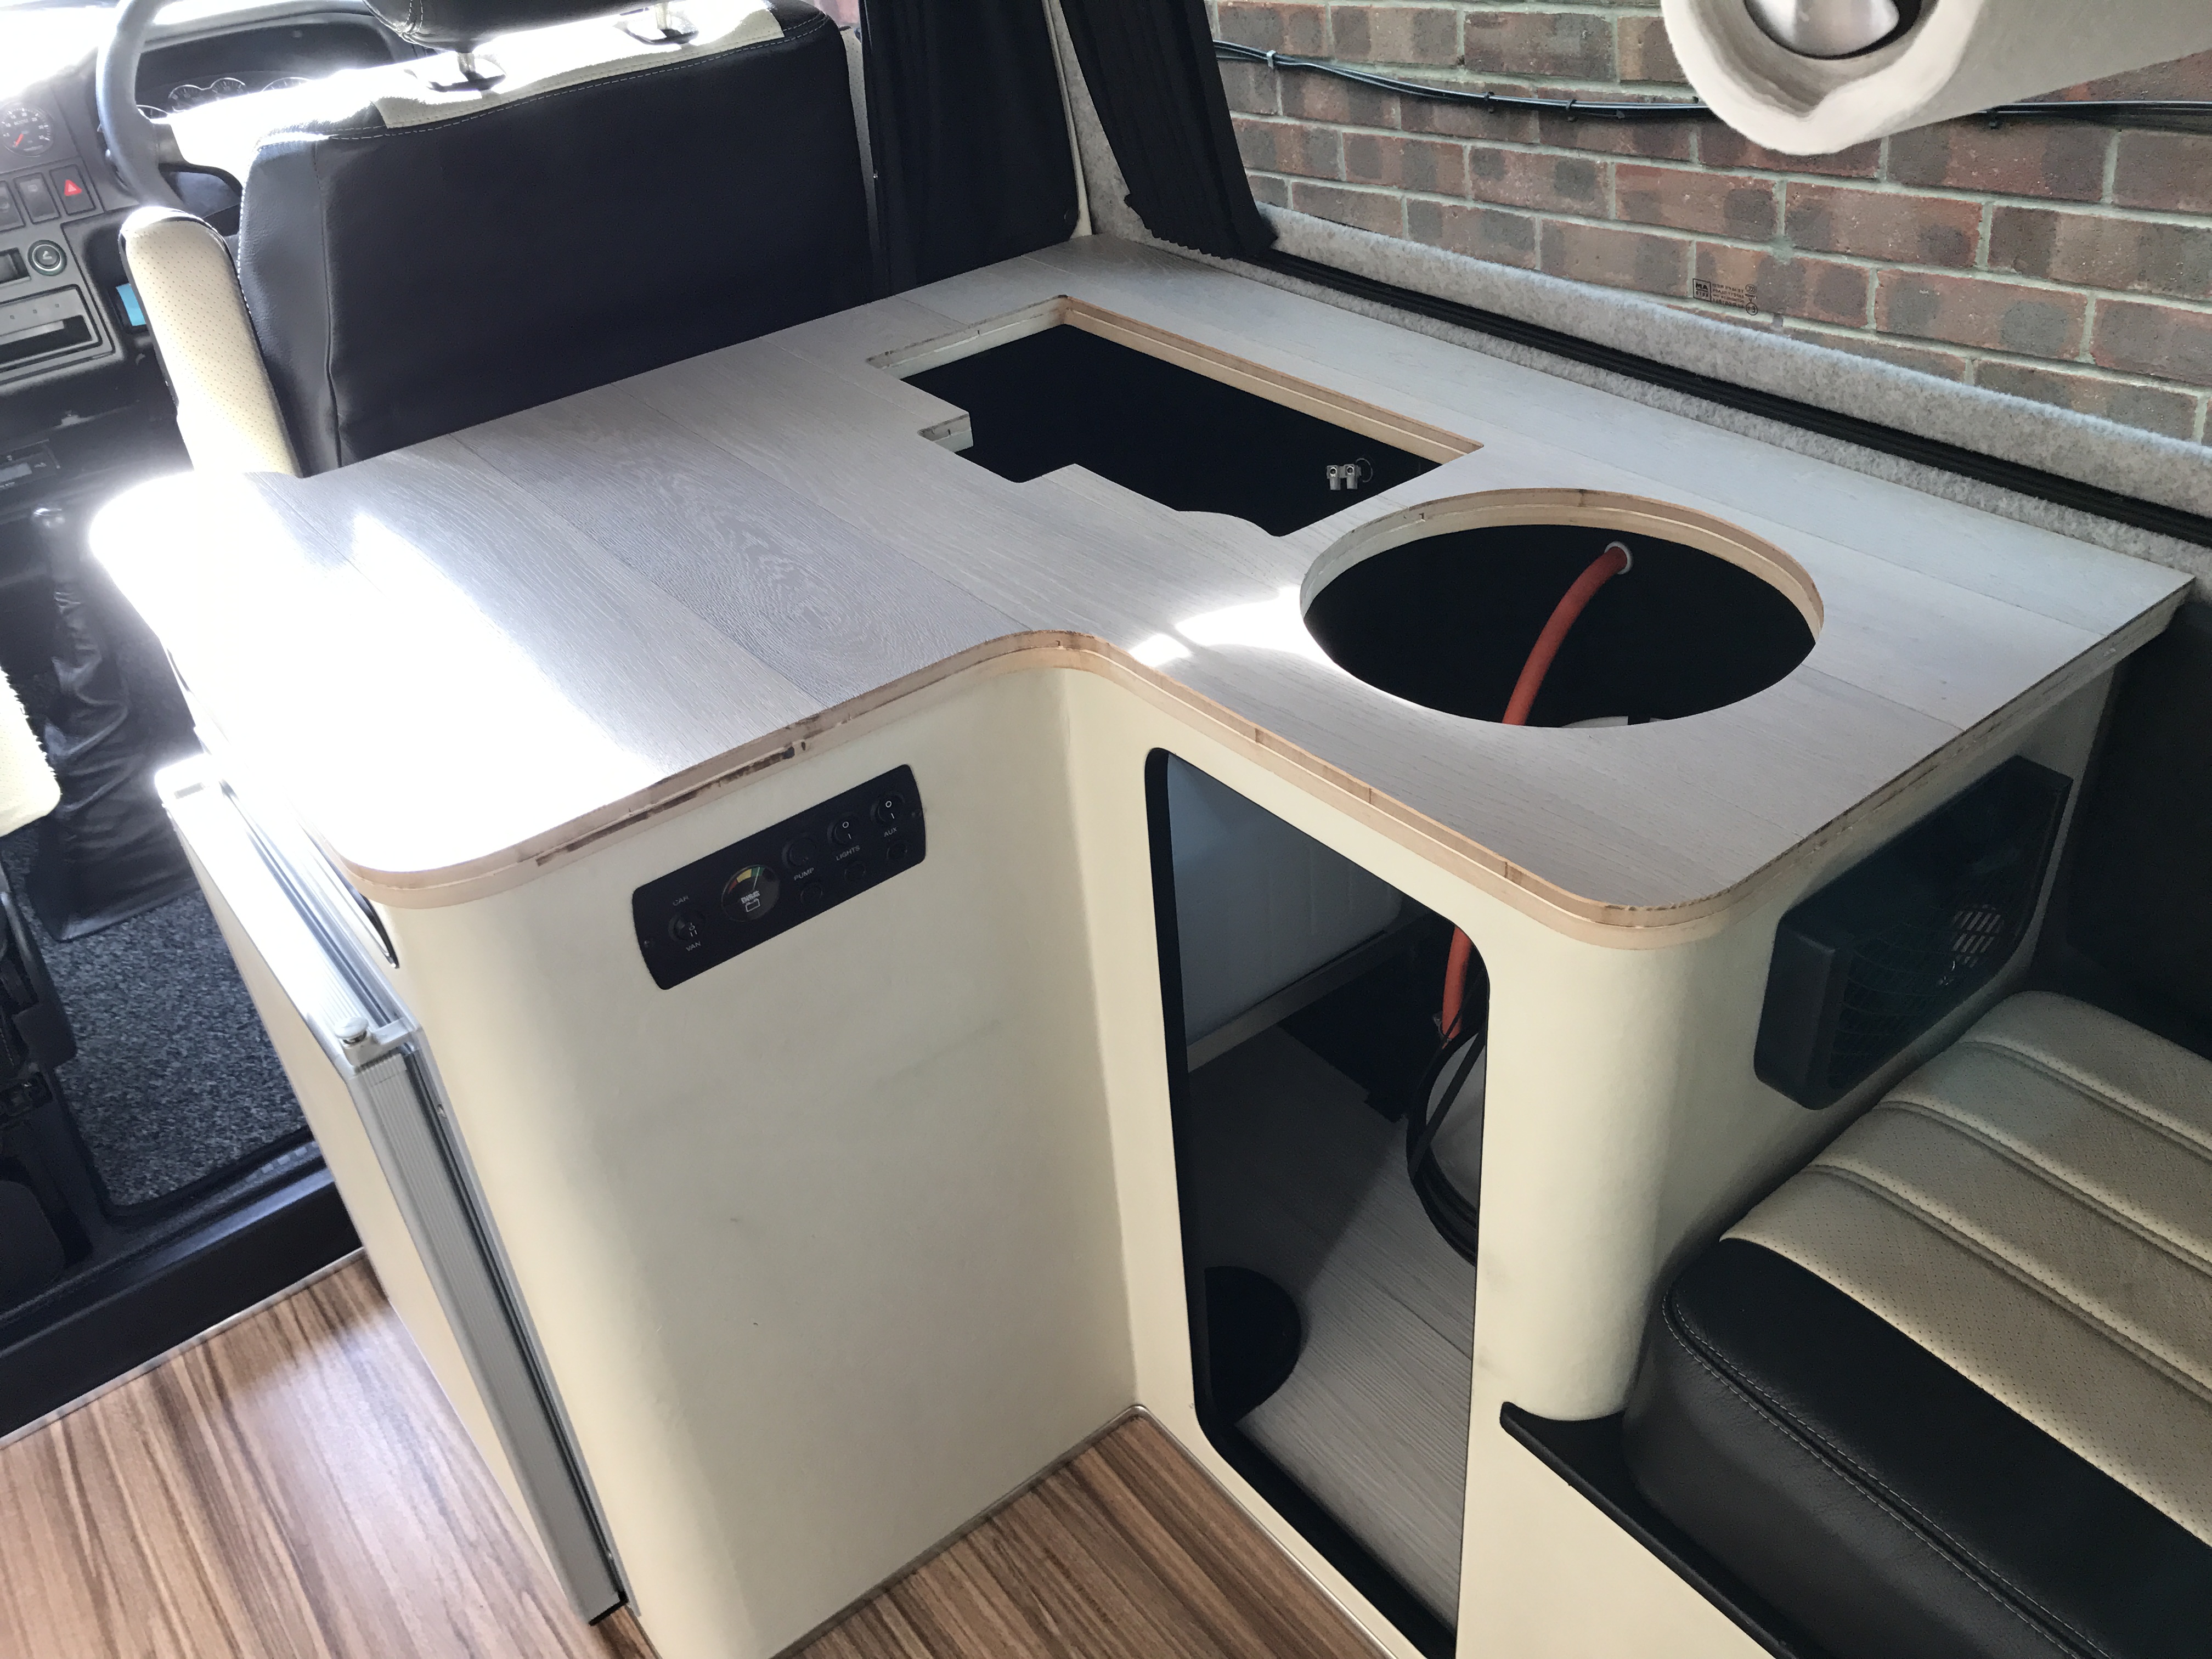
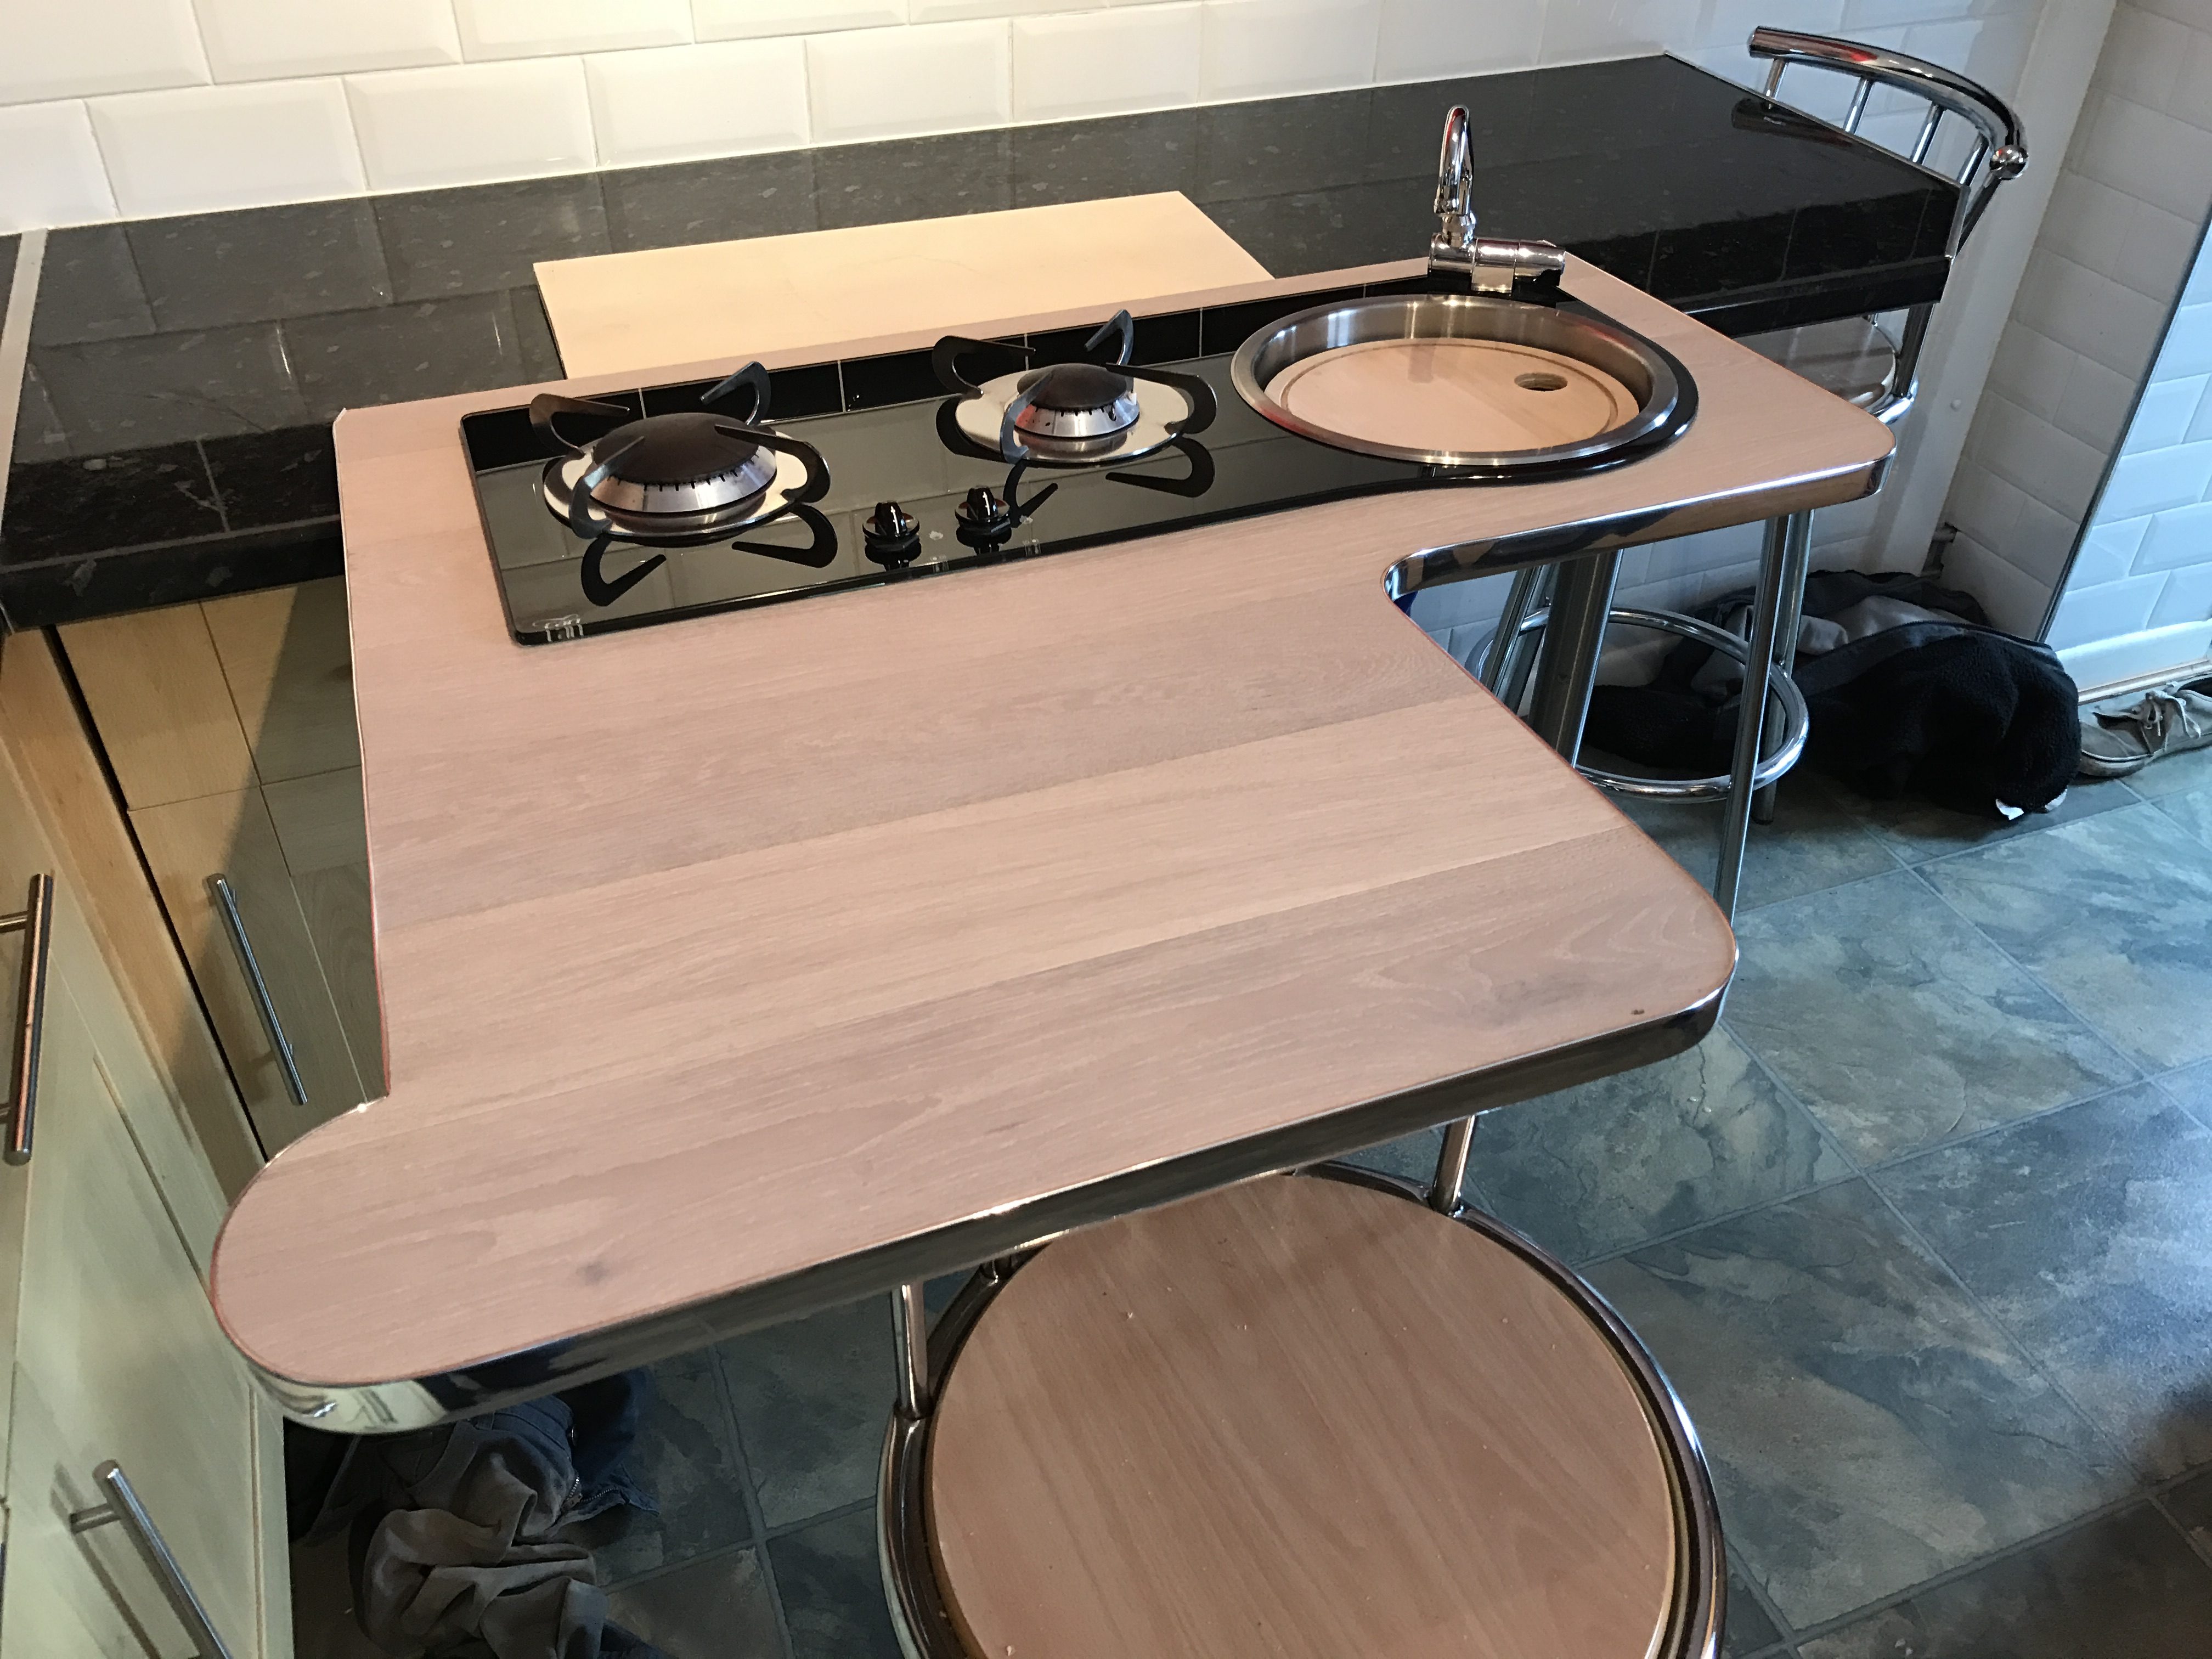
Once the hob was fixed to the worktop I covered the edges in the cheap imitation chrome bought from eBay which works well and can easily be replaced if needed. I already had a small round bamboo cutting board, I used a hole saw to cut a hole through this so that it could be placed in the basin and easily removed. The fake plant is held in place by velcro and is actually an air freshener being that it can be sprayed with a scent.

UPDATE (5th March 2017)
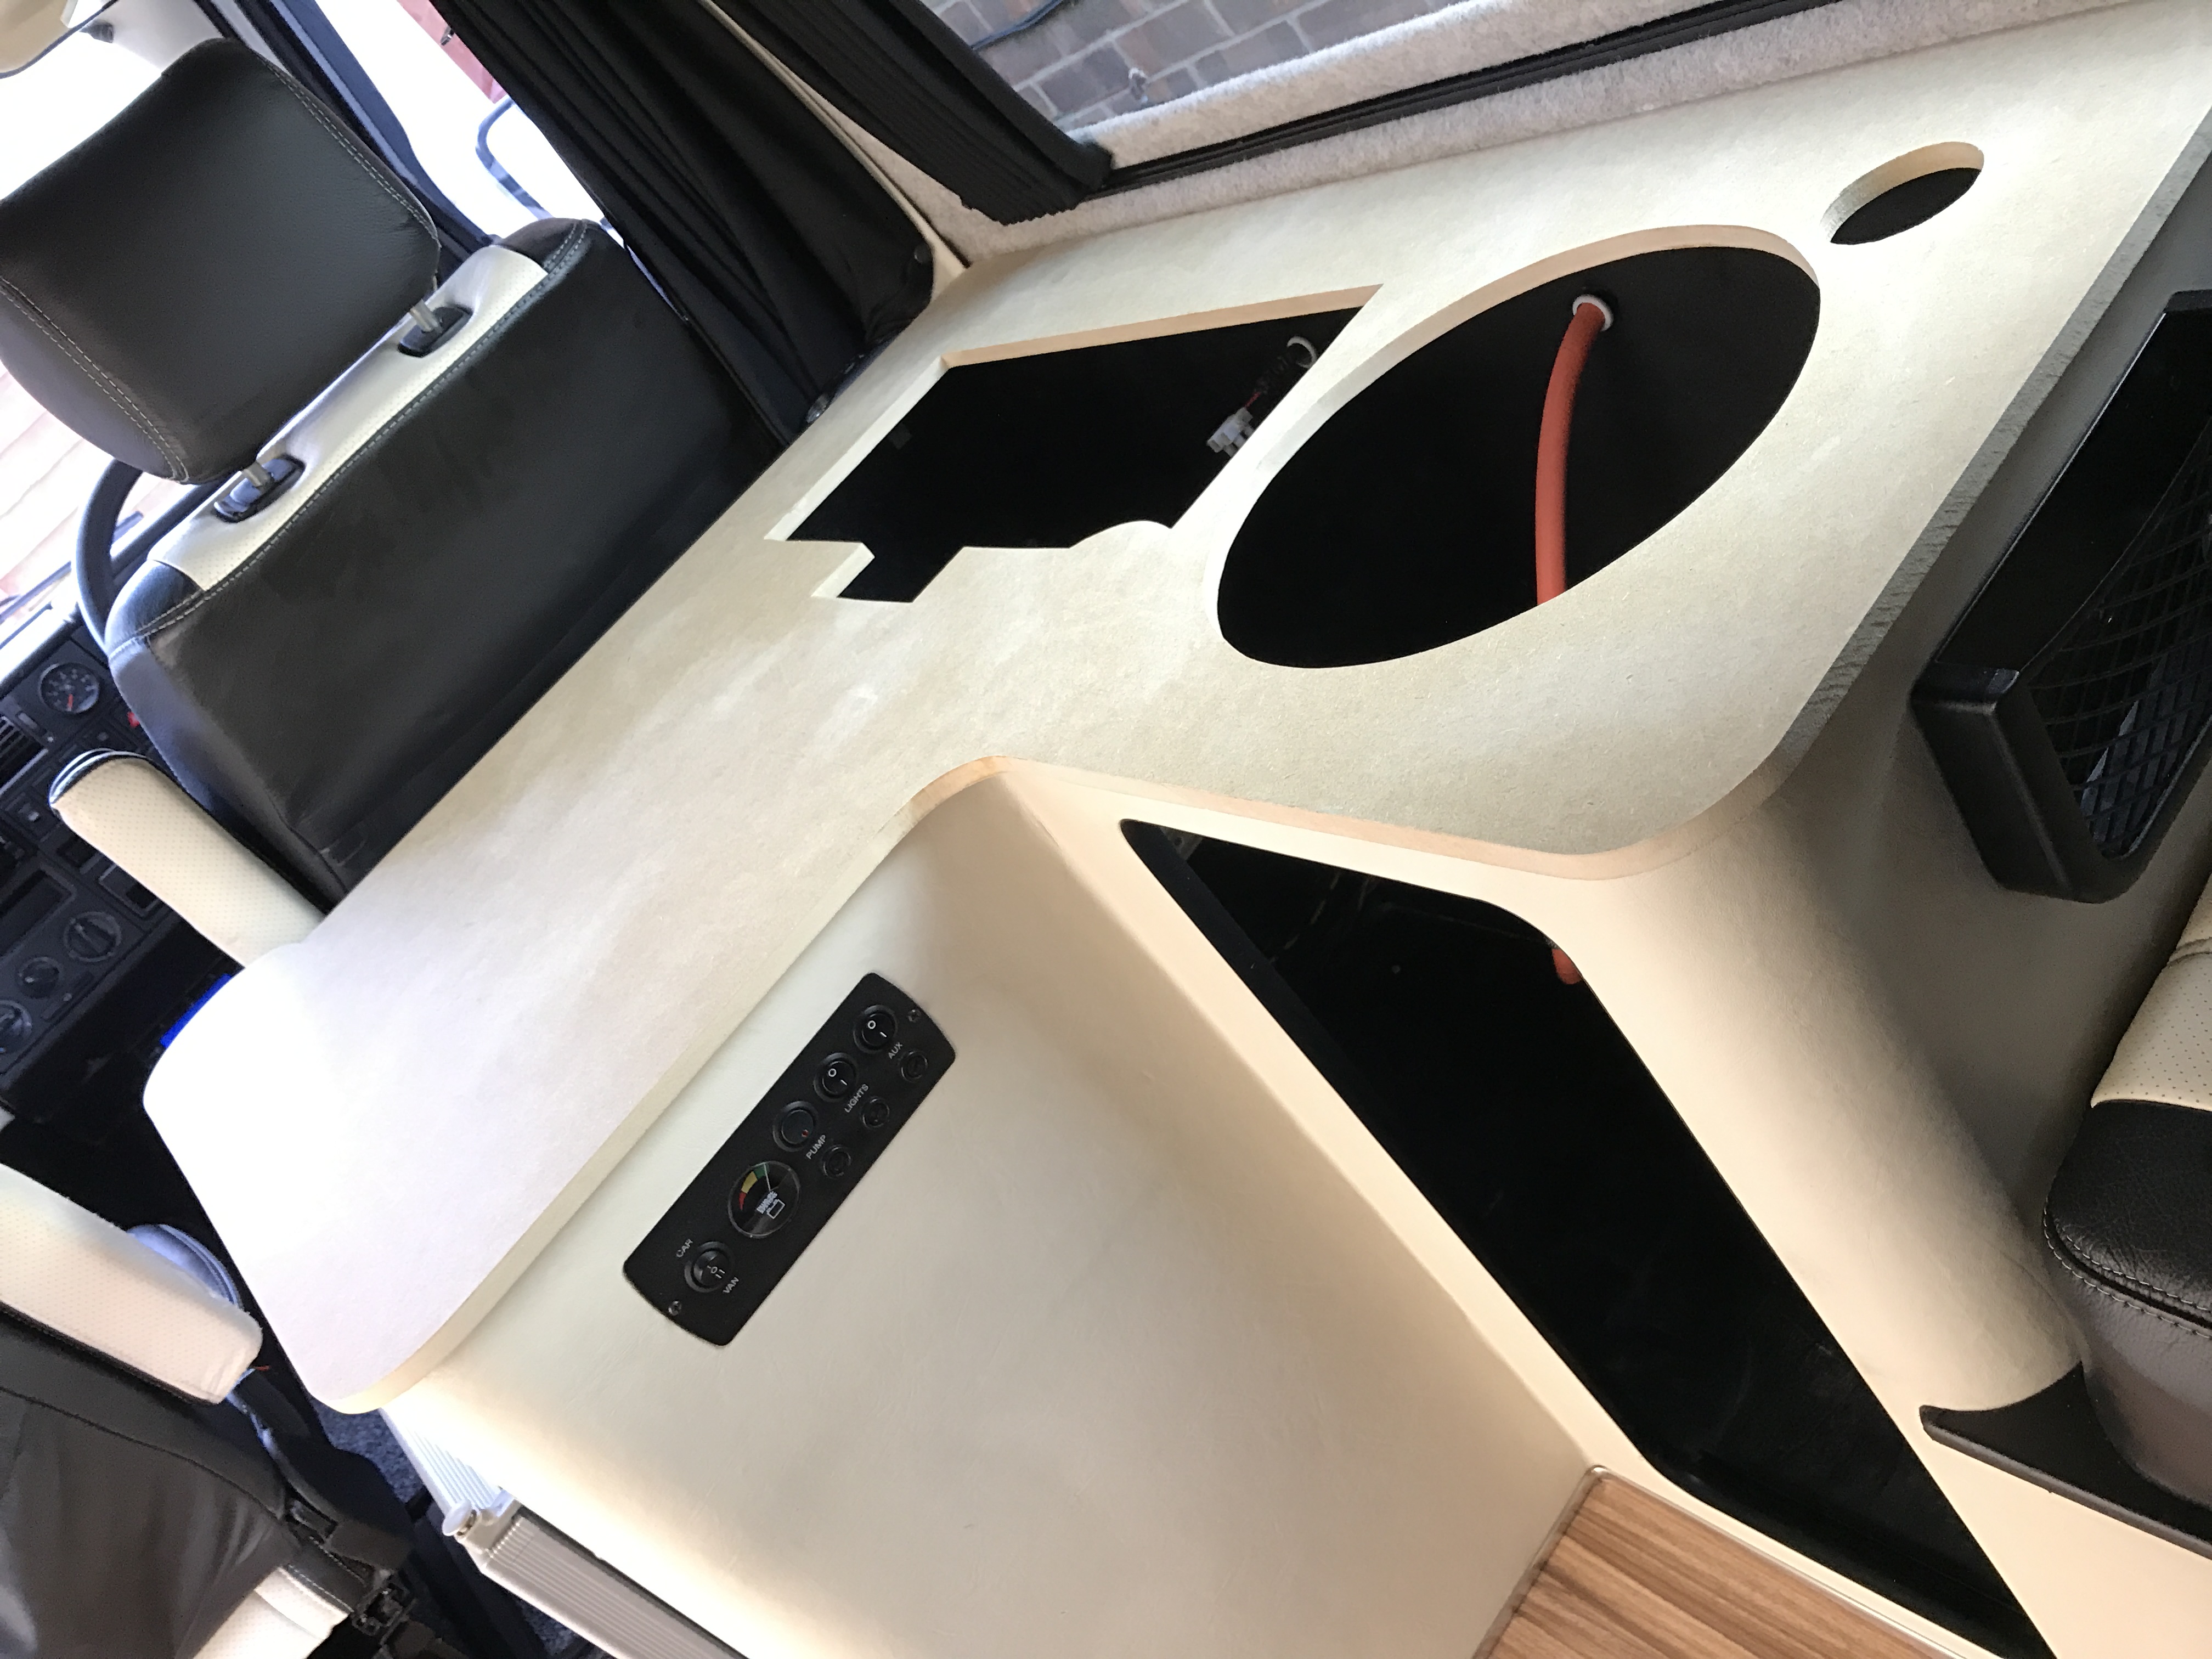
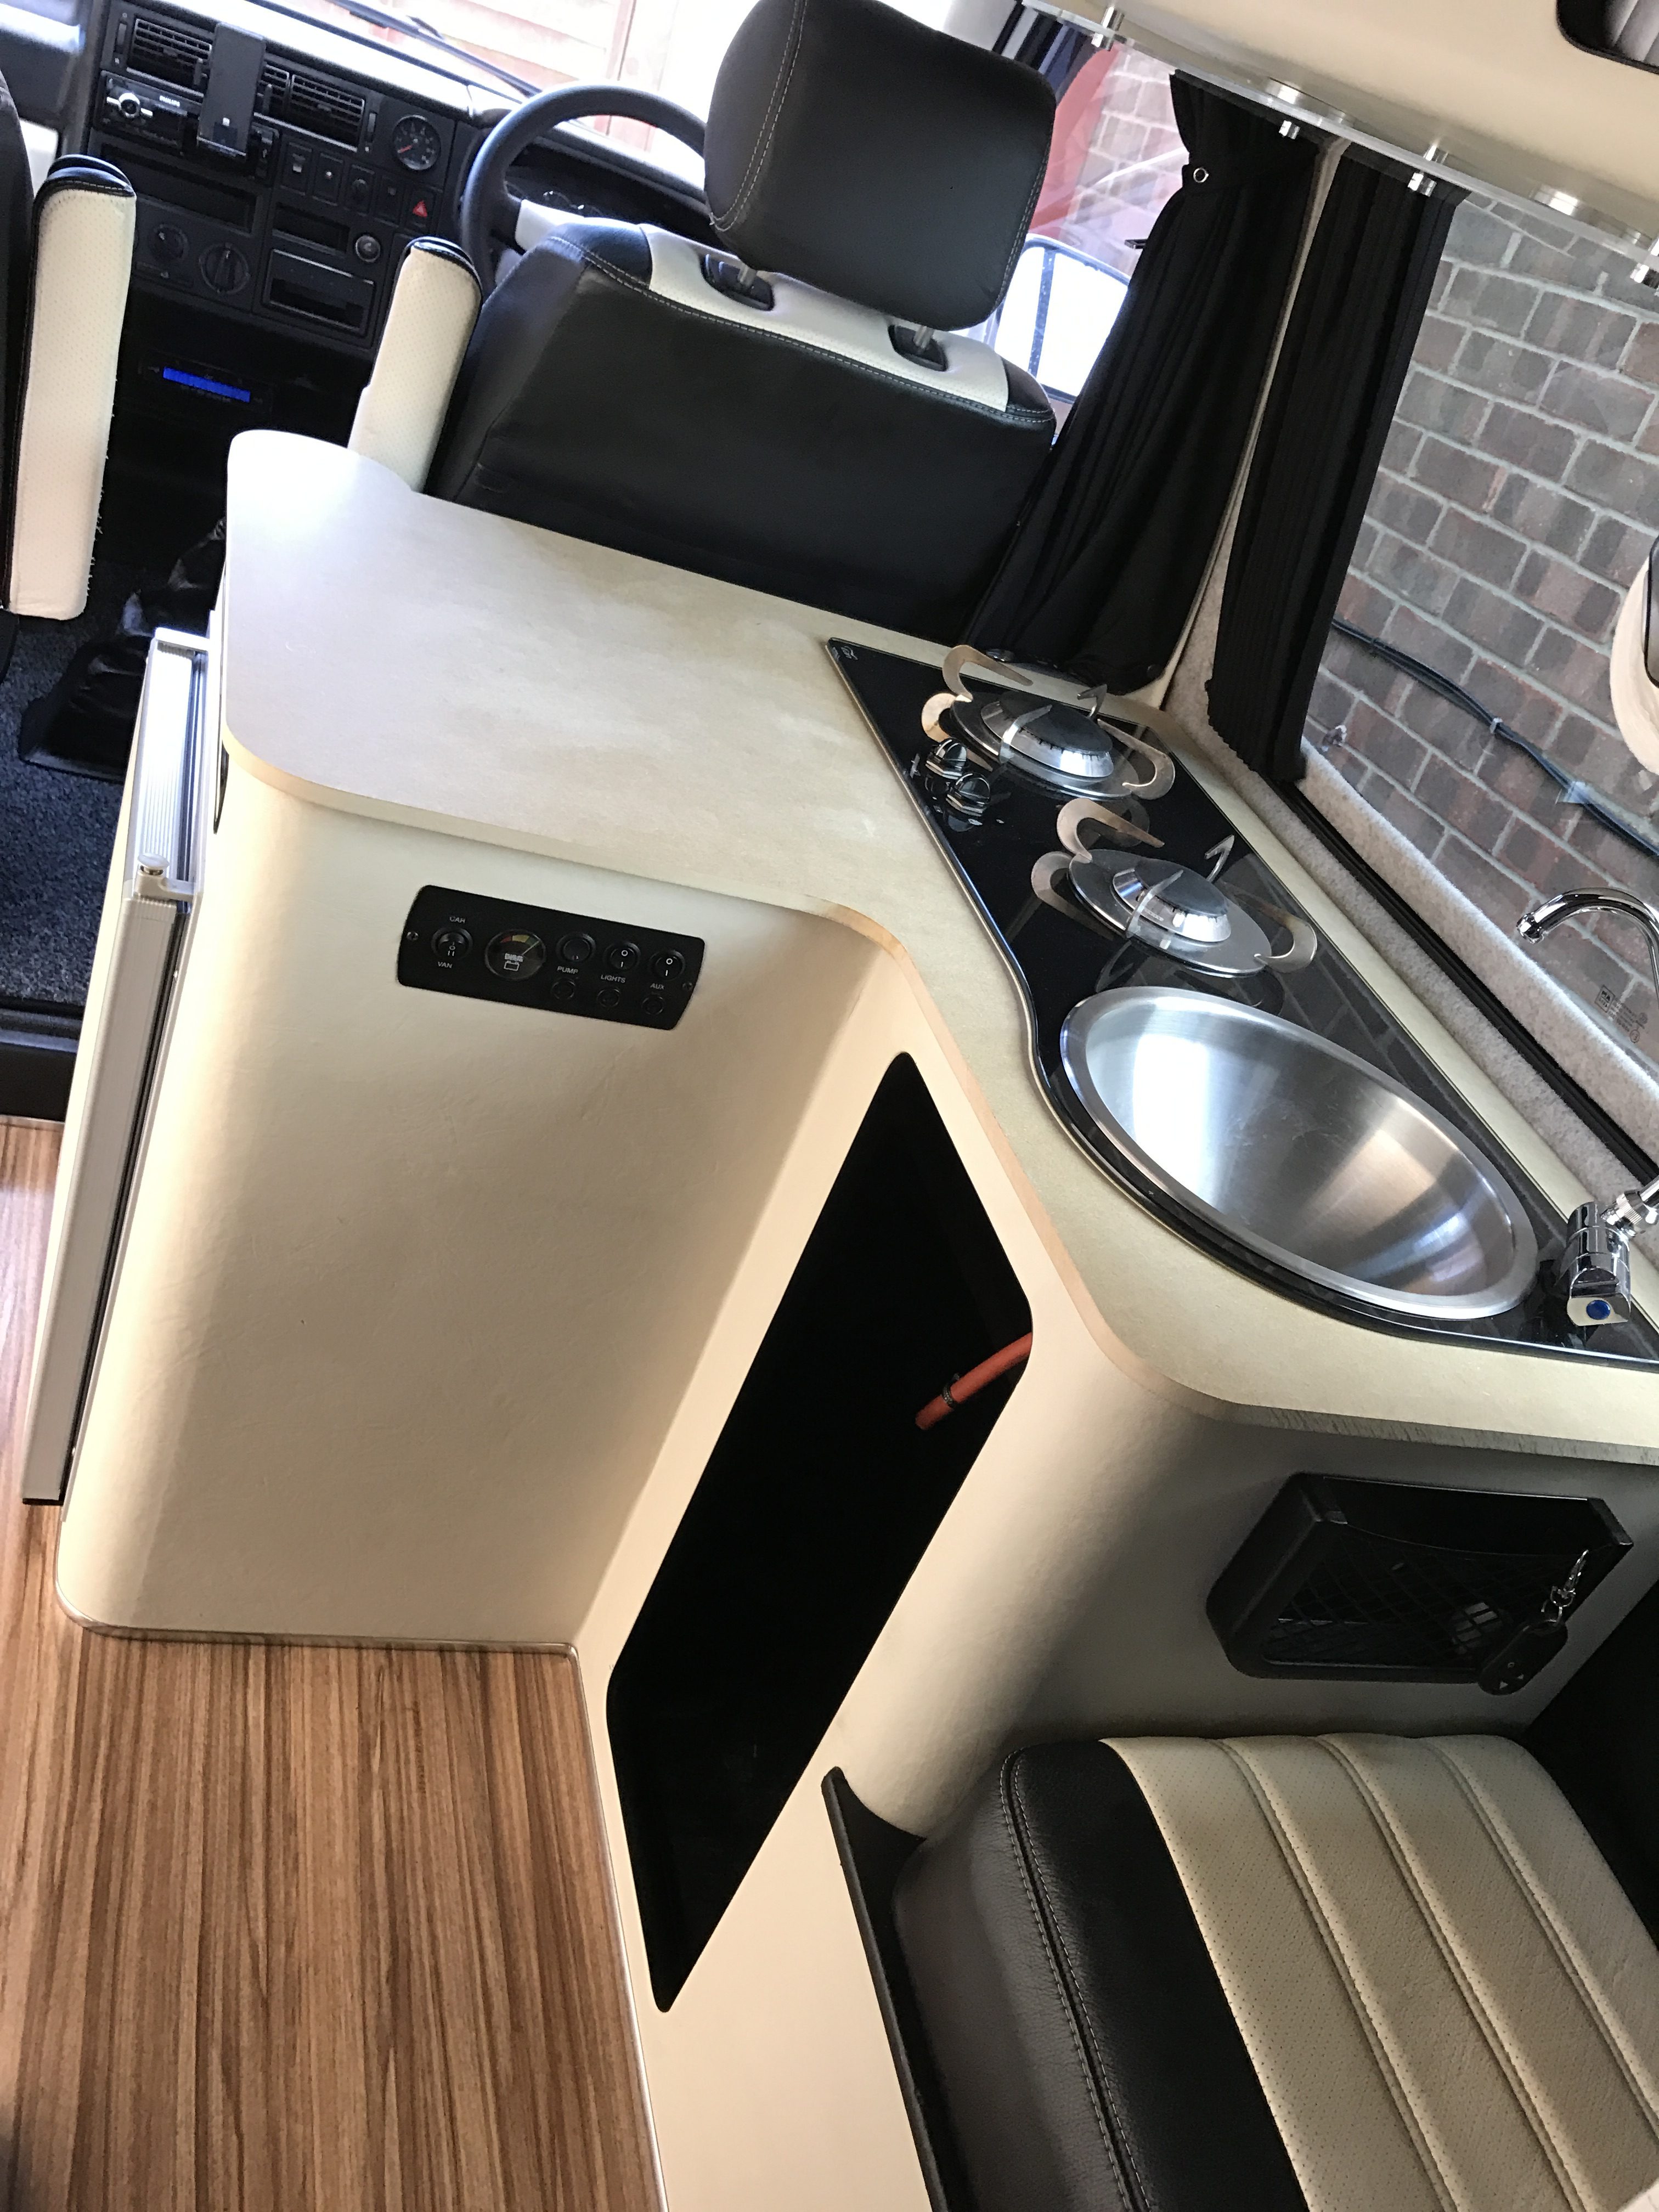
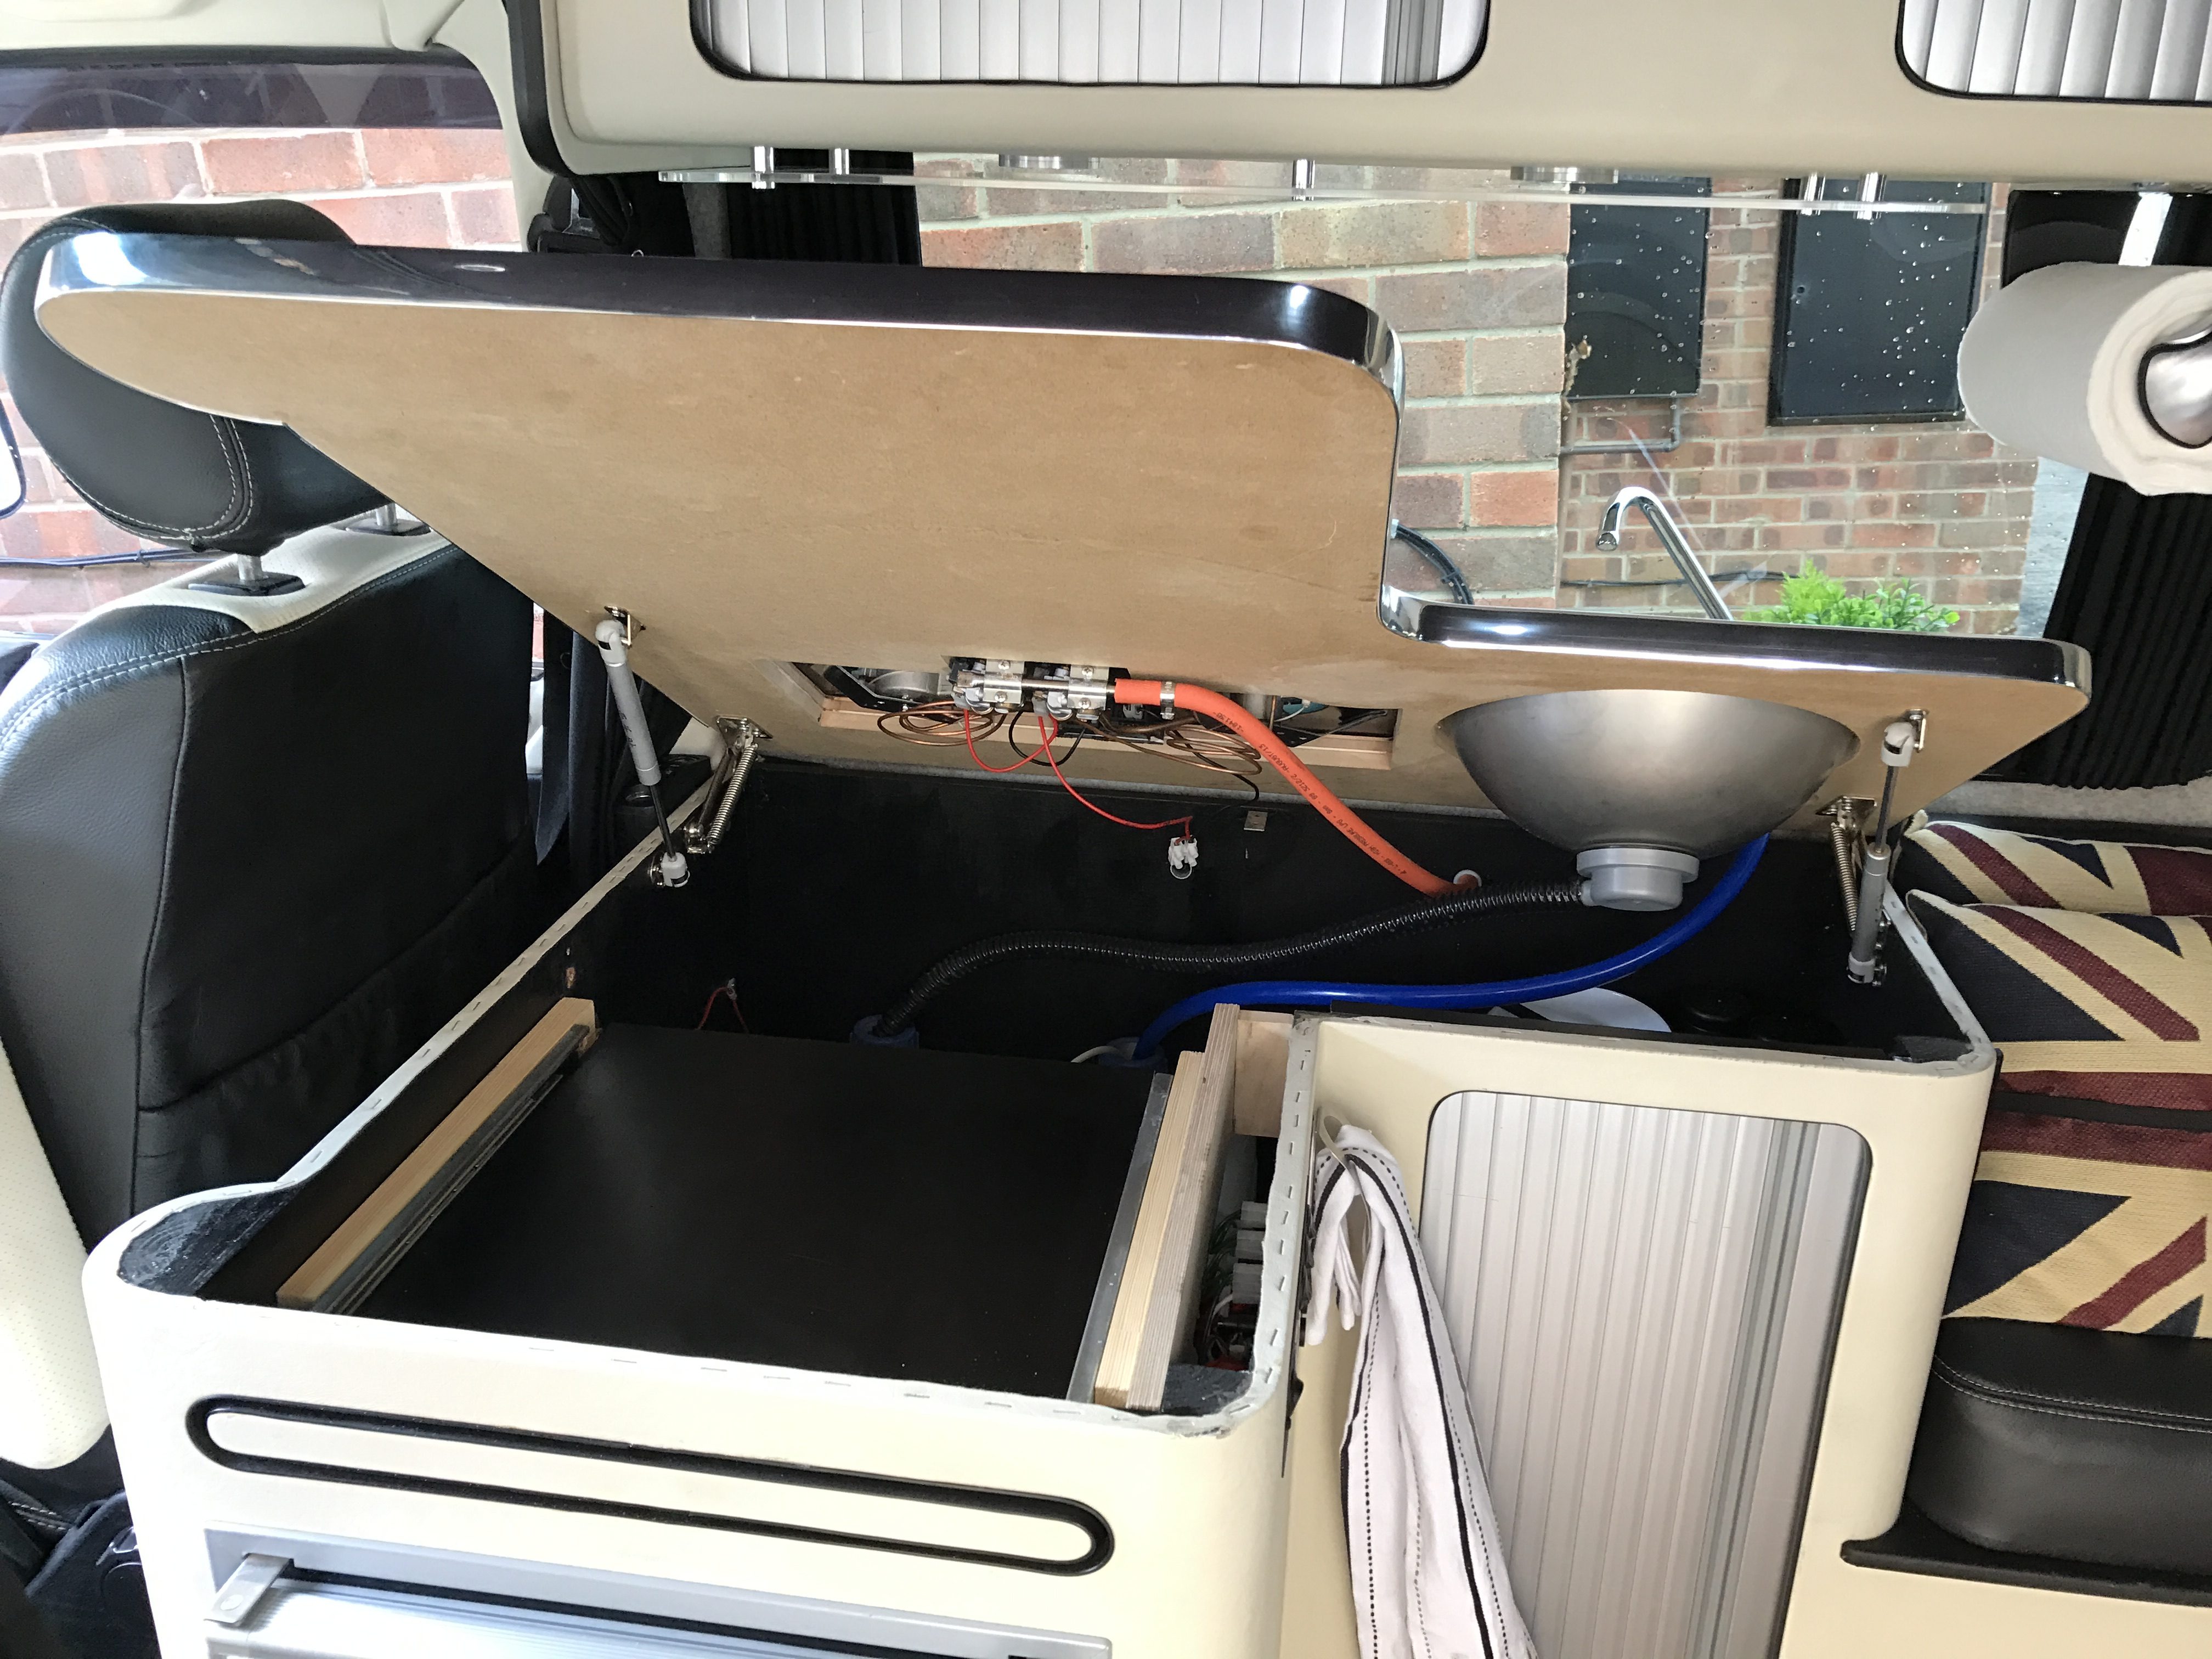
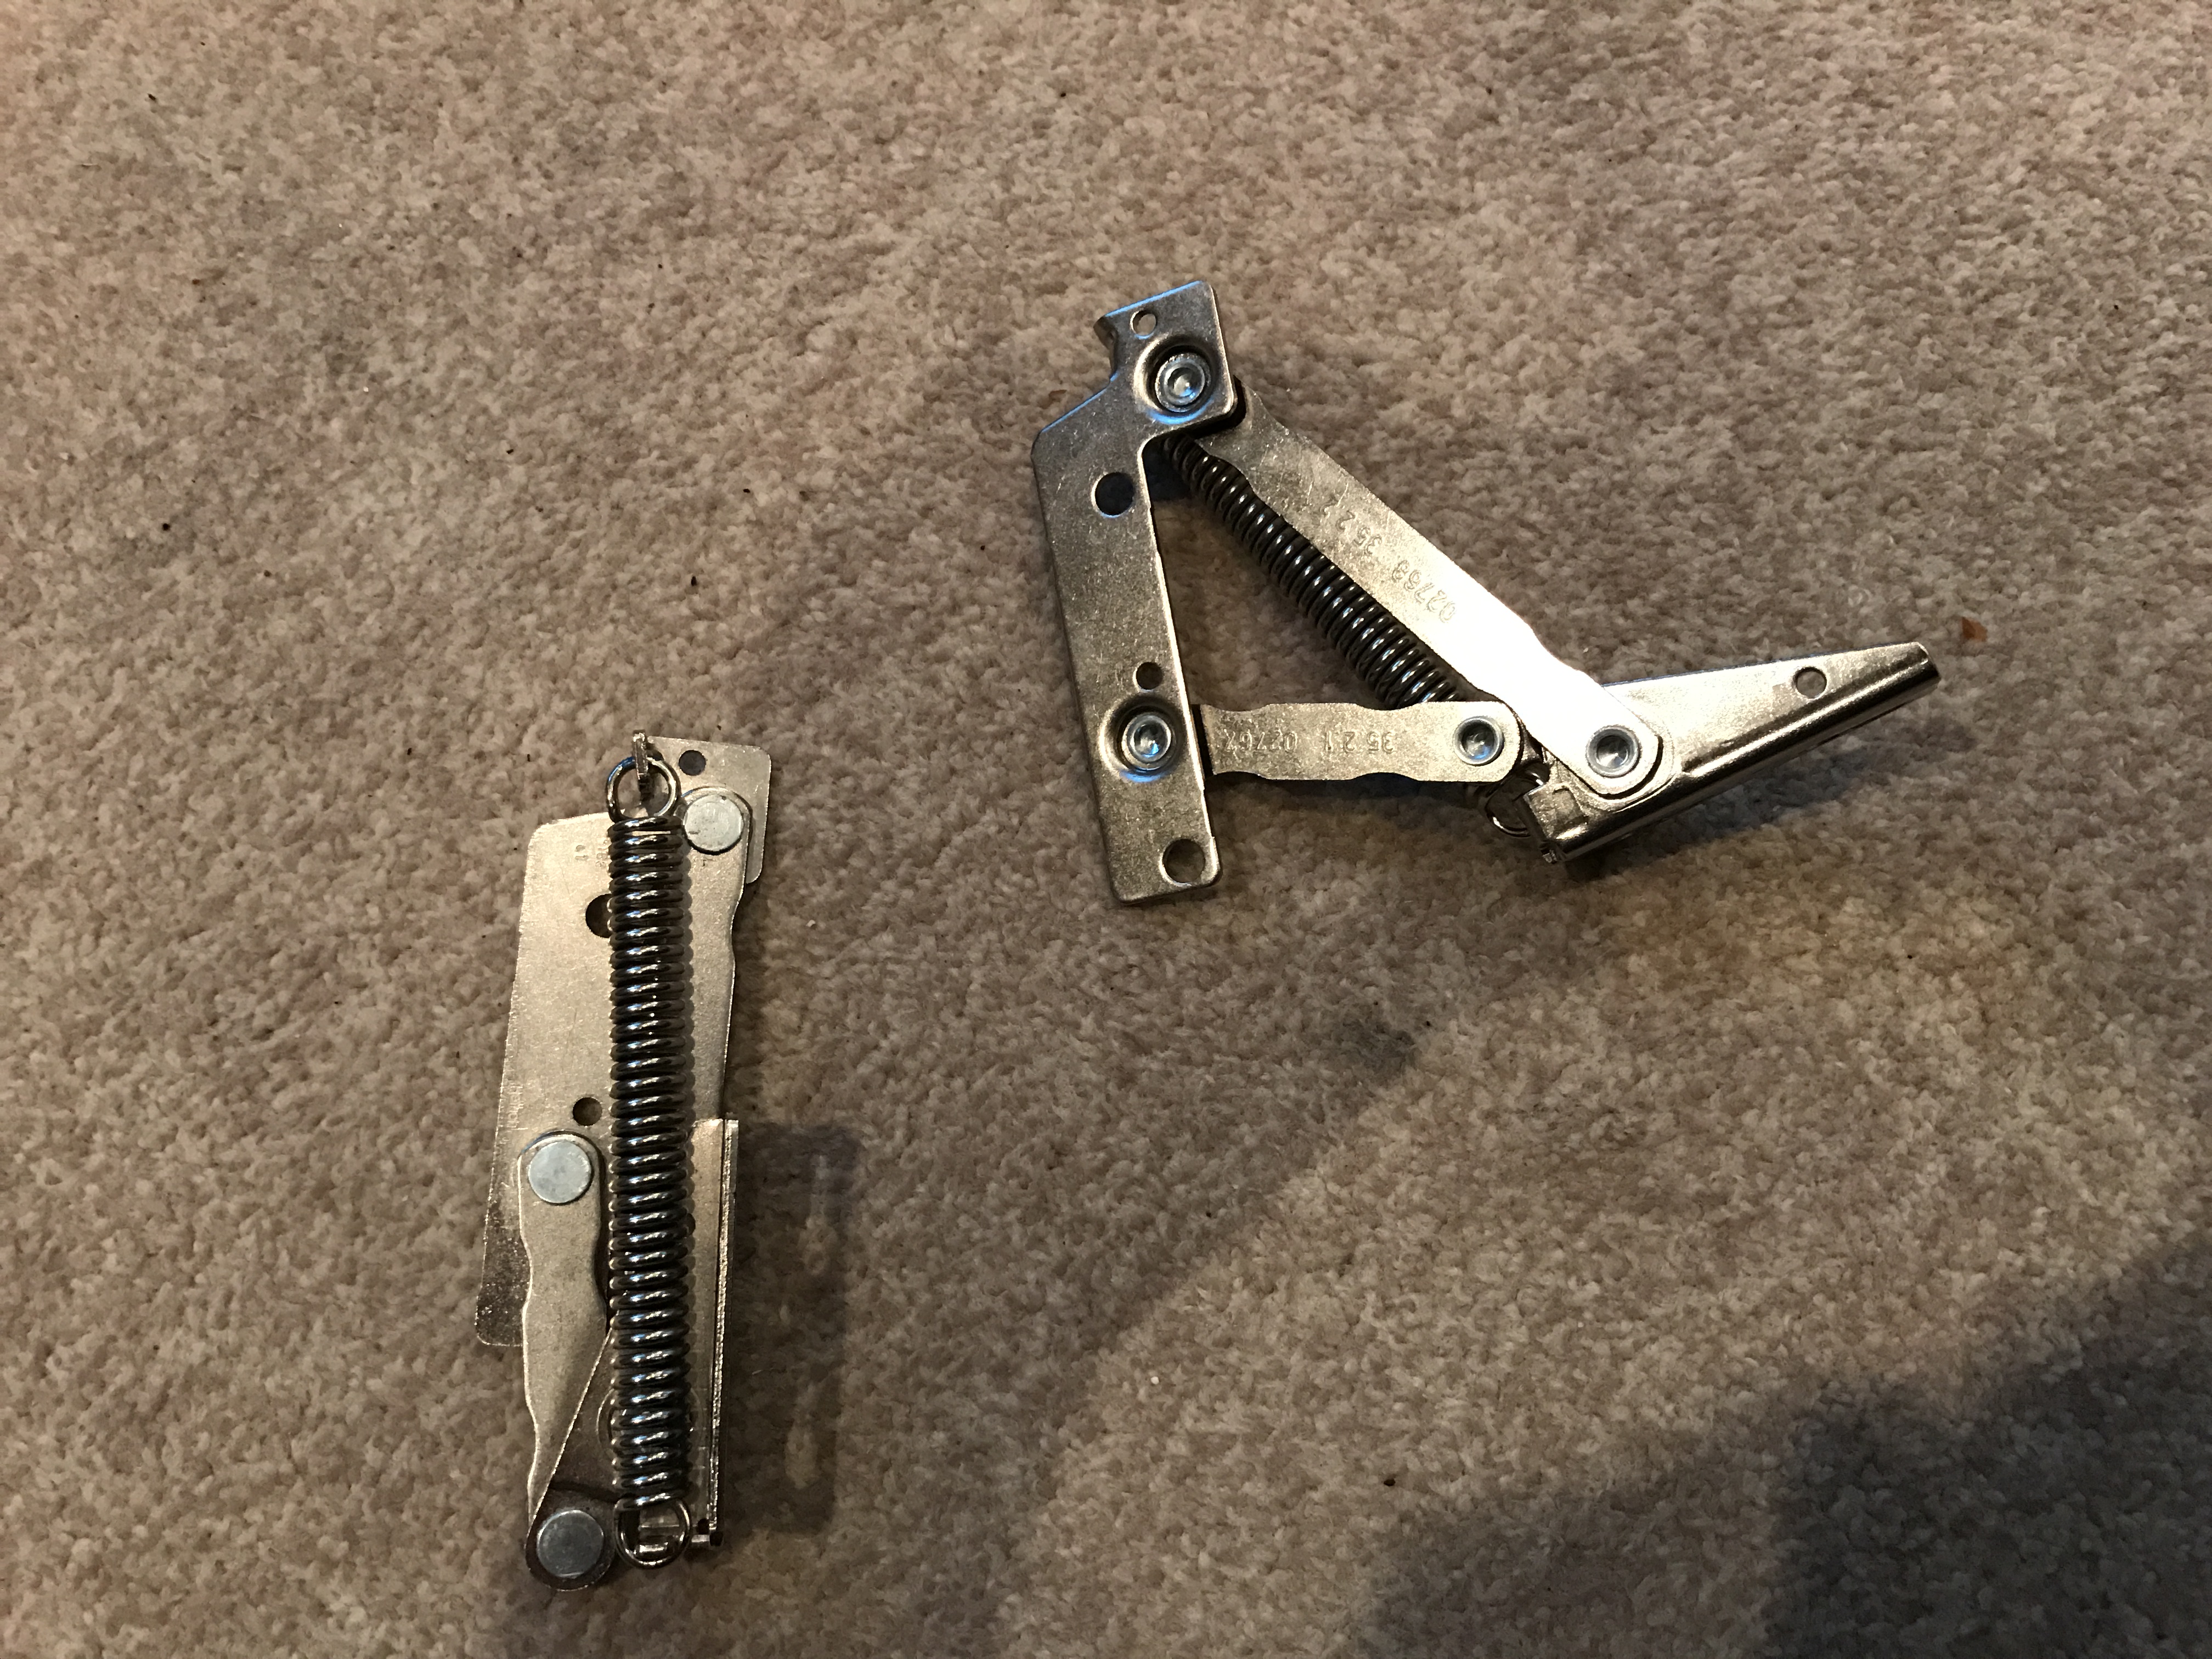
The comment below by Tim Aldiss got me thinking. Although it’s not too much trouble removing the crockery to access the water containers, I know one day I’ll end up dropping them or something so I went back to an idea I had very early on, and that was to be able to lift the worktop up to gain access. This isn’t all that straight forward though as a normal hinge would not work due to the fact the worktop has an overhang at the back. A little while back I purchased some flap hinges, these have been sitting in my box of bits and pieces I call my “box of delights” as it’s full of things I know I will get around to using one day. Also in there was a couple of gas struts which I was originally going to use for the under bed storage.
Fortunately this all worked out exactly as I’d hoped and I can now access the water containers and everything else for that matter, without having to remove things.


I may have missed it from a previous post but can I ask how you get the water containers out?
I don’t think I did mention it actually. It does involve removing the crockery first, but that just lifts off in one piece from hooks, then the containers can be accessed through the opening. The bottom part where the glasses are stay in place.
Hey Tim, thanks for prompting me to go back on an idea I had early on, fortunately it worked and I have now got better access to the water containers (see update in article)
This looks beautiful. Tell me, where do you keep your gas bottle? Looks like it’s outside? Does that and the flexible pipe etc meet the gas regs? Mine does not currently, and although I’m sure it’s perfectly safe I’m looking for alternatives…
Only just catching up on the website and noticed this comment. The gas bottle is stored under the bench, it is in its own compartment with a drop-out vent. It is not in a metal locker, however, this is perfectly legal, as long as the vehicle is not hired out and there’s no chance of that 🙂