It’s been a little while since I first put this unit together so had to track back and see if I still had any photo’s, fortunately there’s probably enough to get the idea on how this was done.
Firstly, to explain why I have made a unit like this, my van has a 3/4 rock and roll bed with a cushioned bench beside it, therefore, when the bed is made I have a full width bed, except for just a small section at the bottom where the sink is. Therefore, instead of building a unit from the floor to the roof I wanted to implement a method which will give me more storage but not compromise the full width bed so the idea of a locker style system seemed to work.
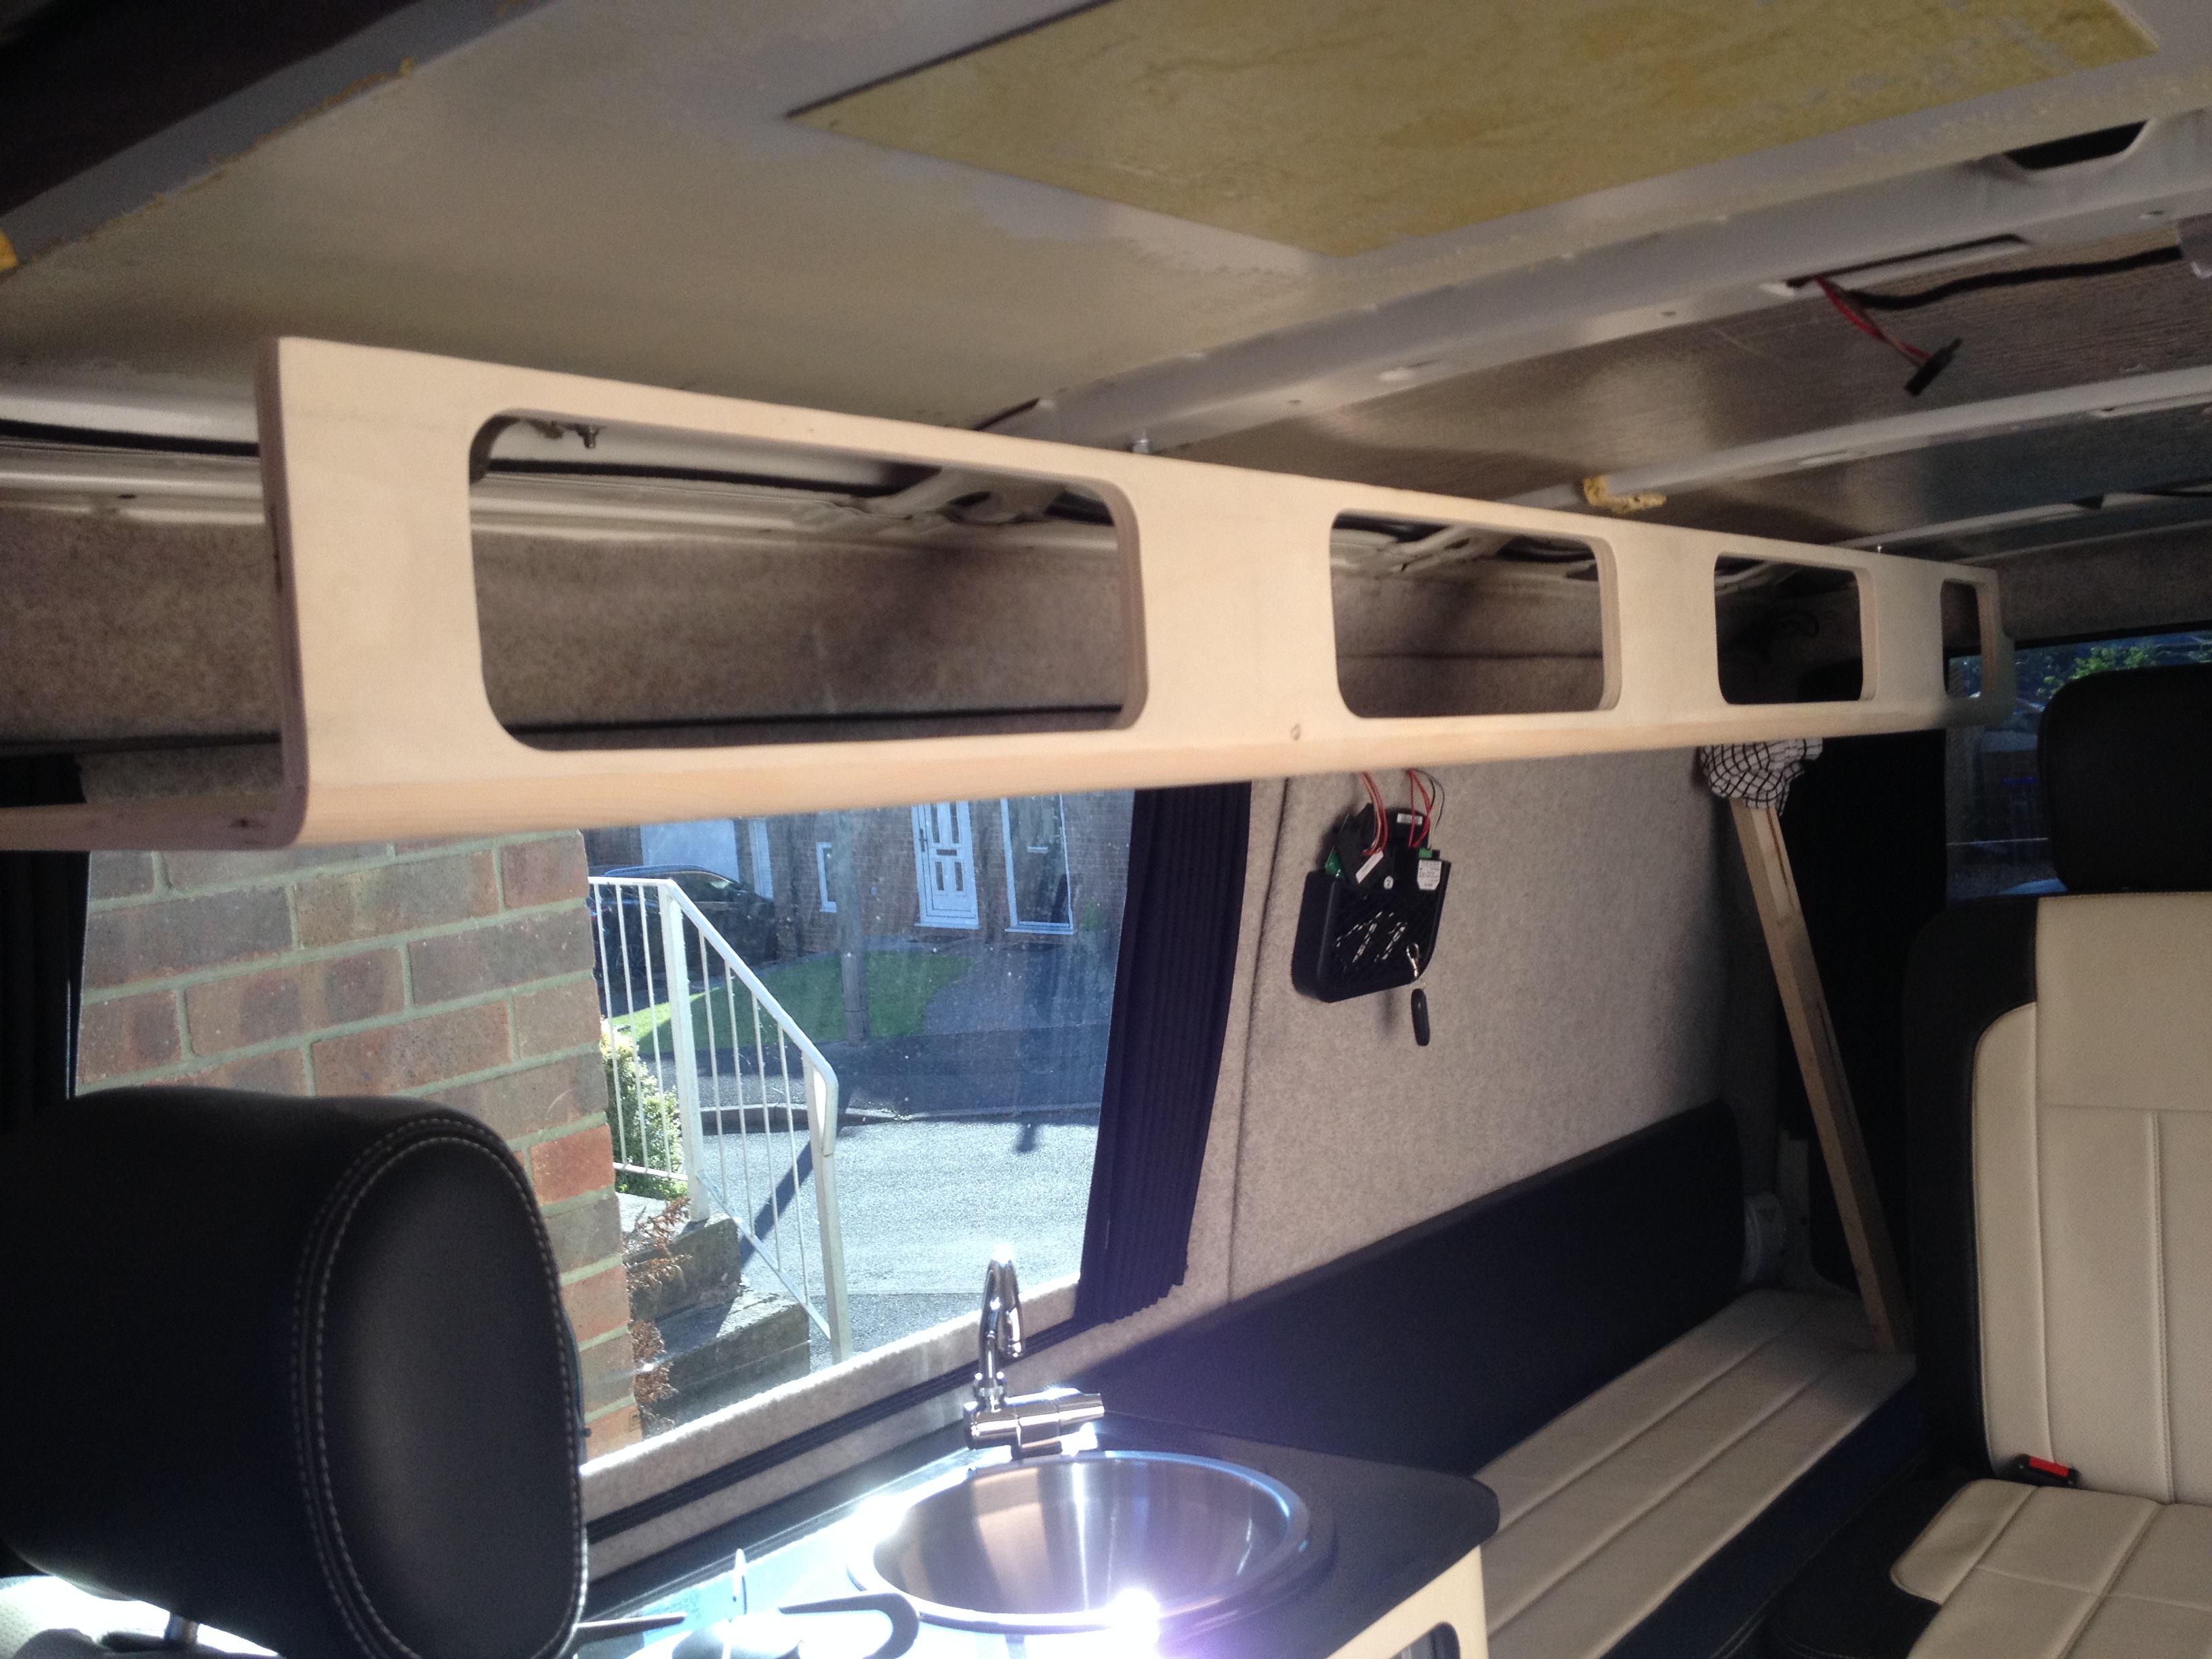
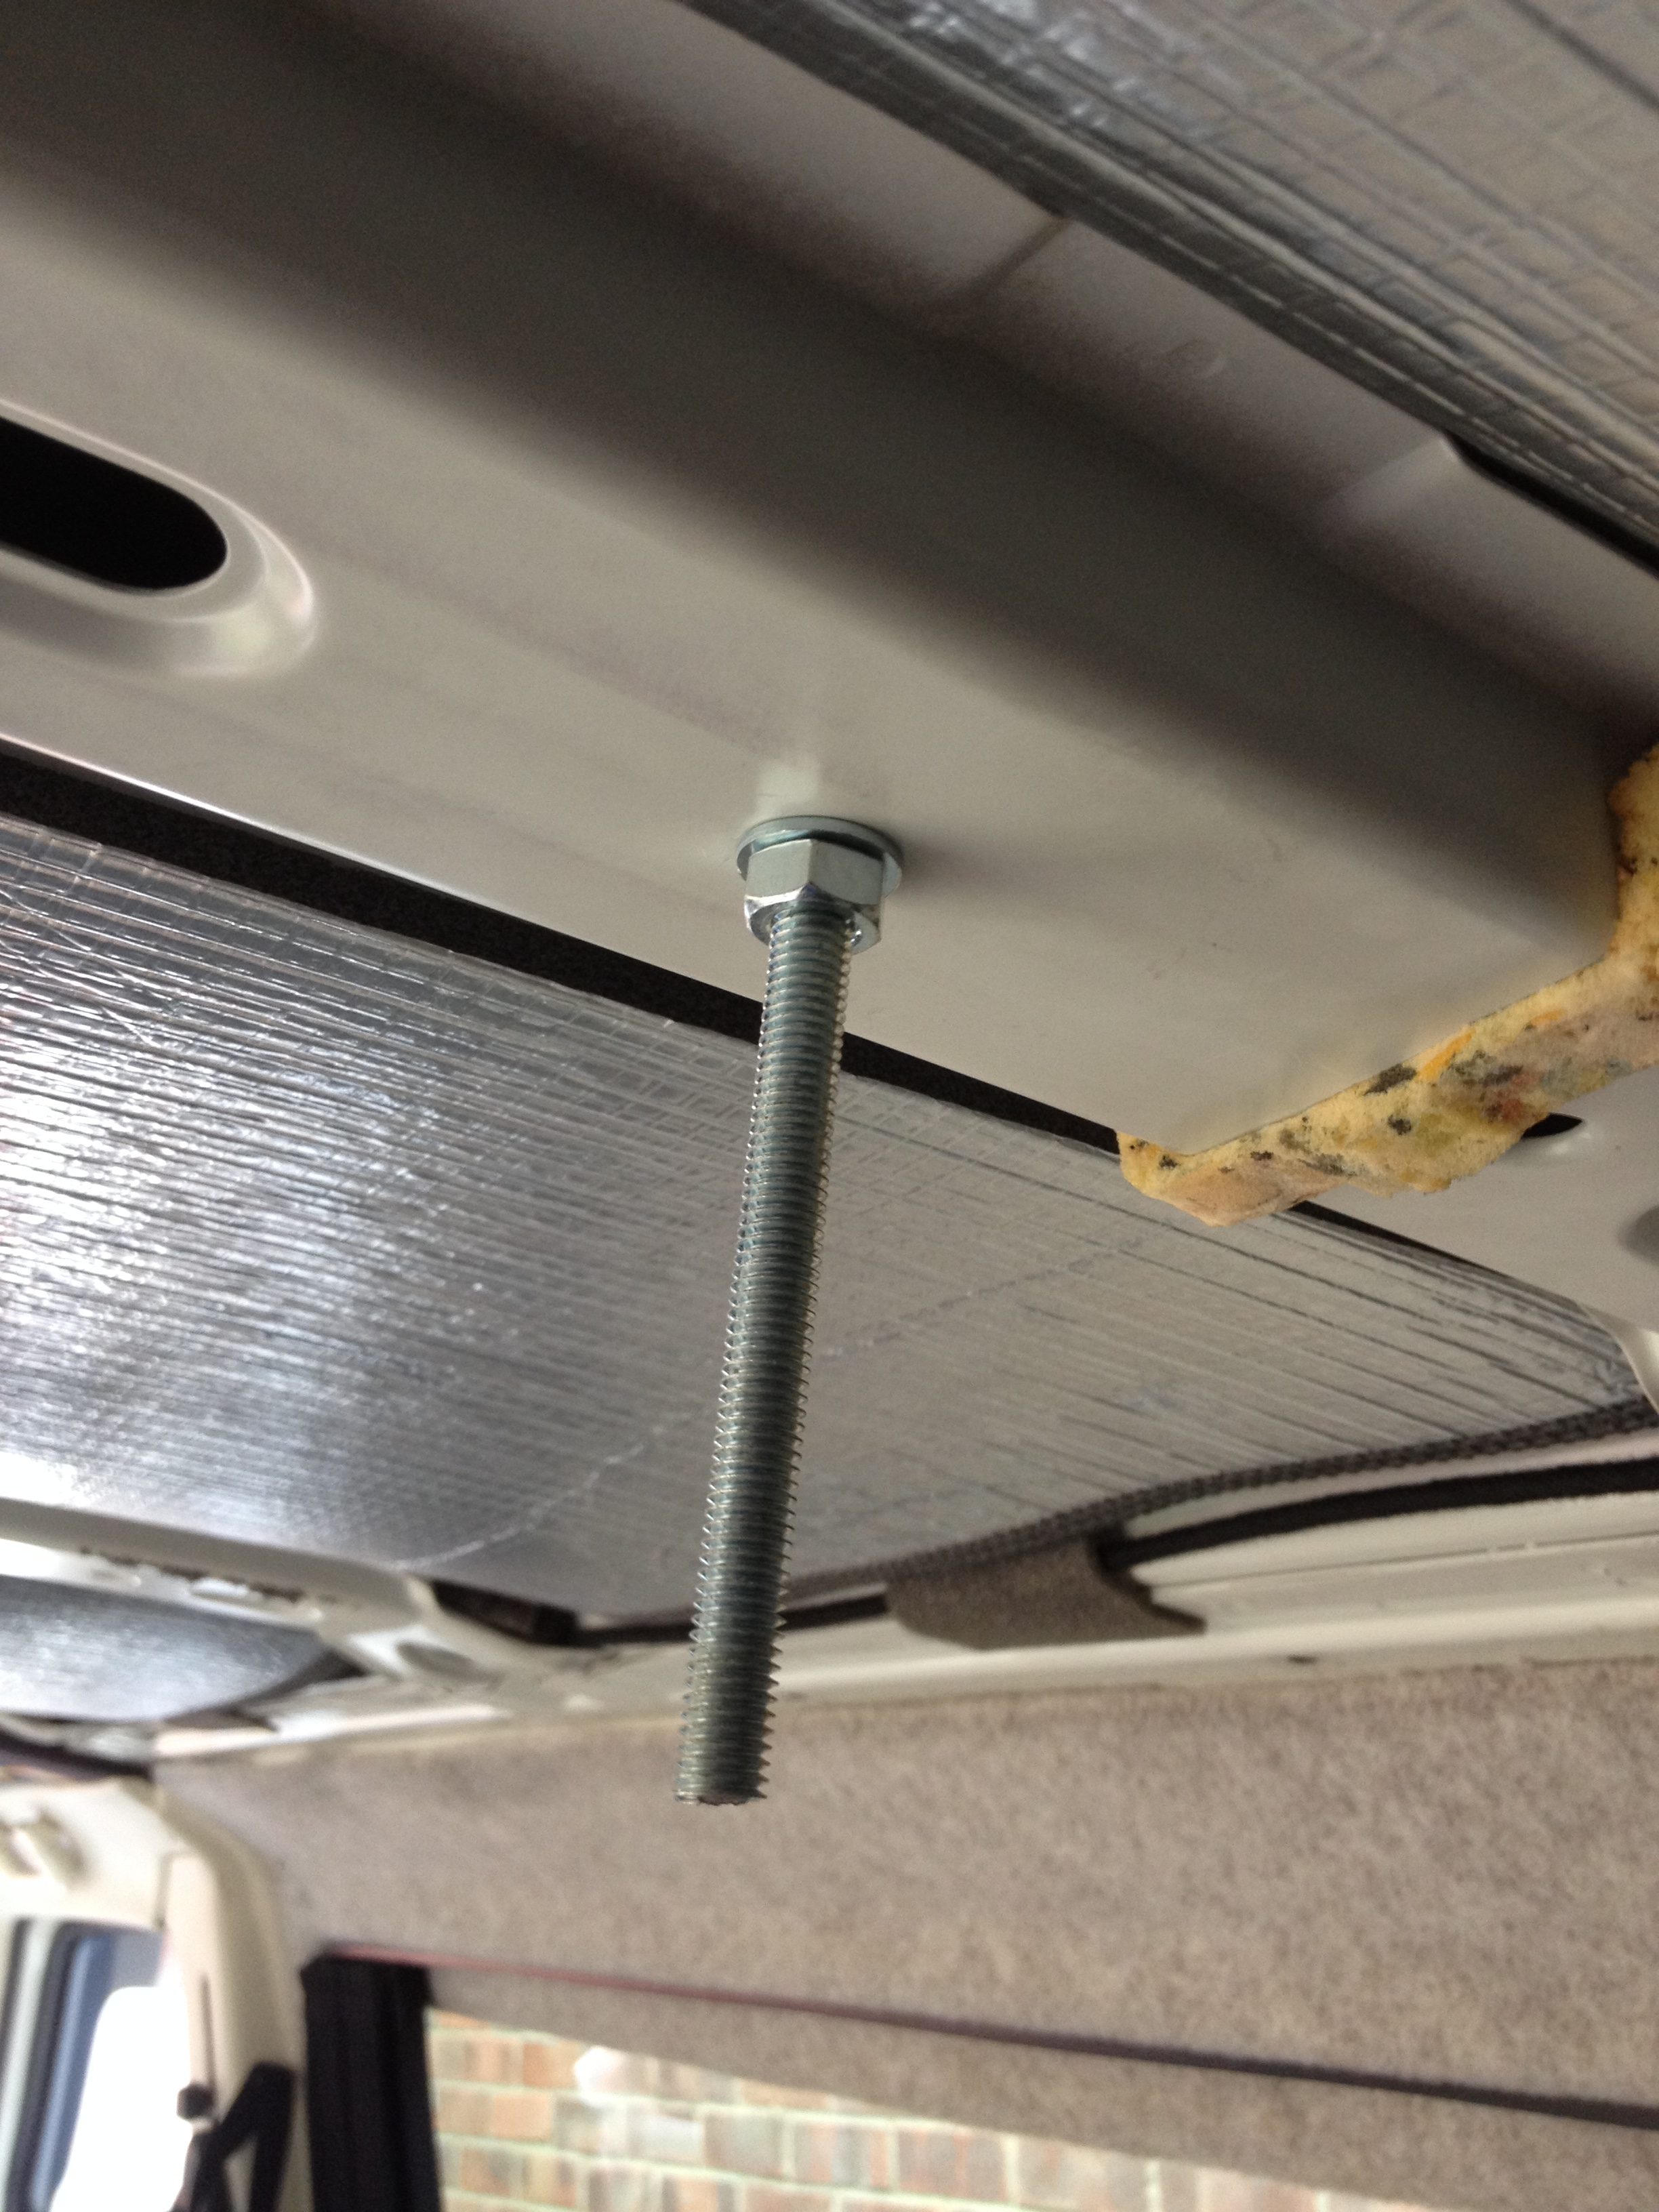
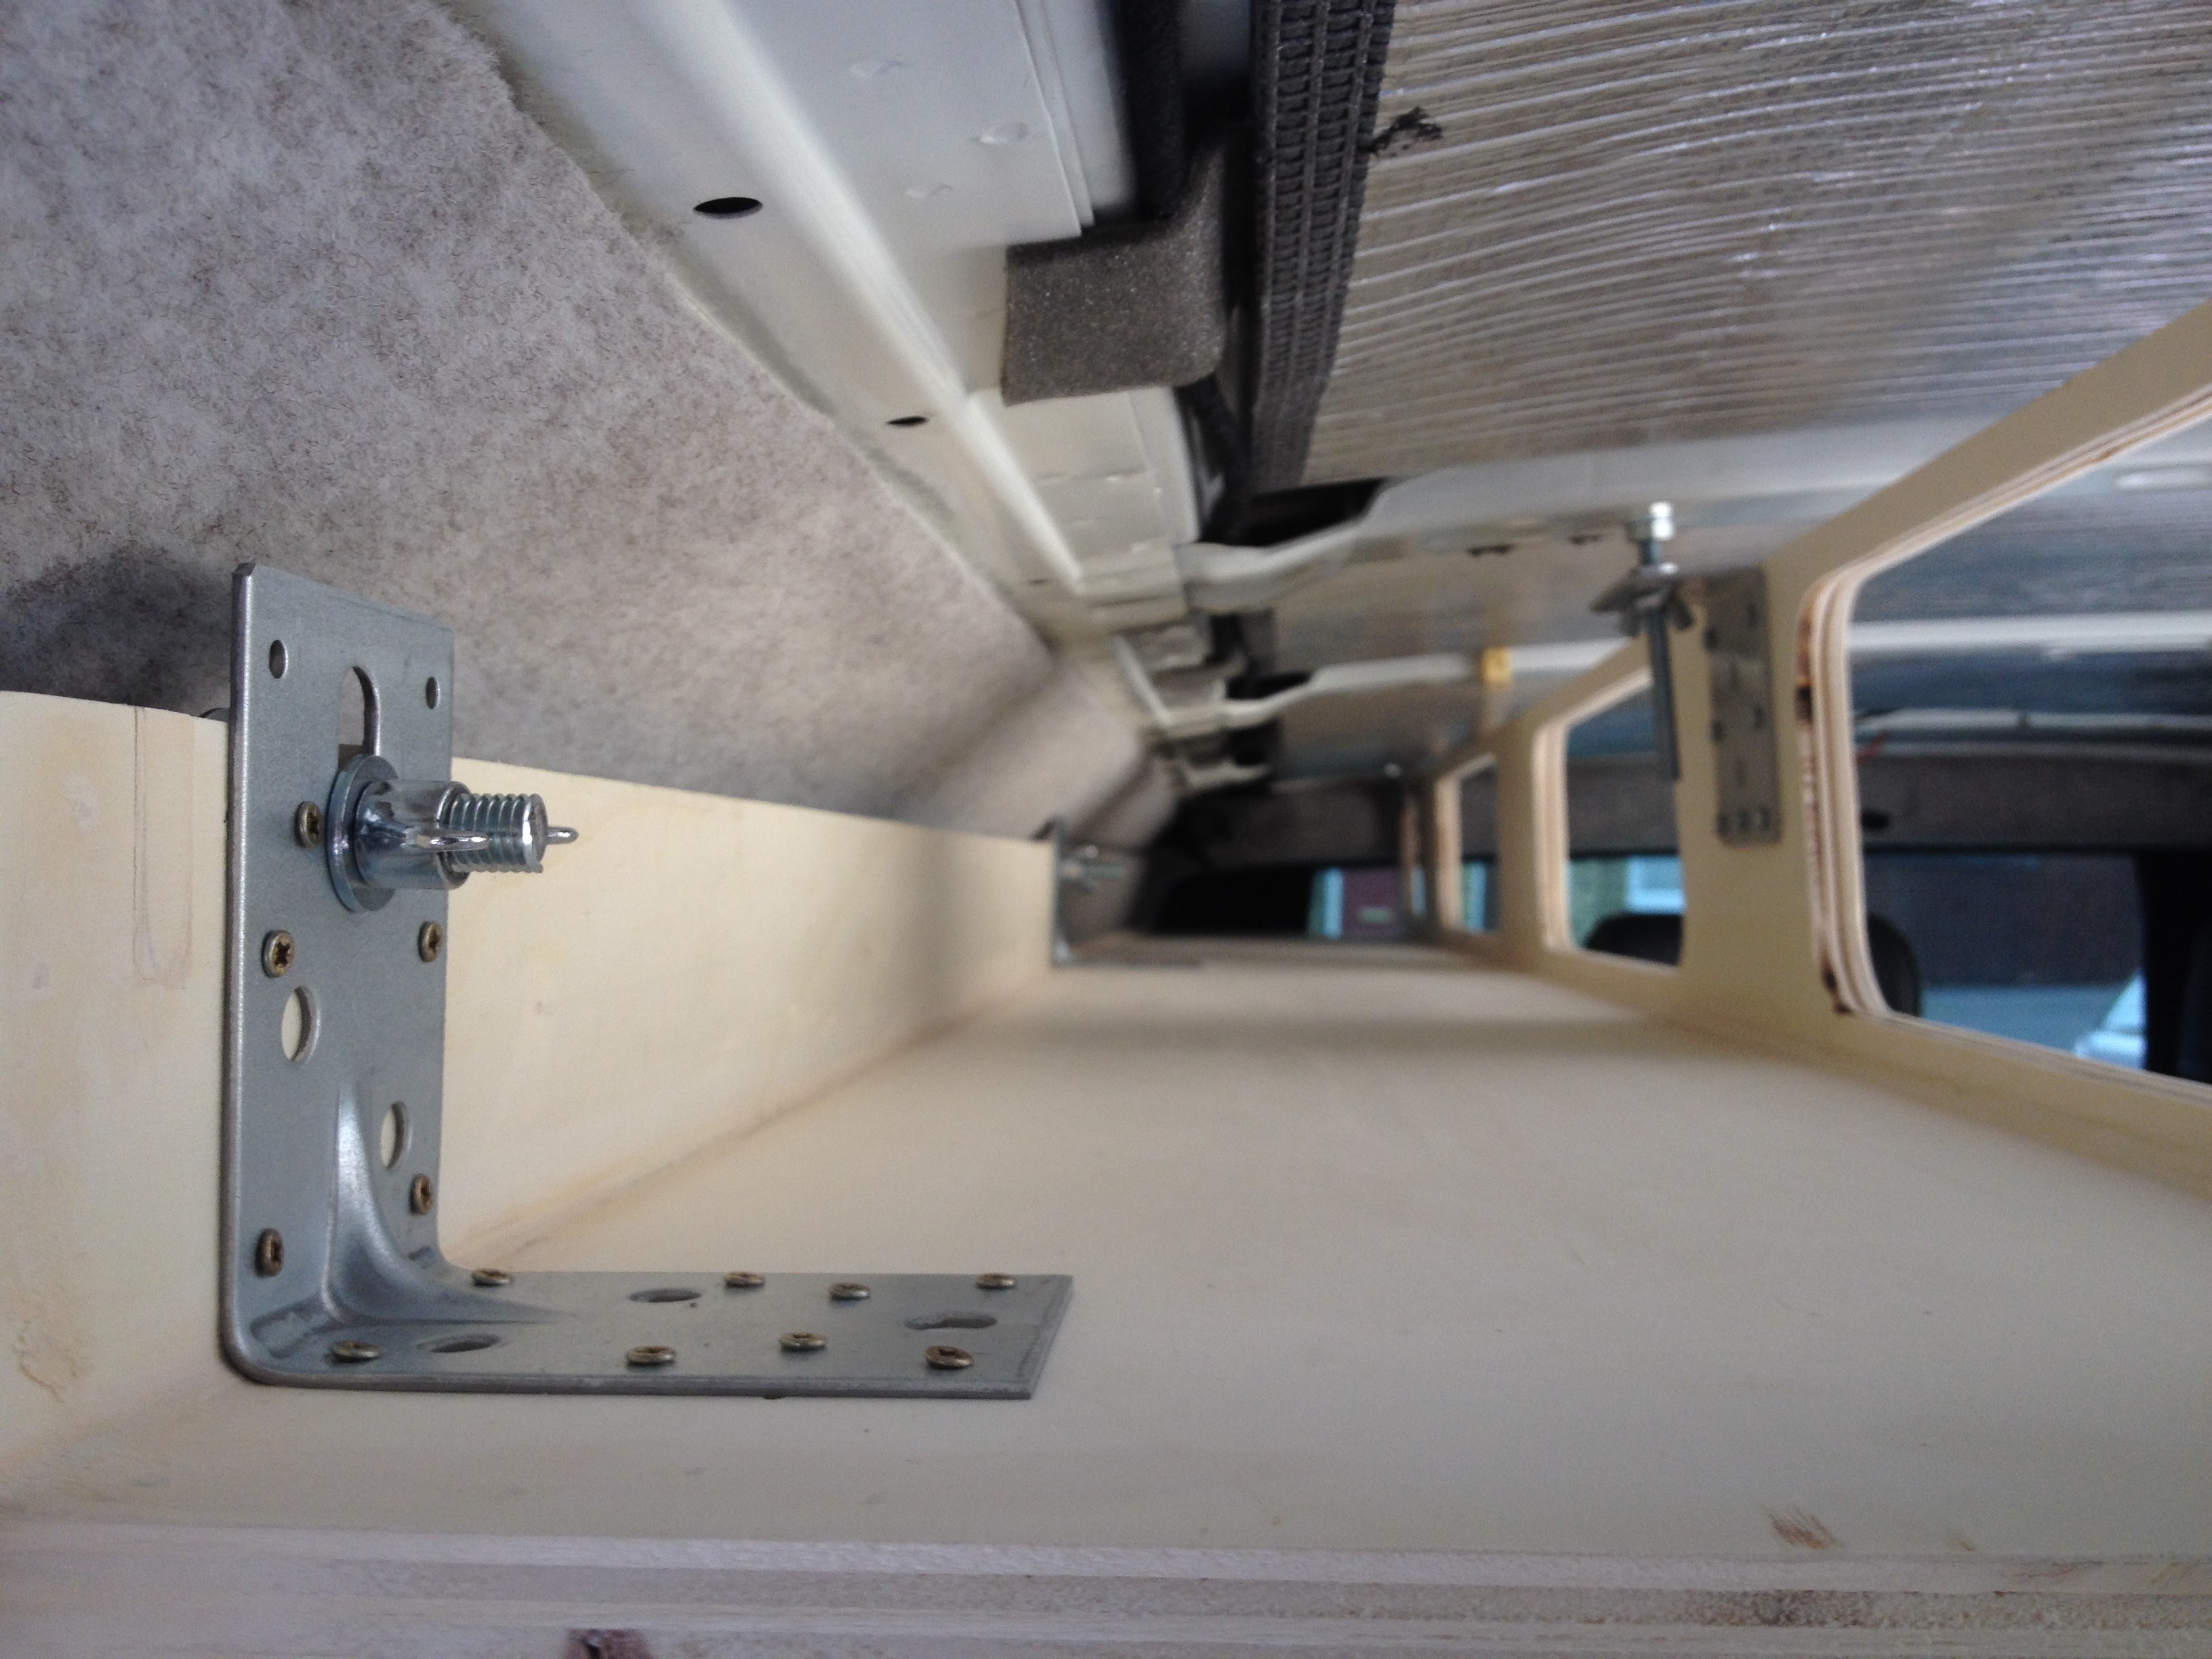
Anybody thinking of doing something similar will have to bear in mind that this would need to be modified if you have a pop-top roof as it uses the strengthening struts in the roof to attach to.
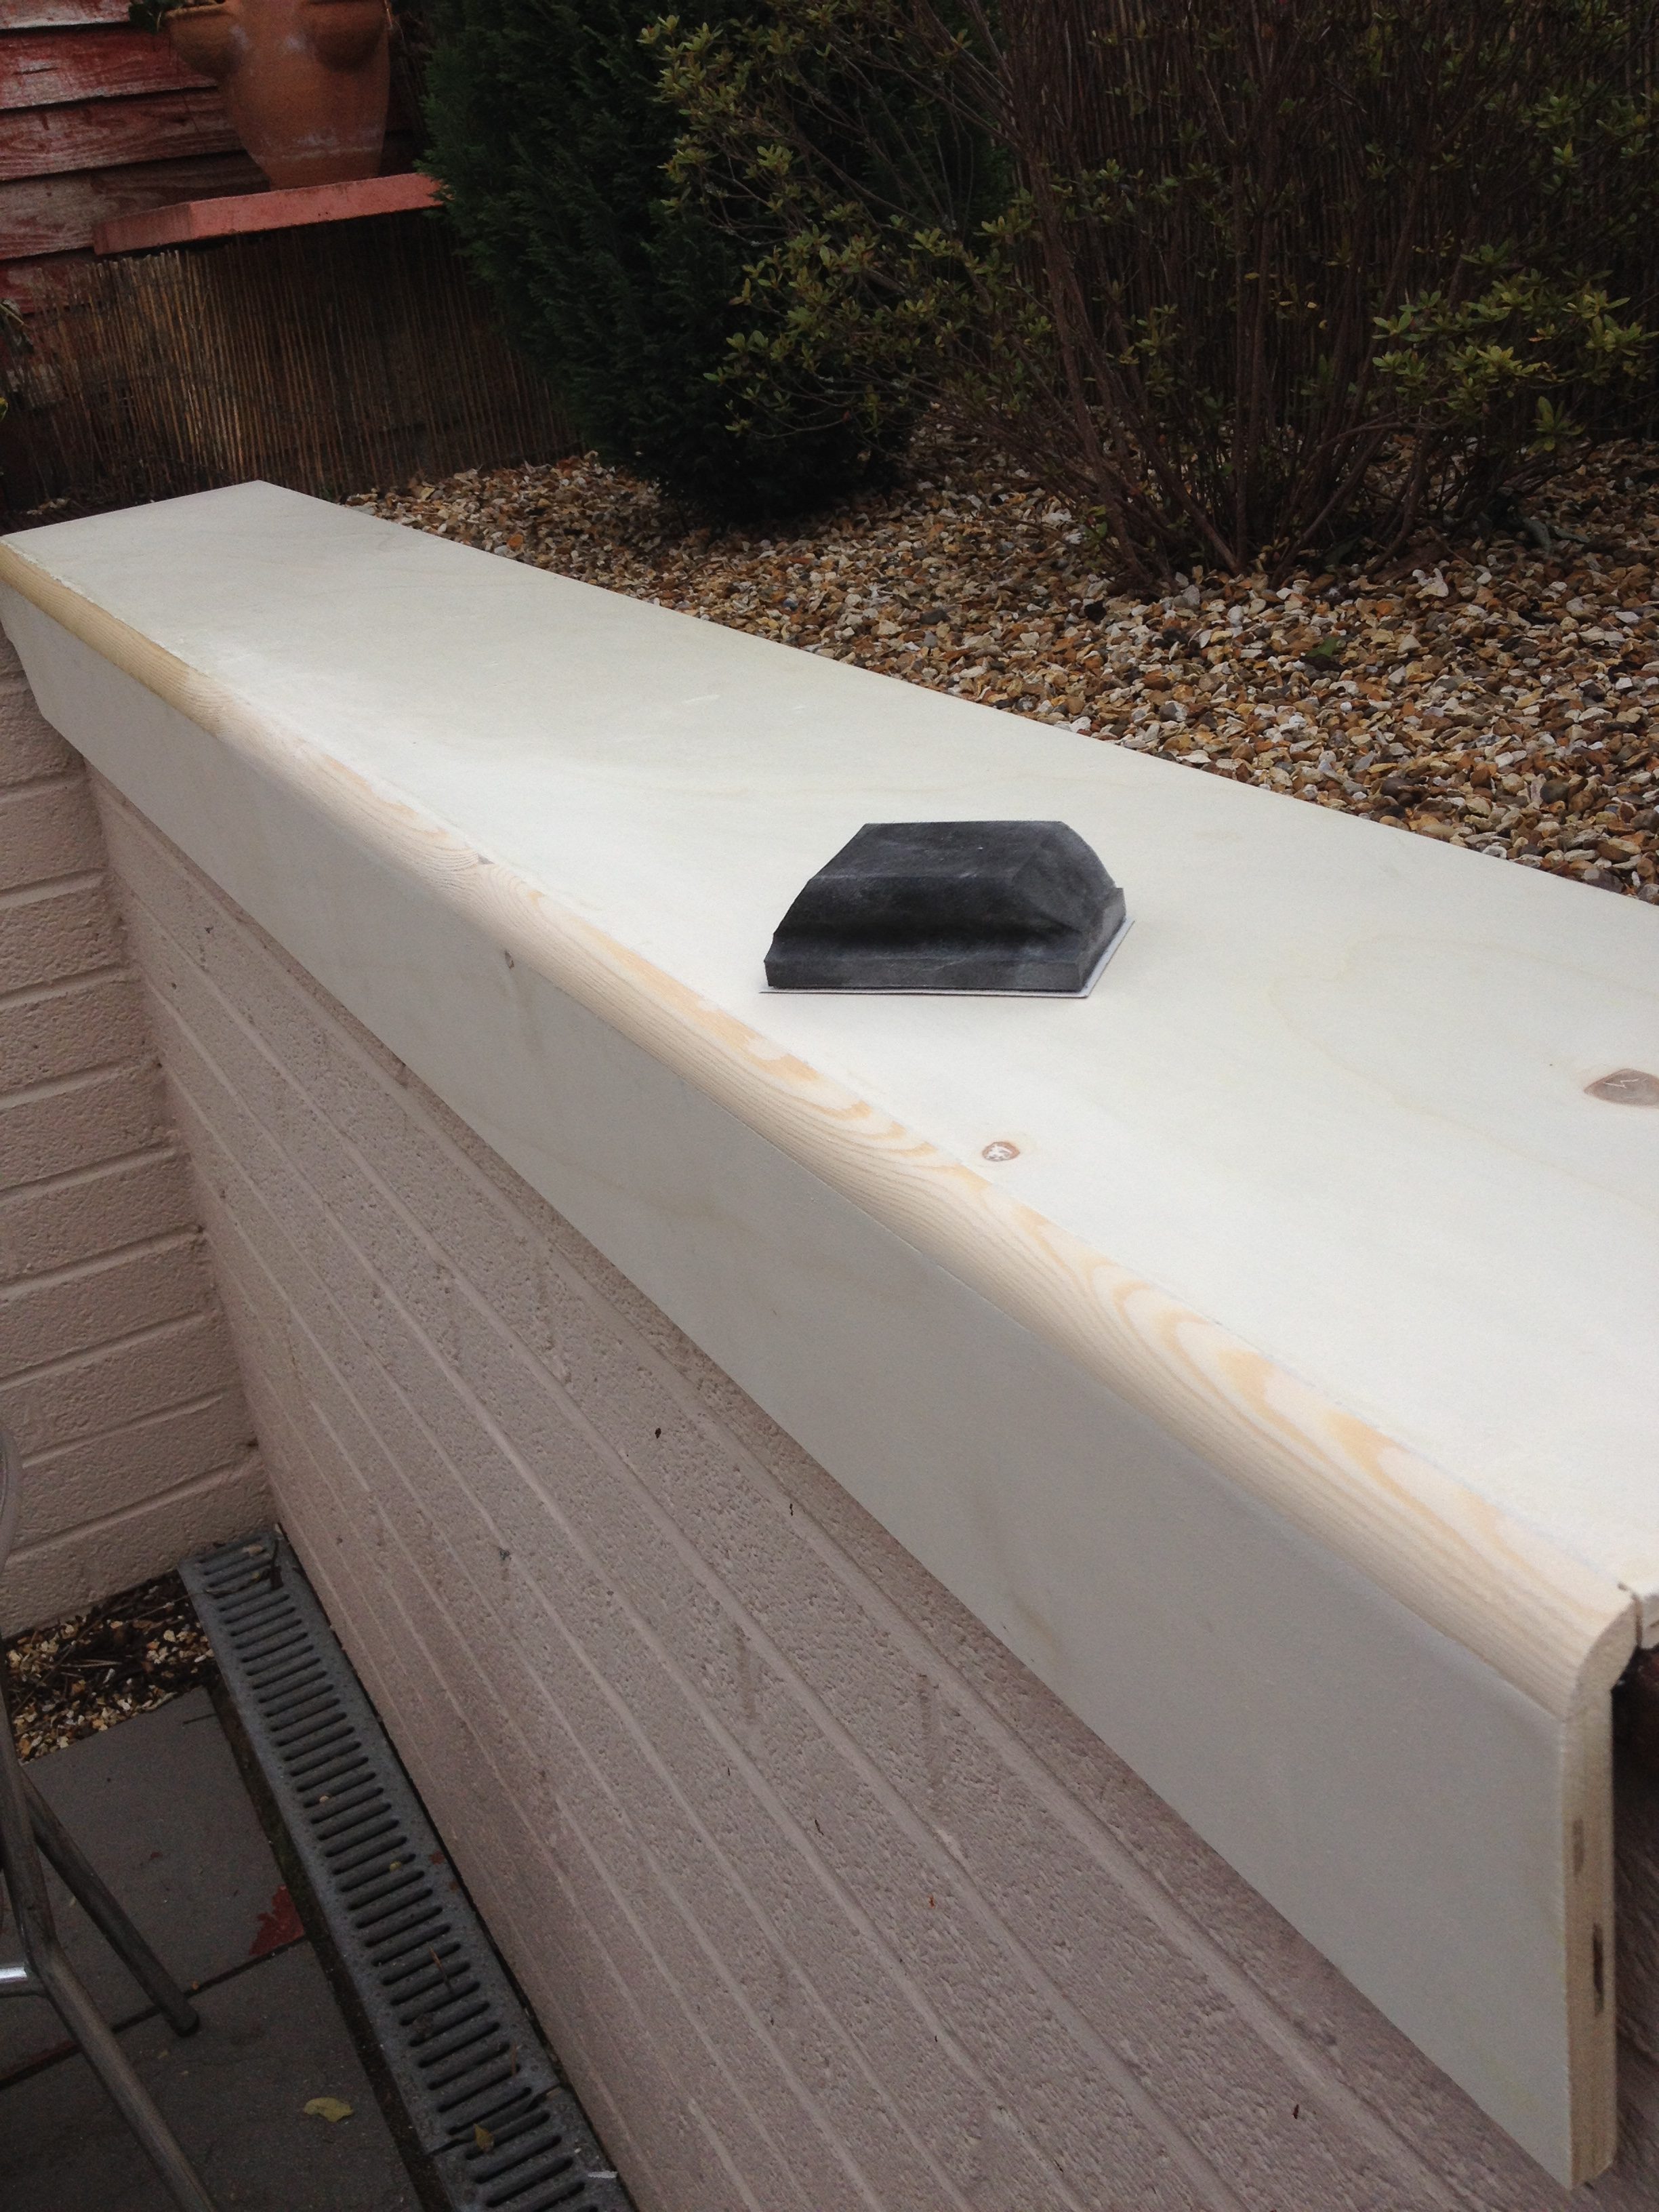
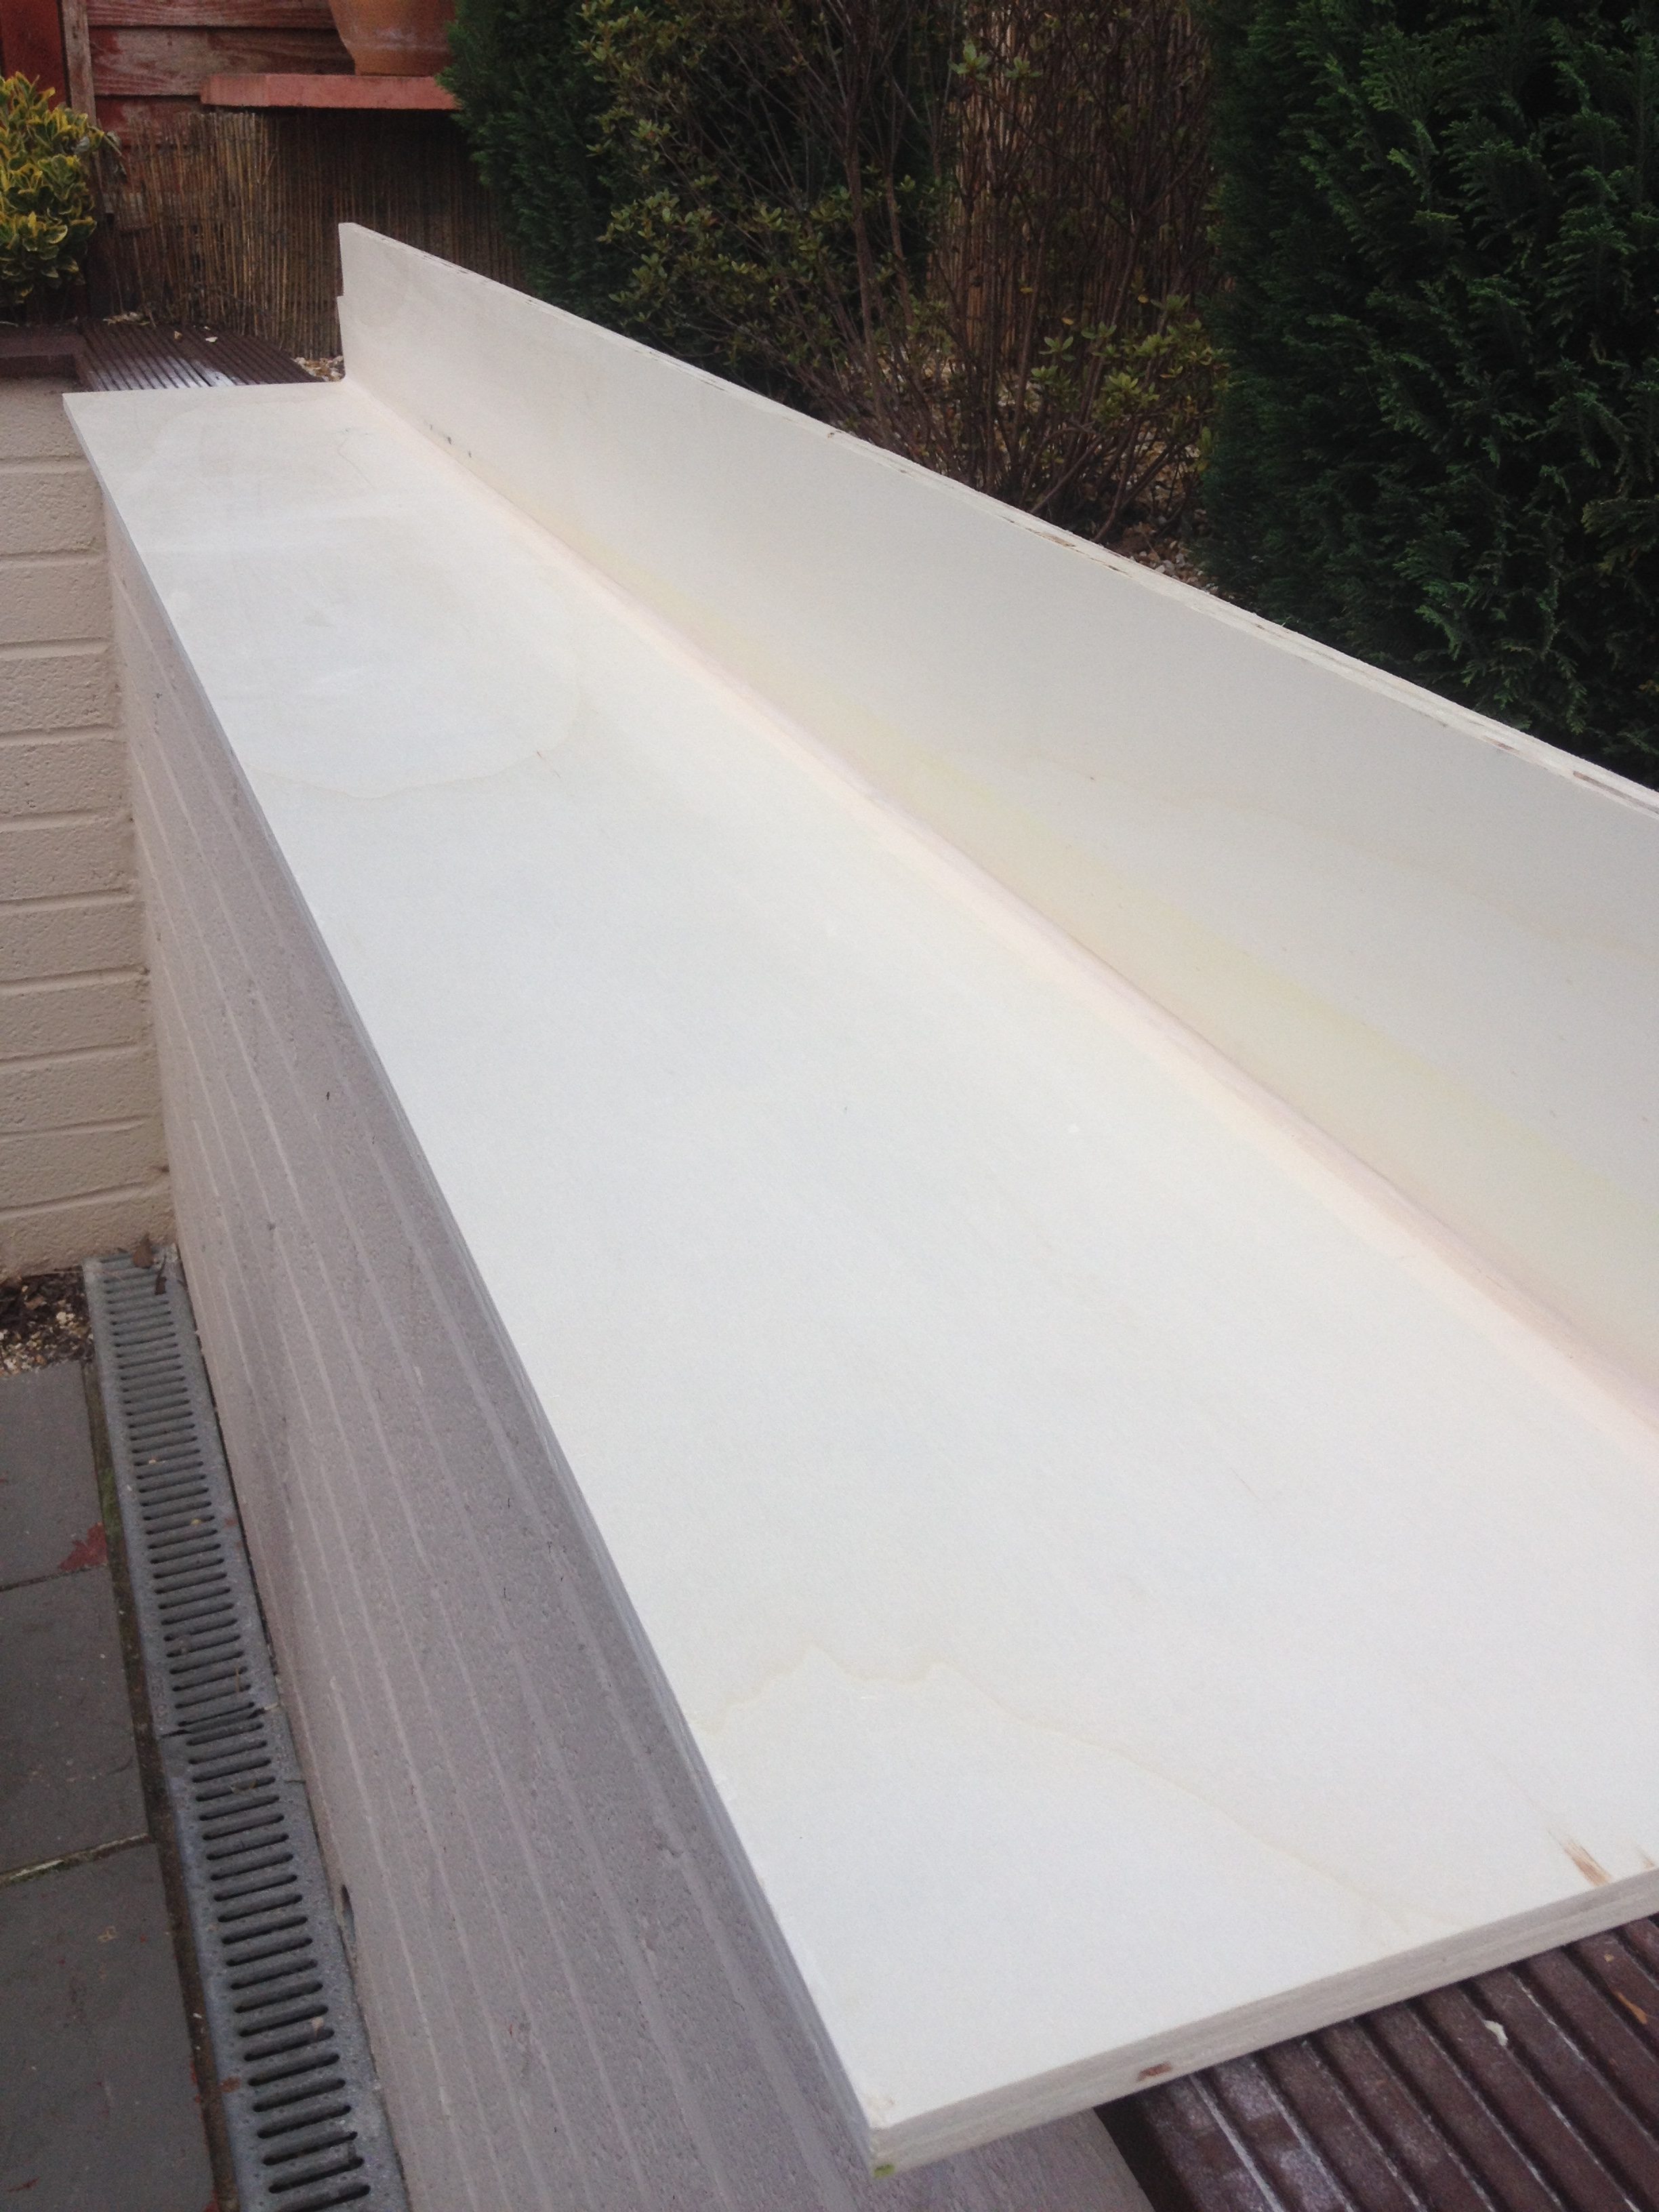
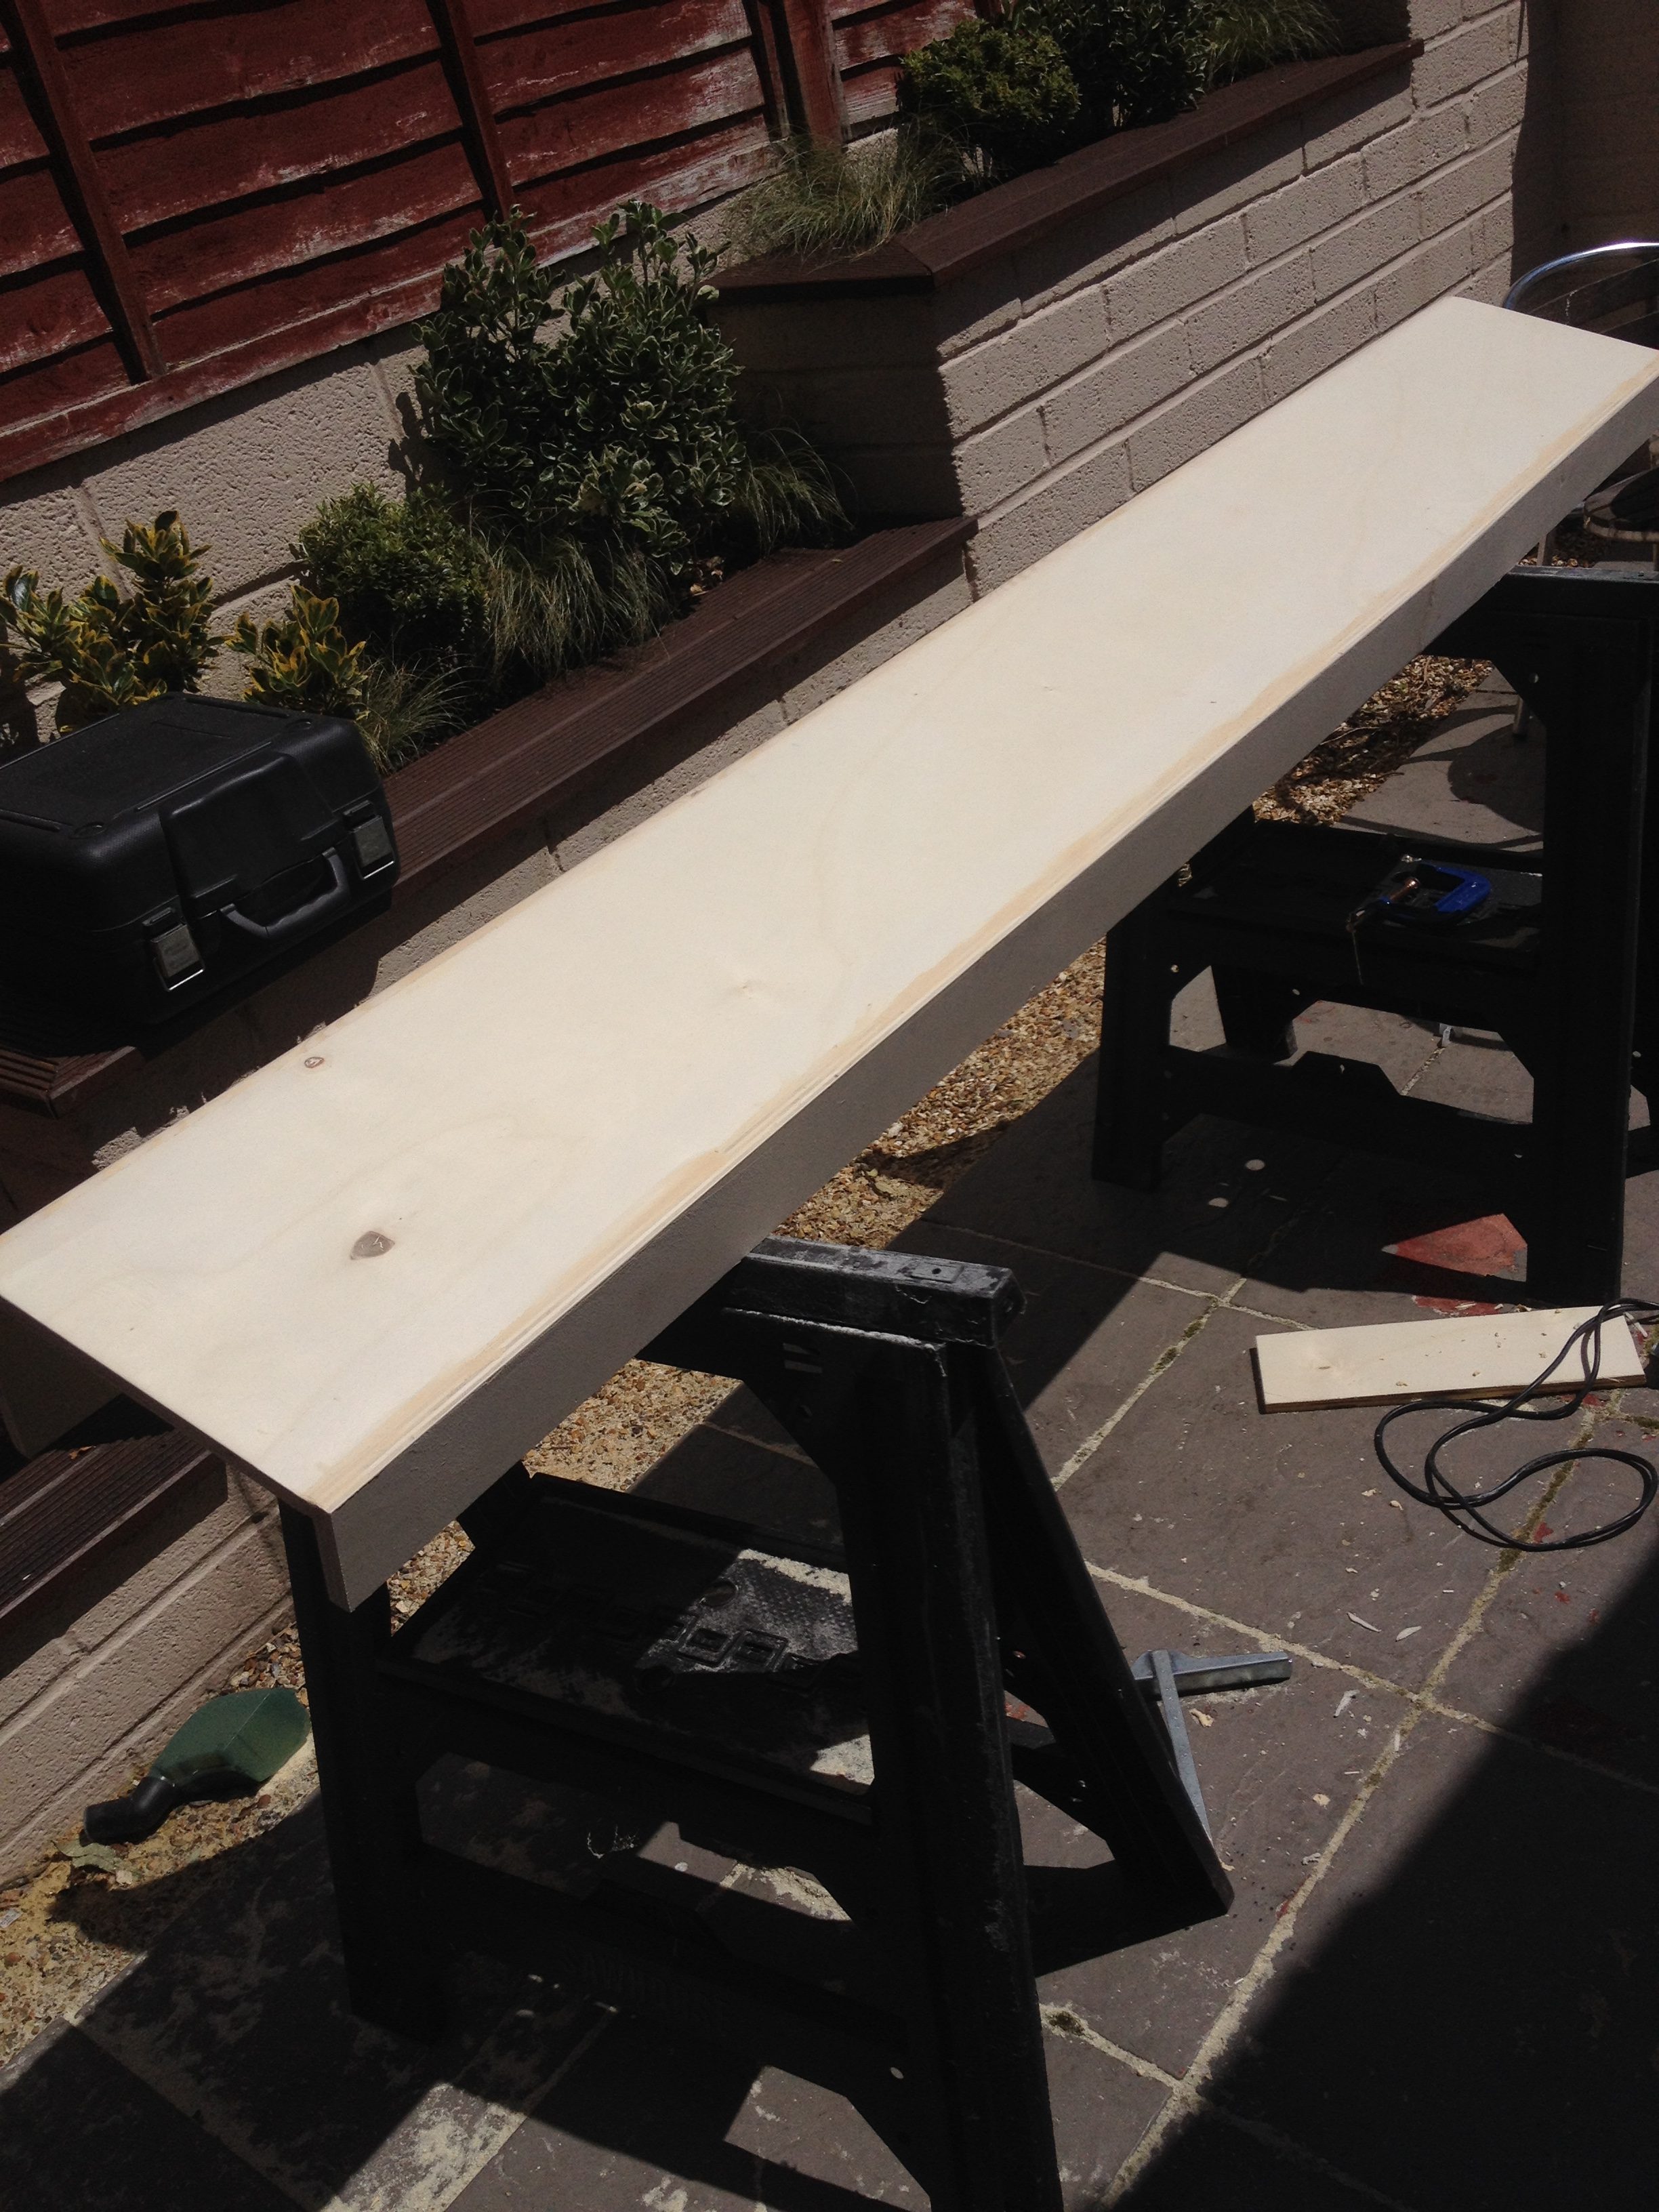
So the first step was to get the measurements and decide on a sensible size that will also match the base unit I already had. This had me head scratching for a while, but in the end I worked it out with a whole array of batons strapped together and at the right angles, then I used CorelDraw to draw the unit on my laptop.
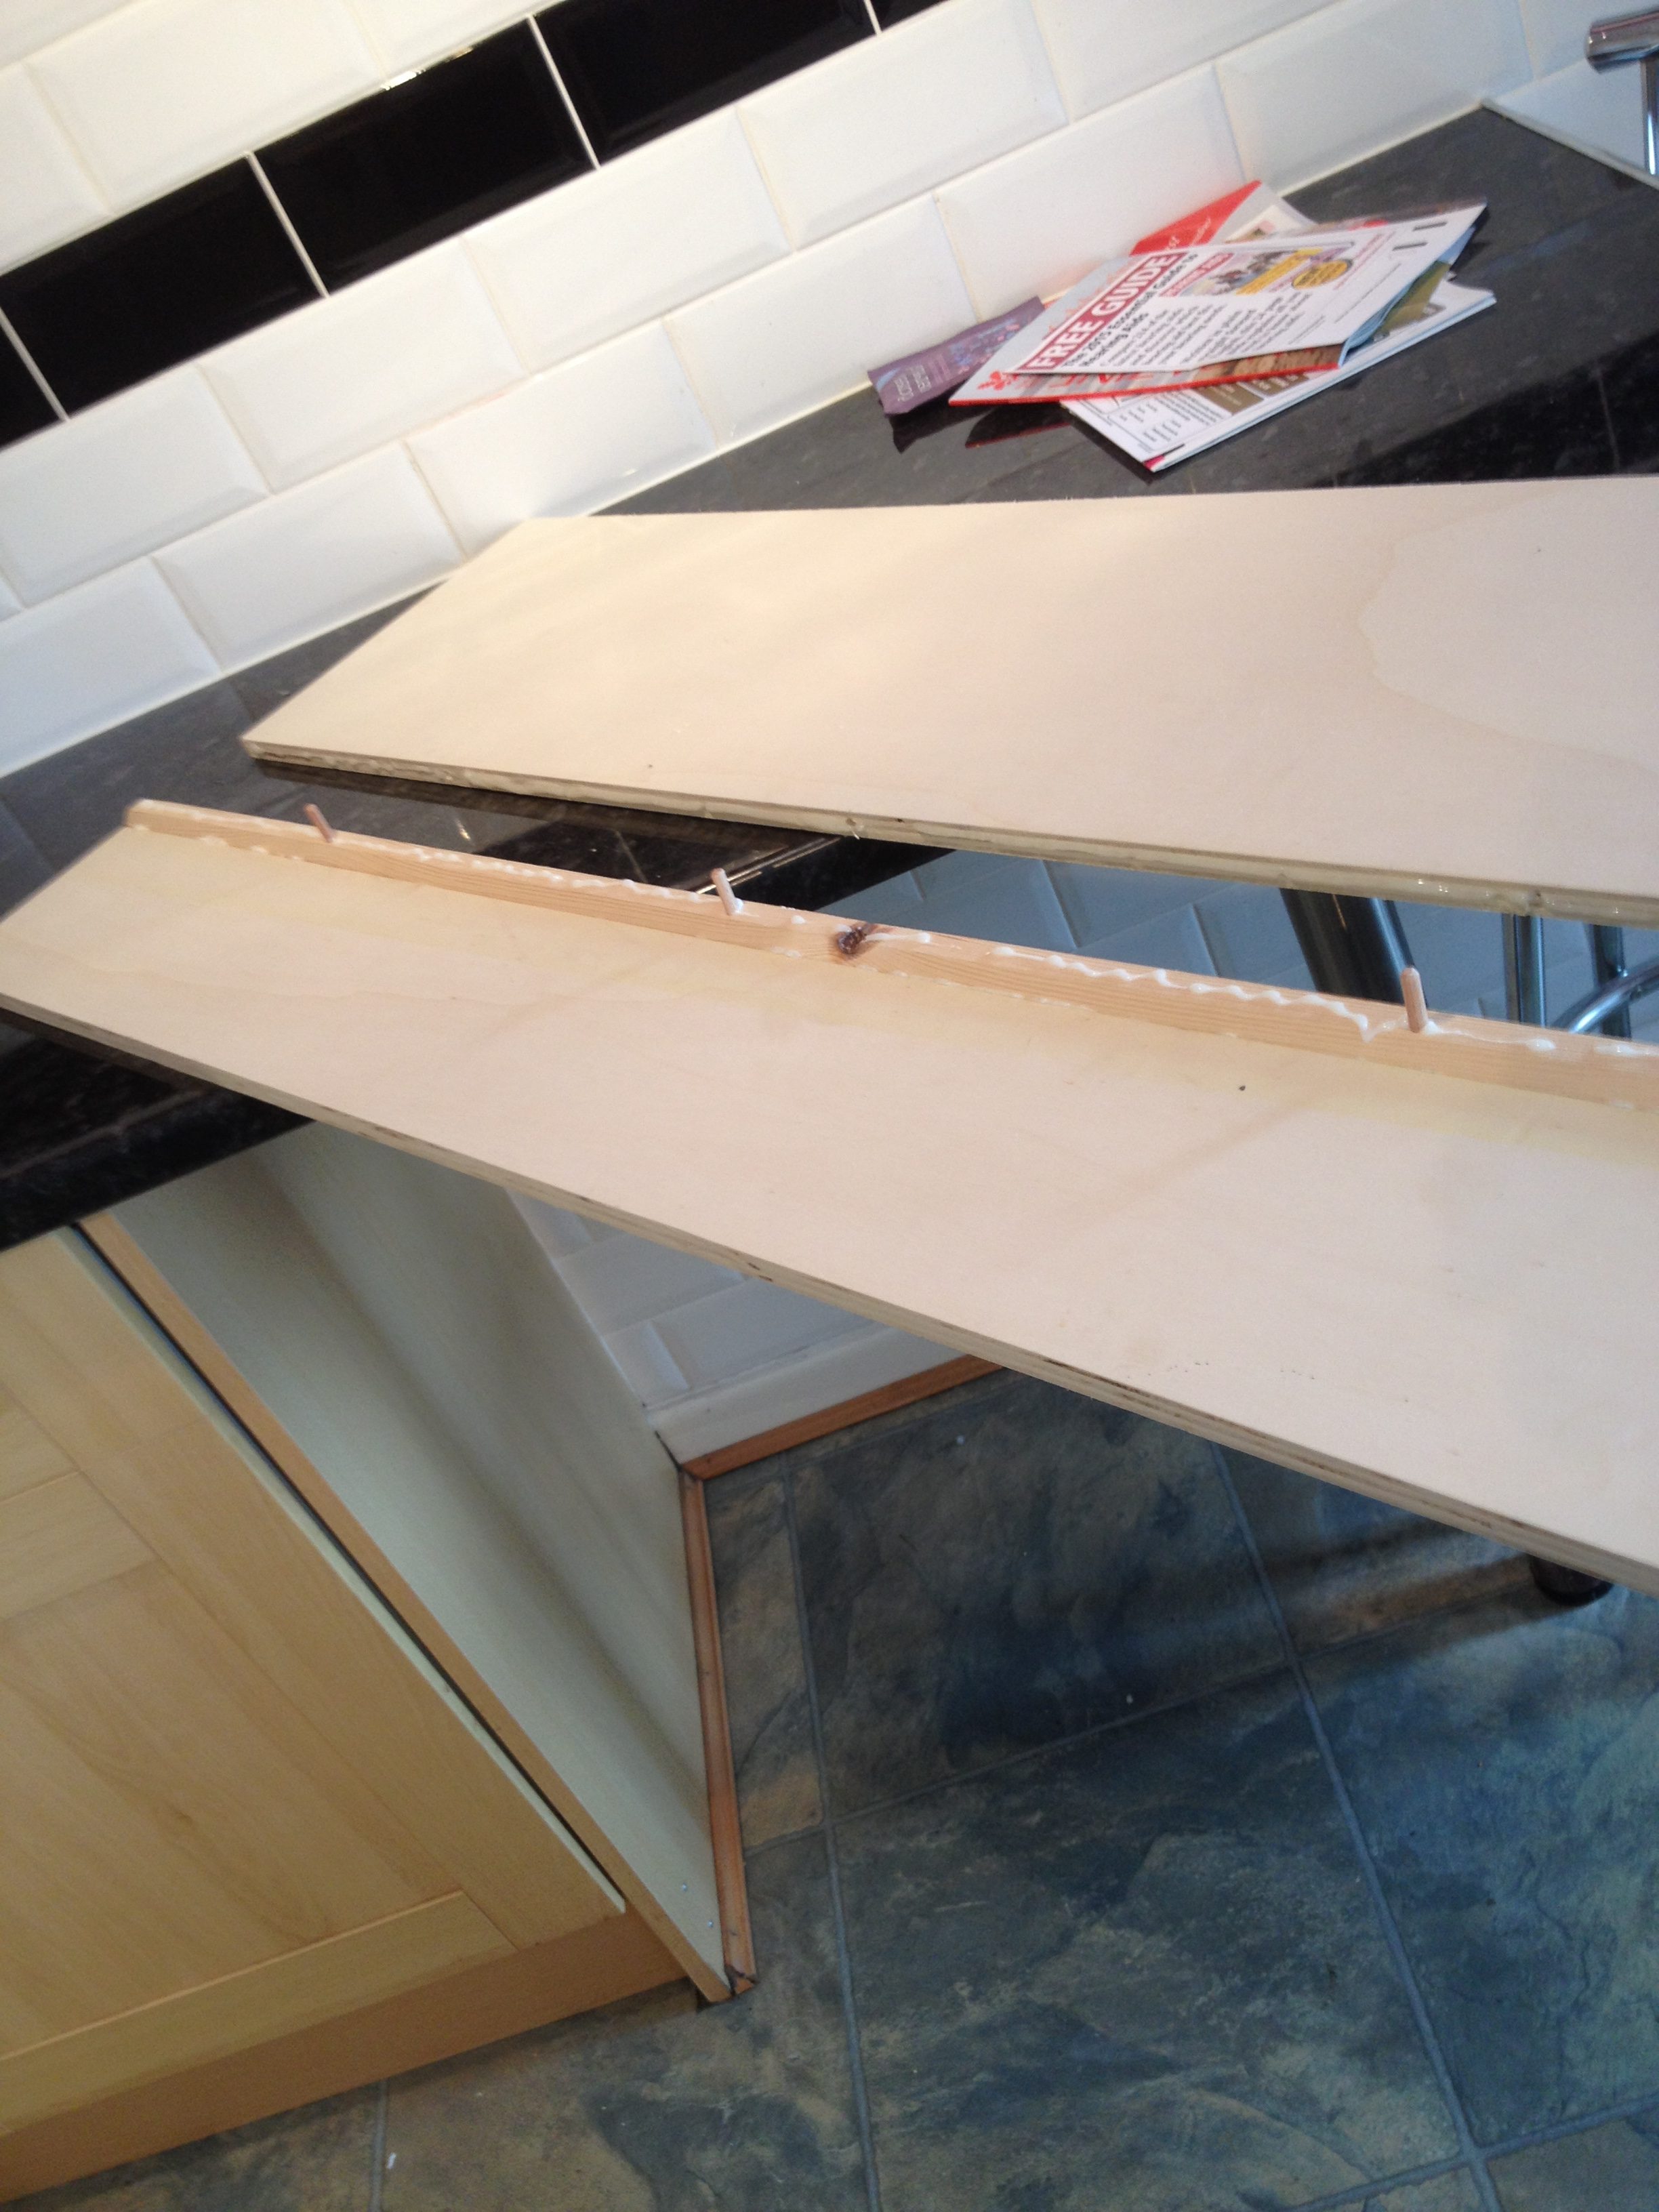
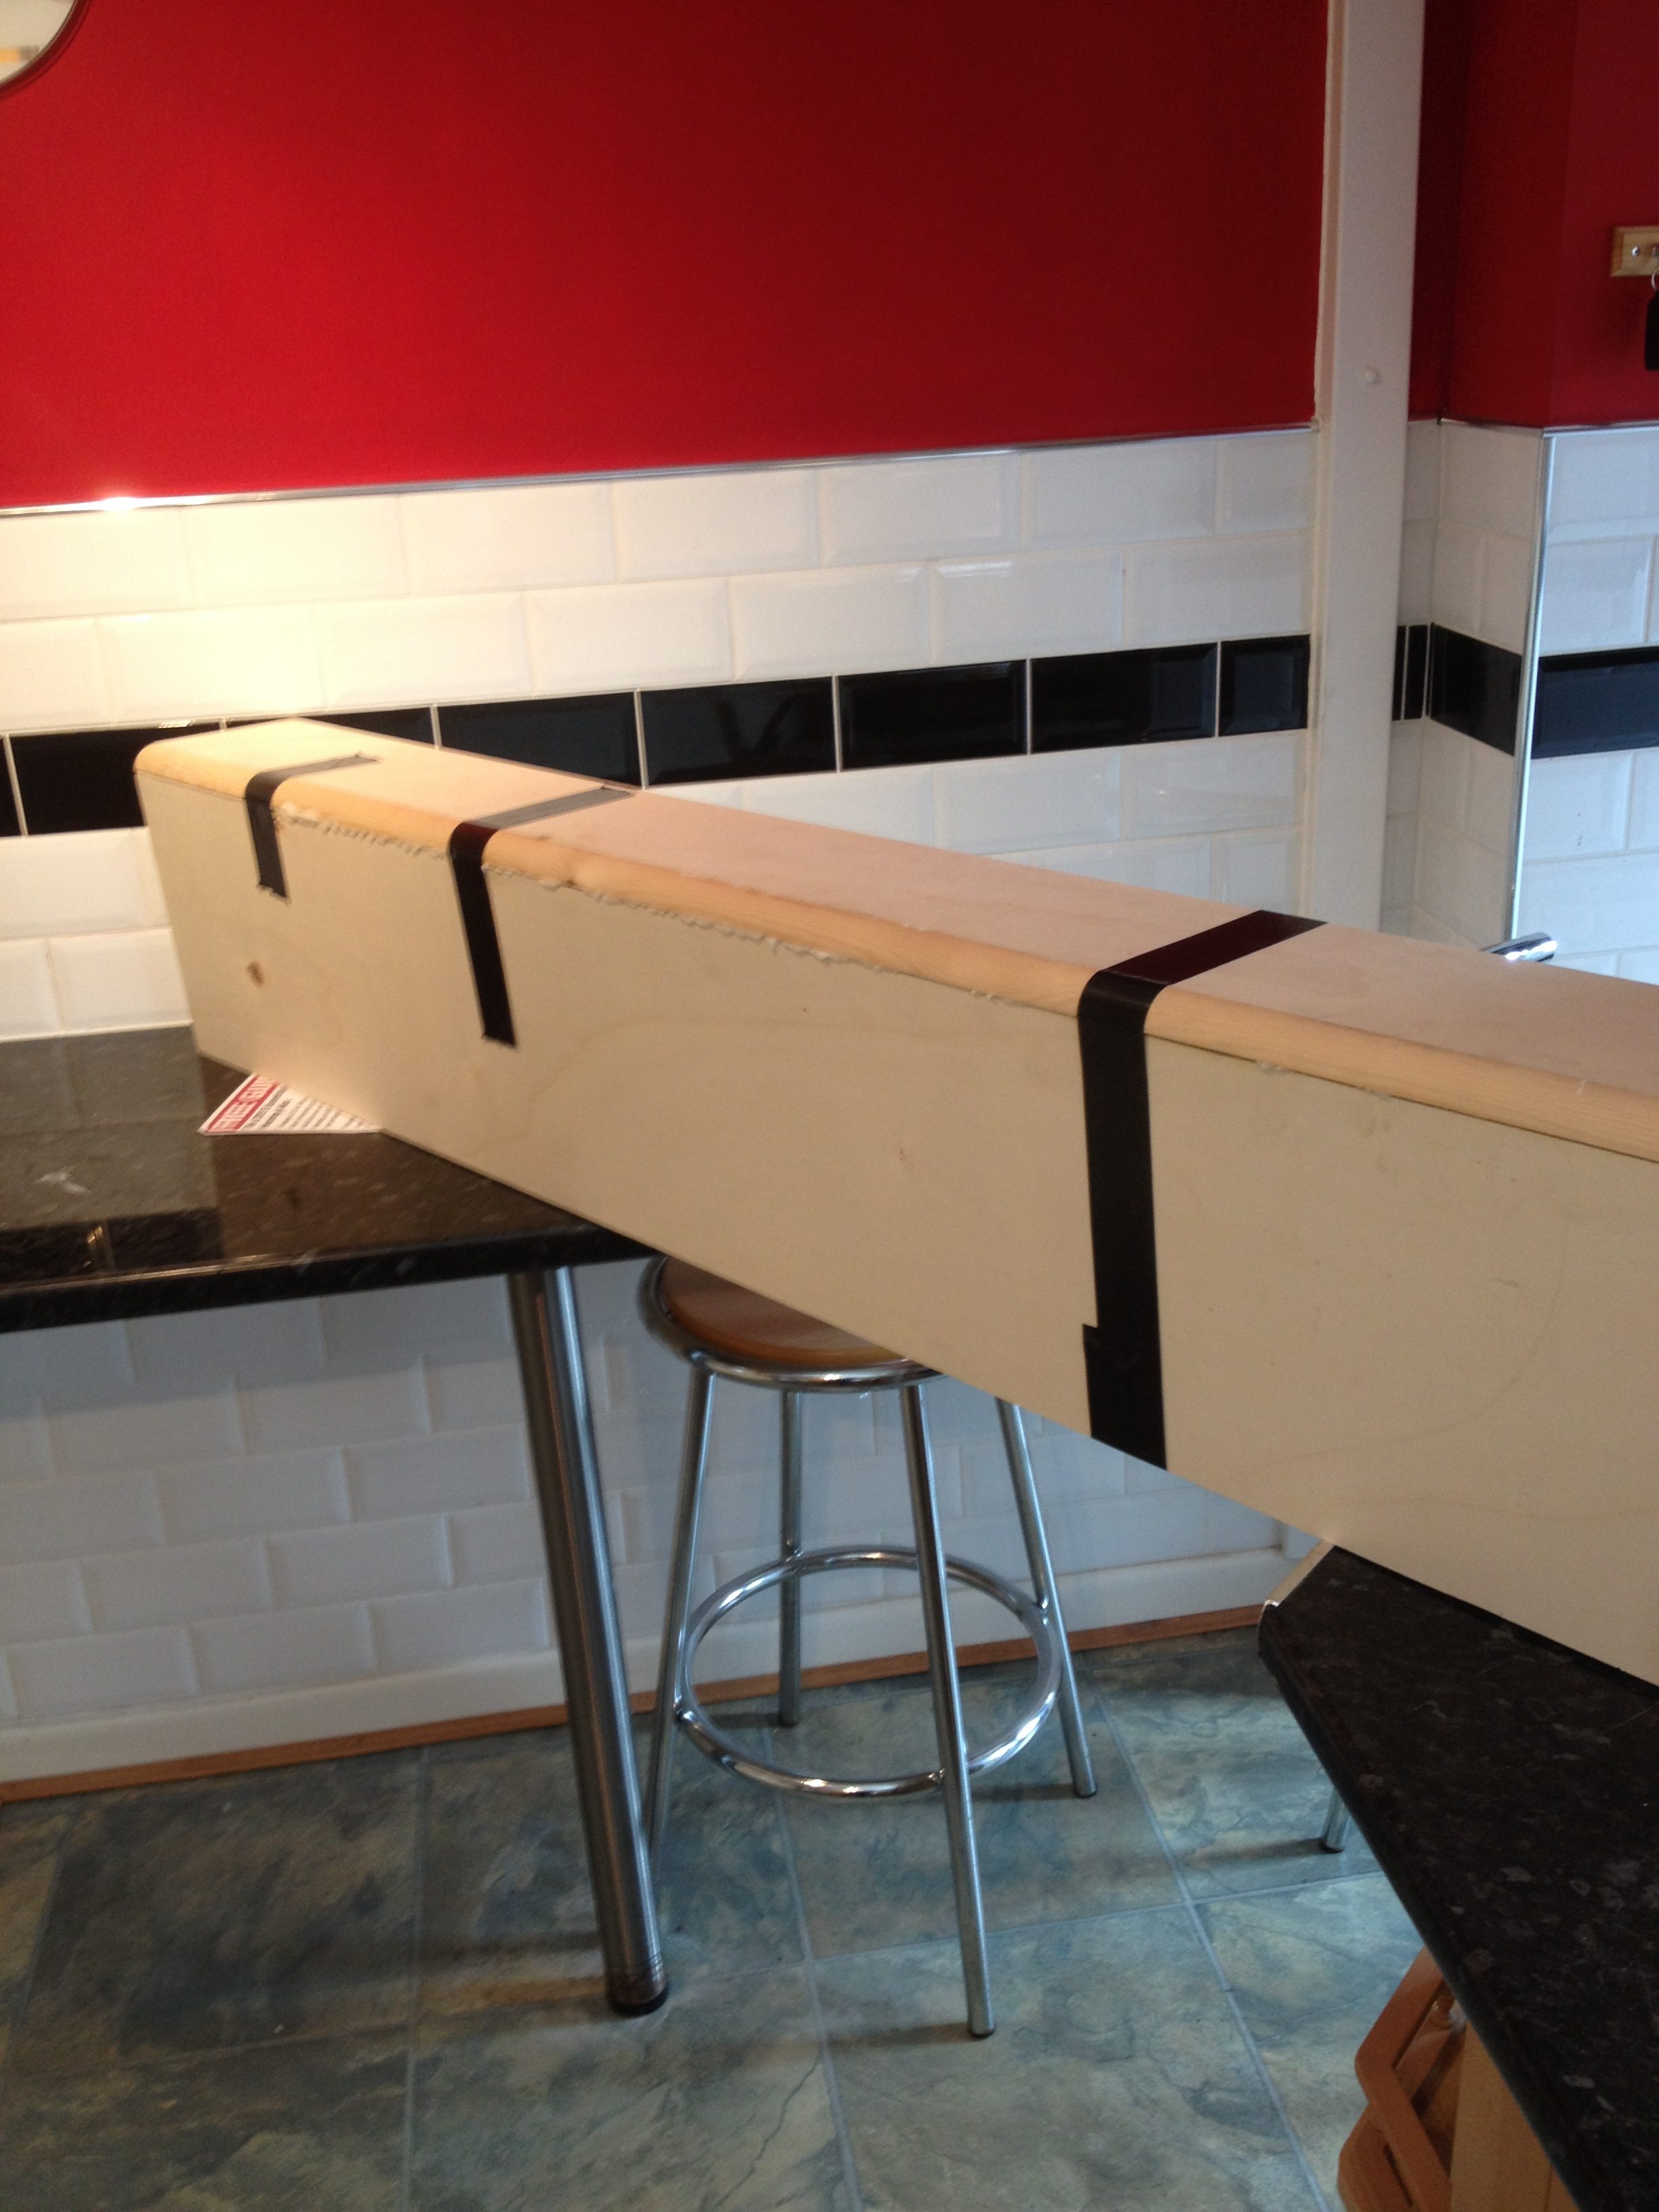
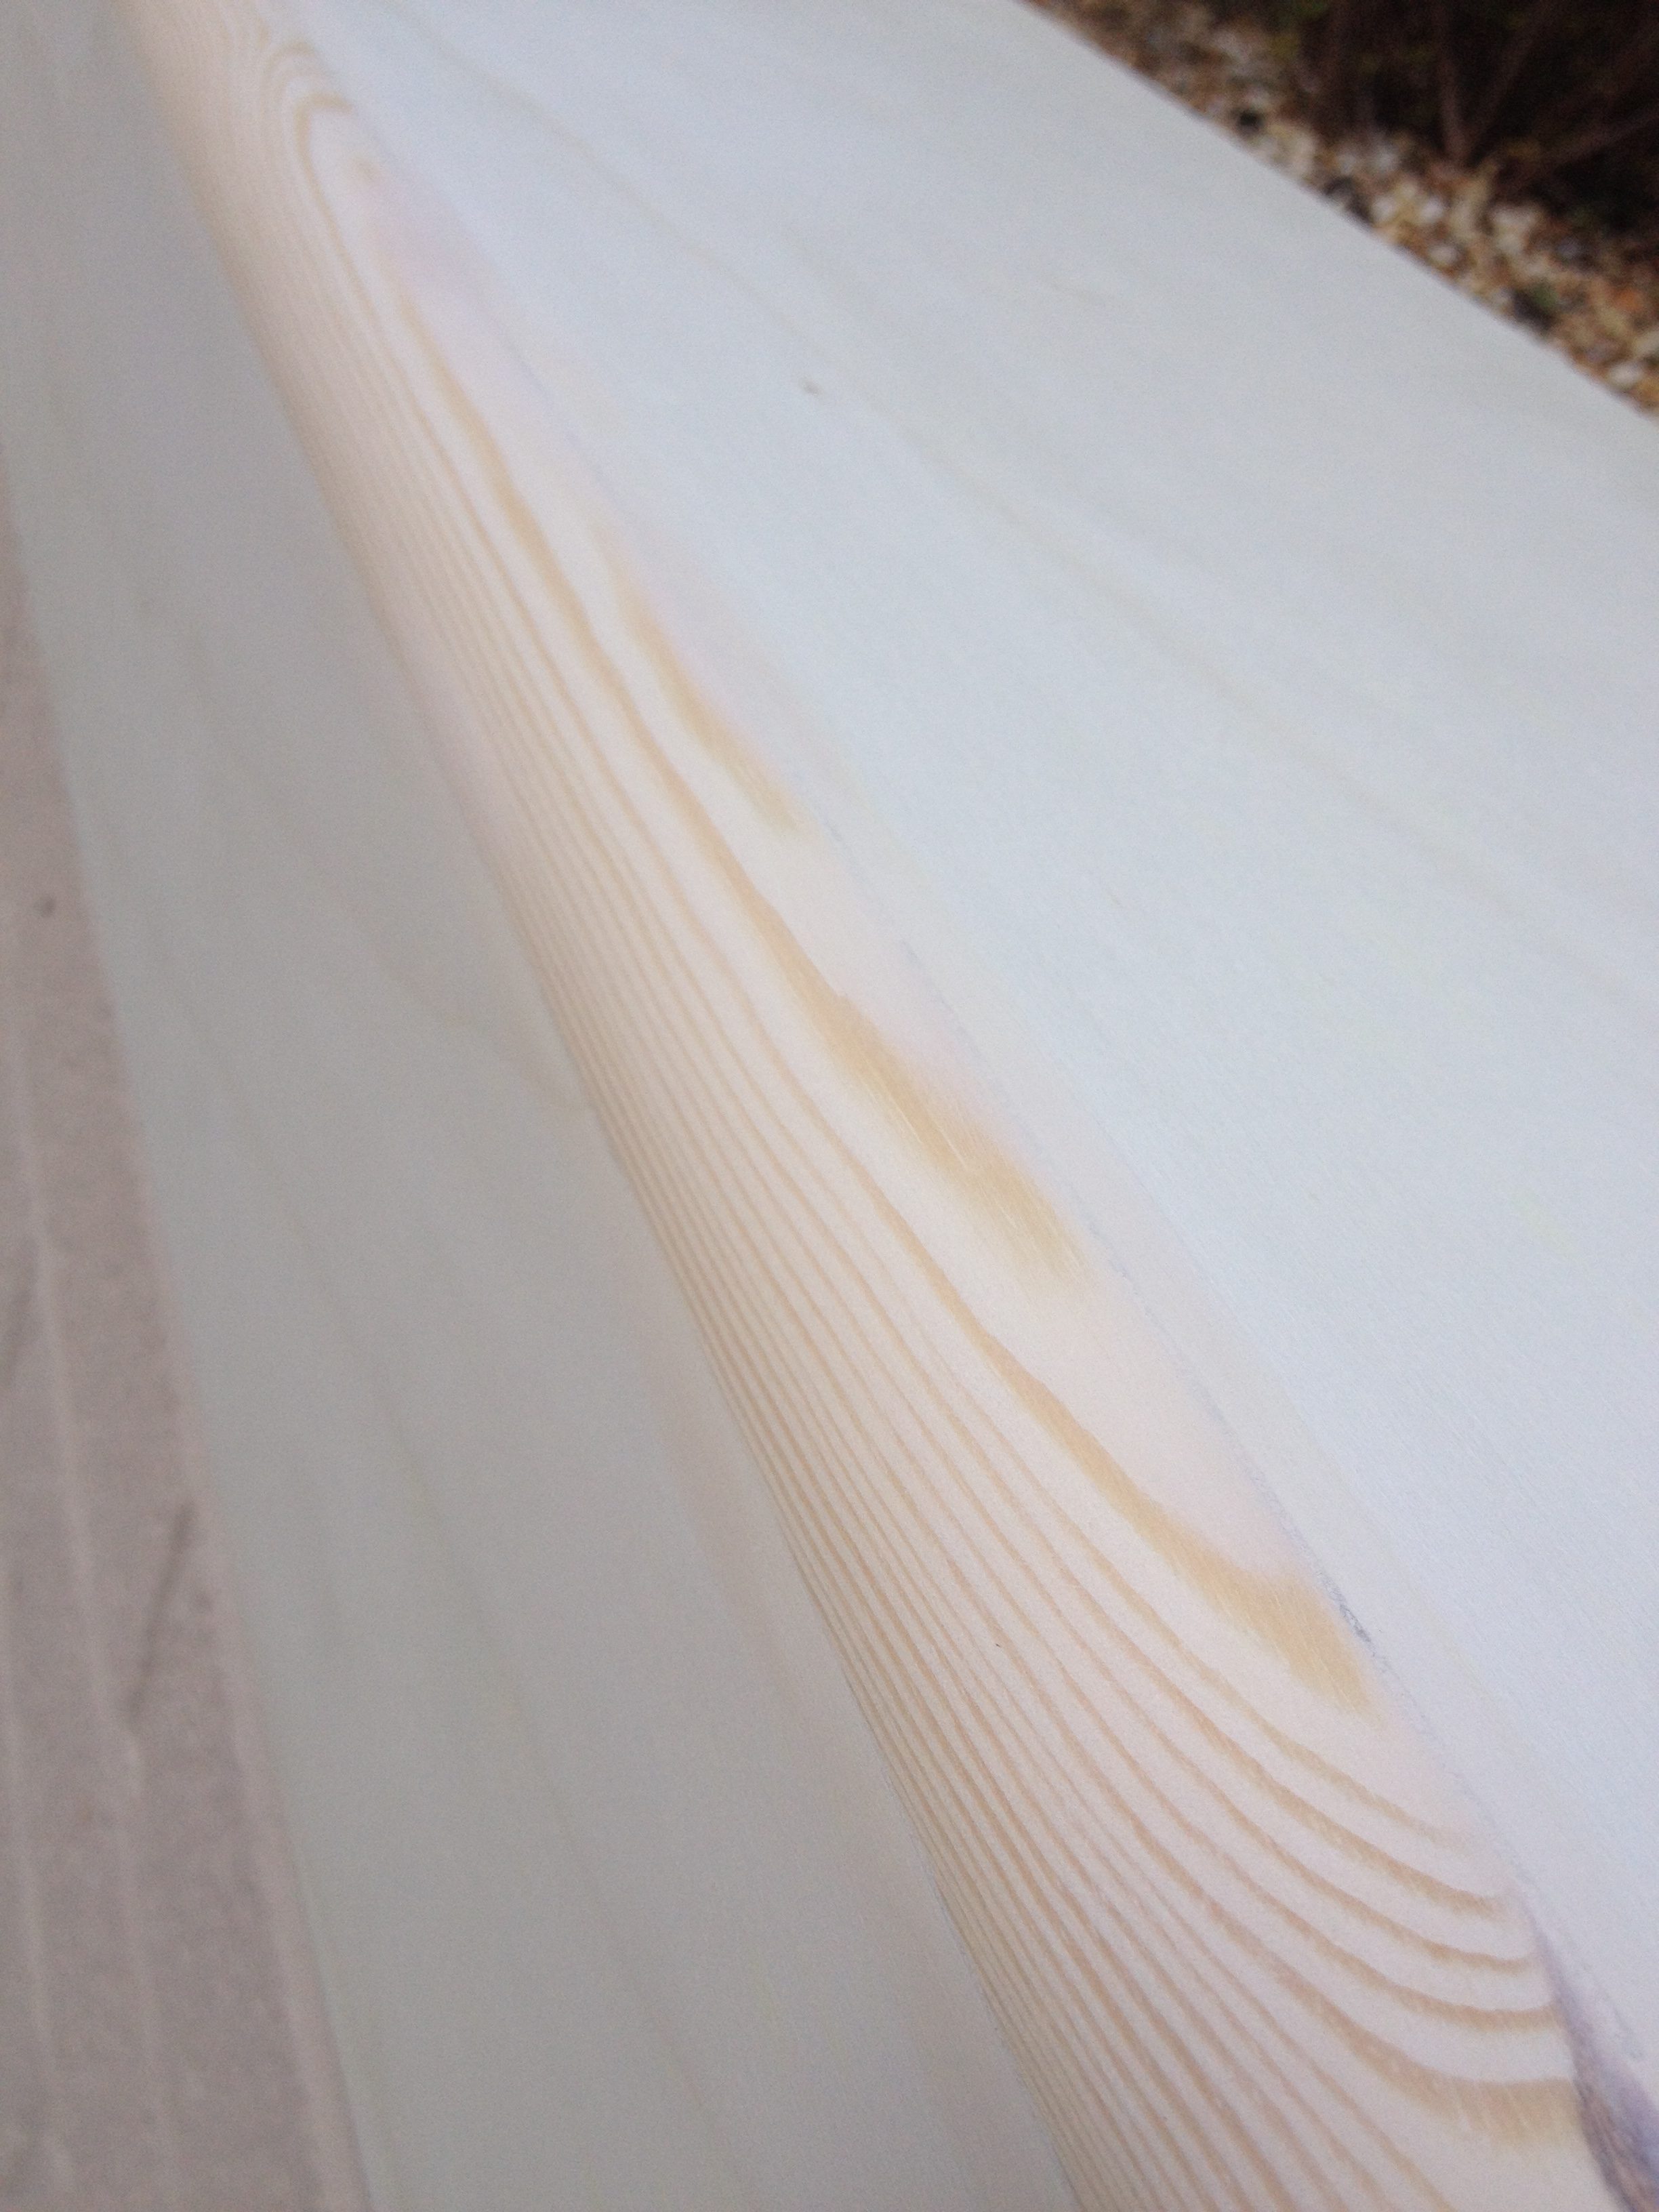
Once I had the measurements, I could cut the 15mm ply to the correct size. In order to achieve the curve on the edge I used a piece of quadrant moulding which is available from most DIY stores. The three pieces were then stuck together with wood glue and the use of wooden dowel pins. The pieces were held together by tape while the glue cured overnight.
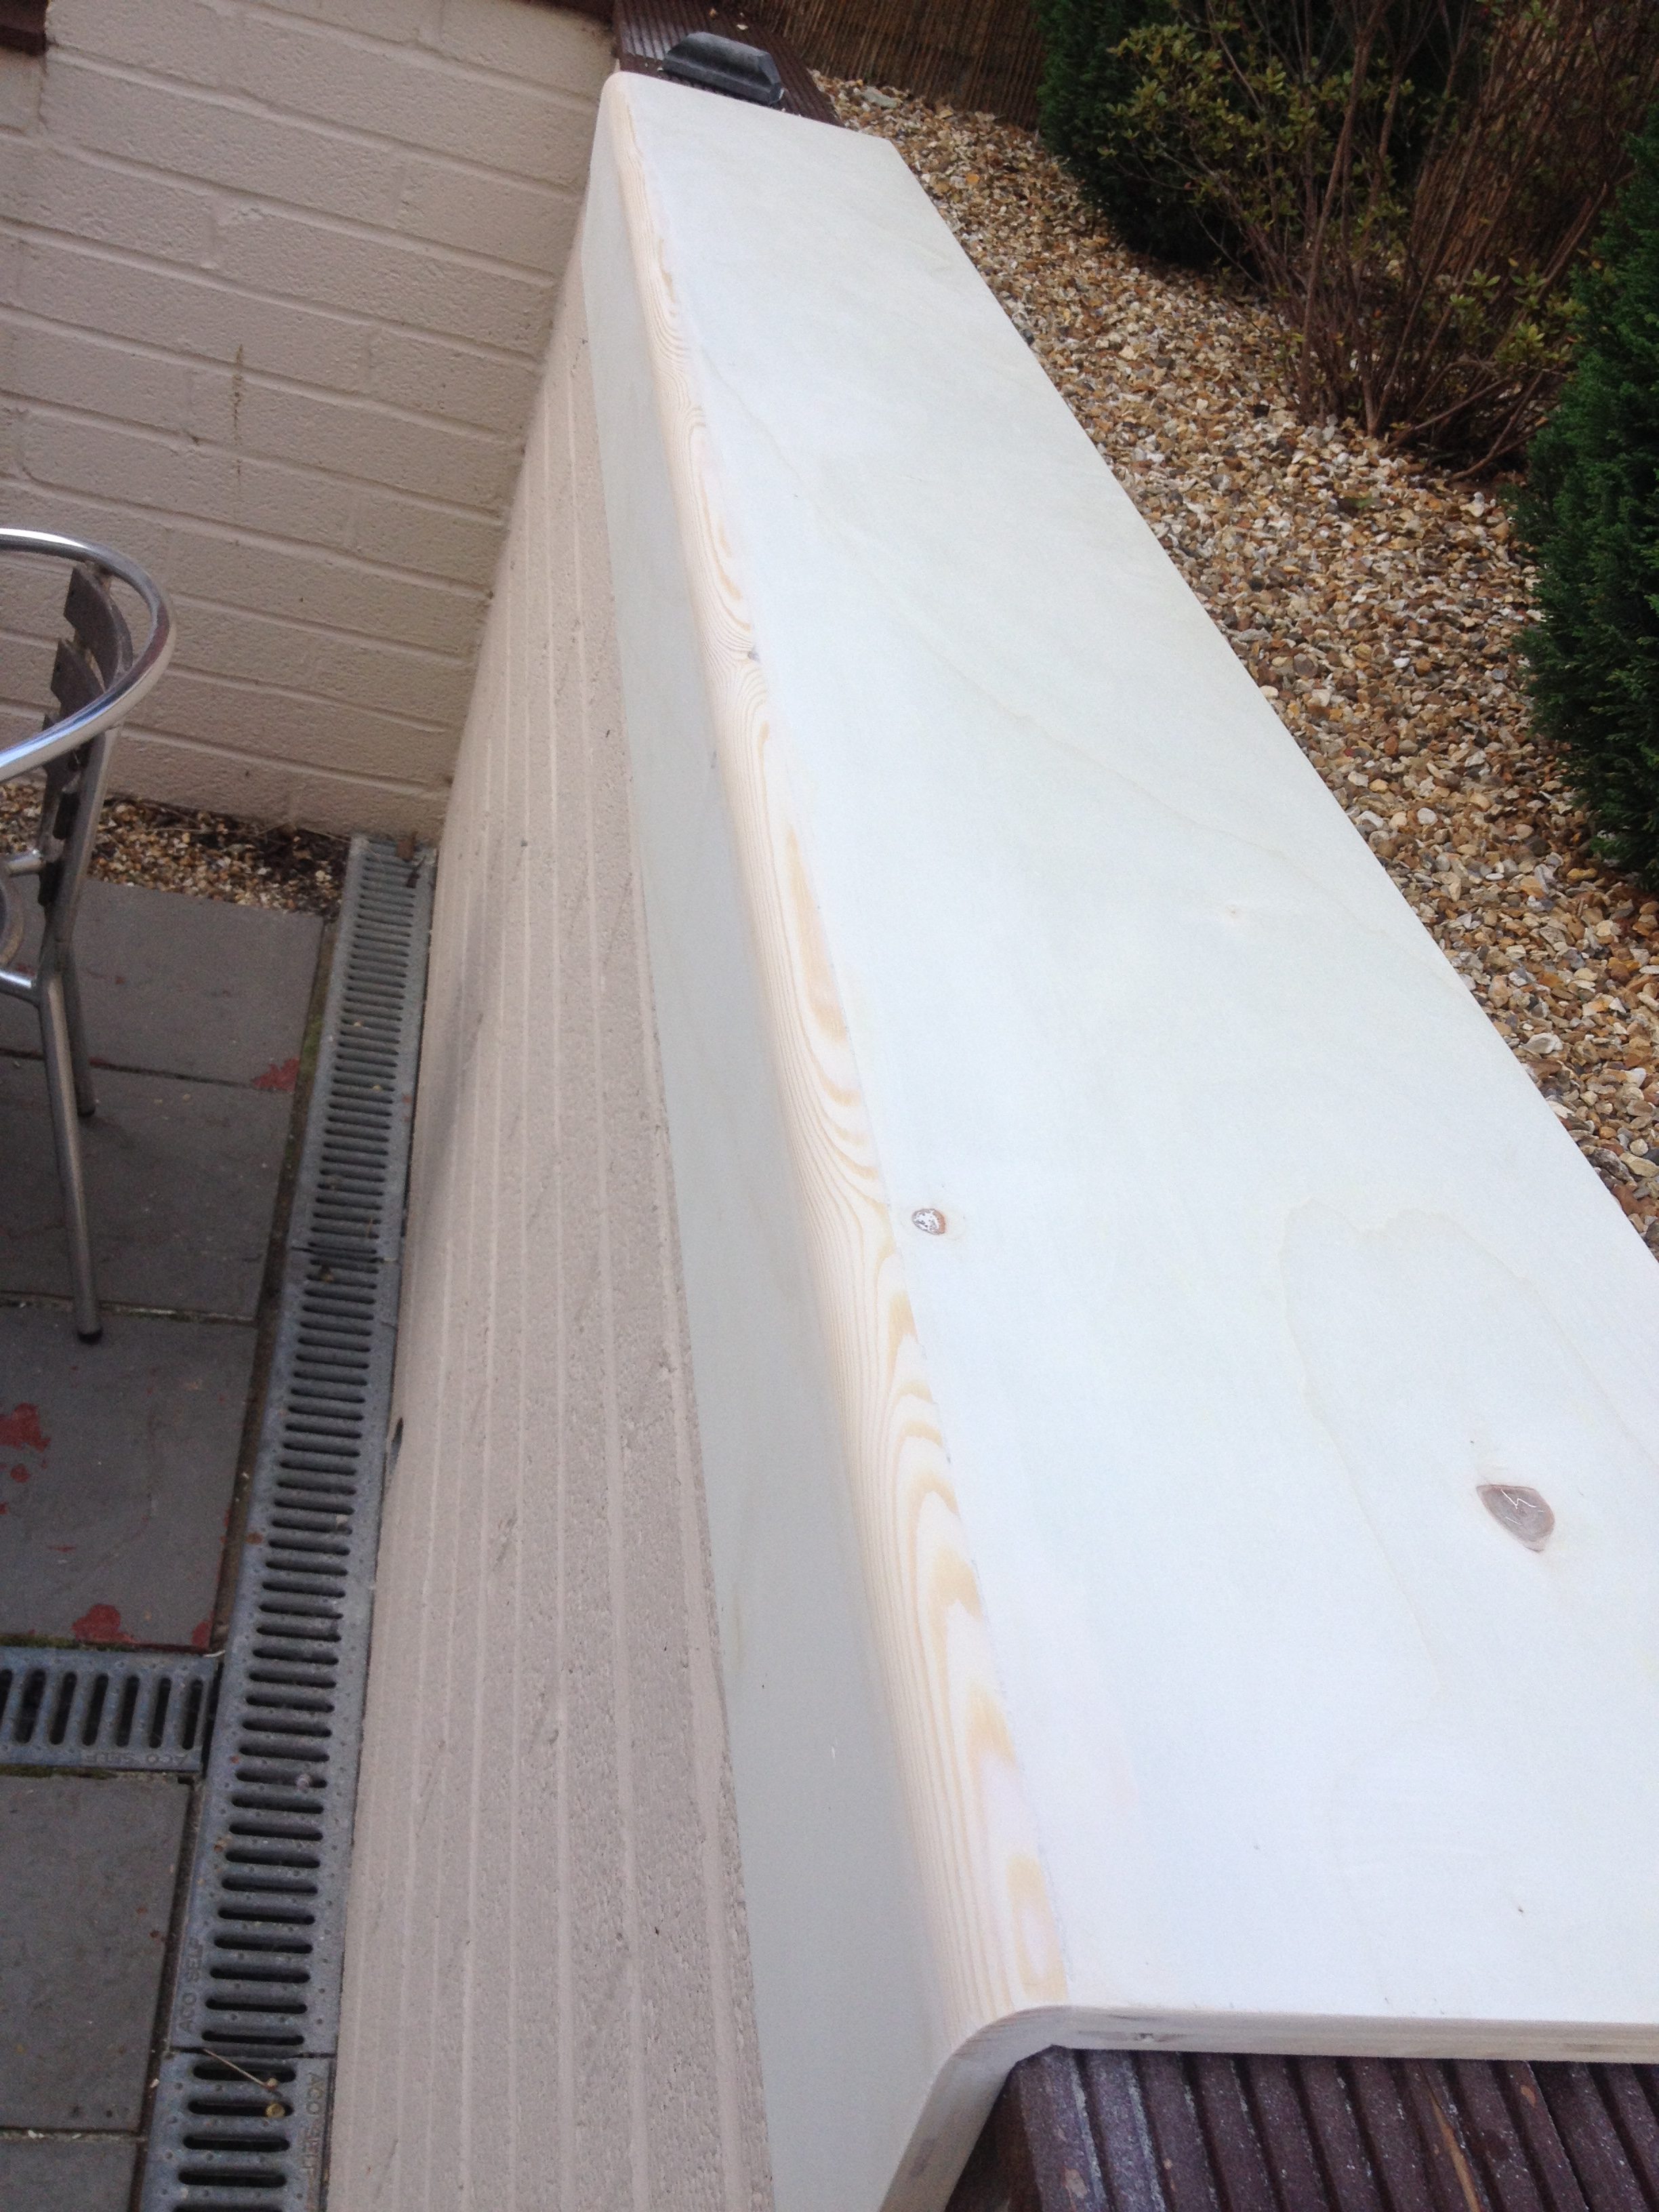
Once the glue had cured I just used a sanding block to ensure the whole curve was smooth. Any gaps were filled with wood filler and smoothed down again.
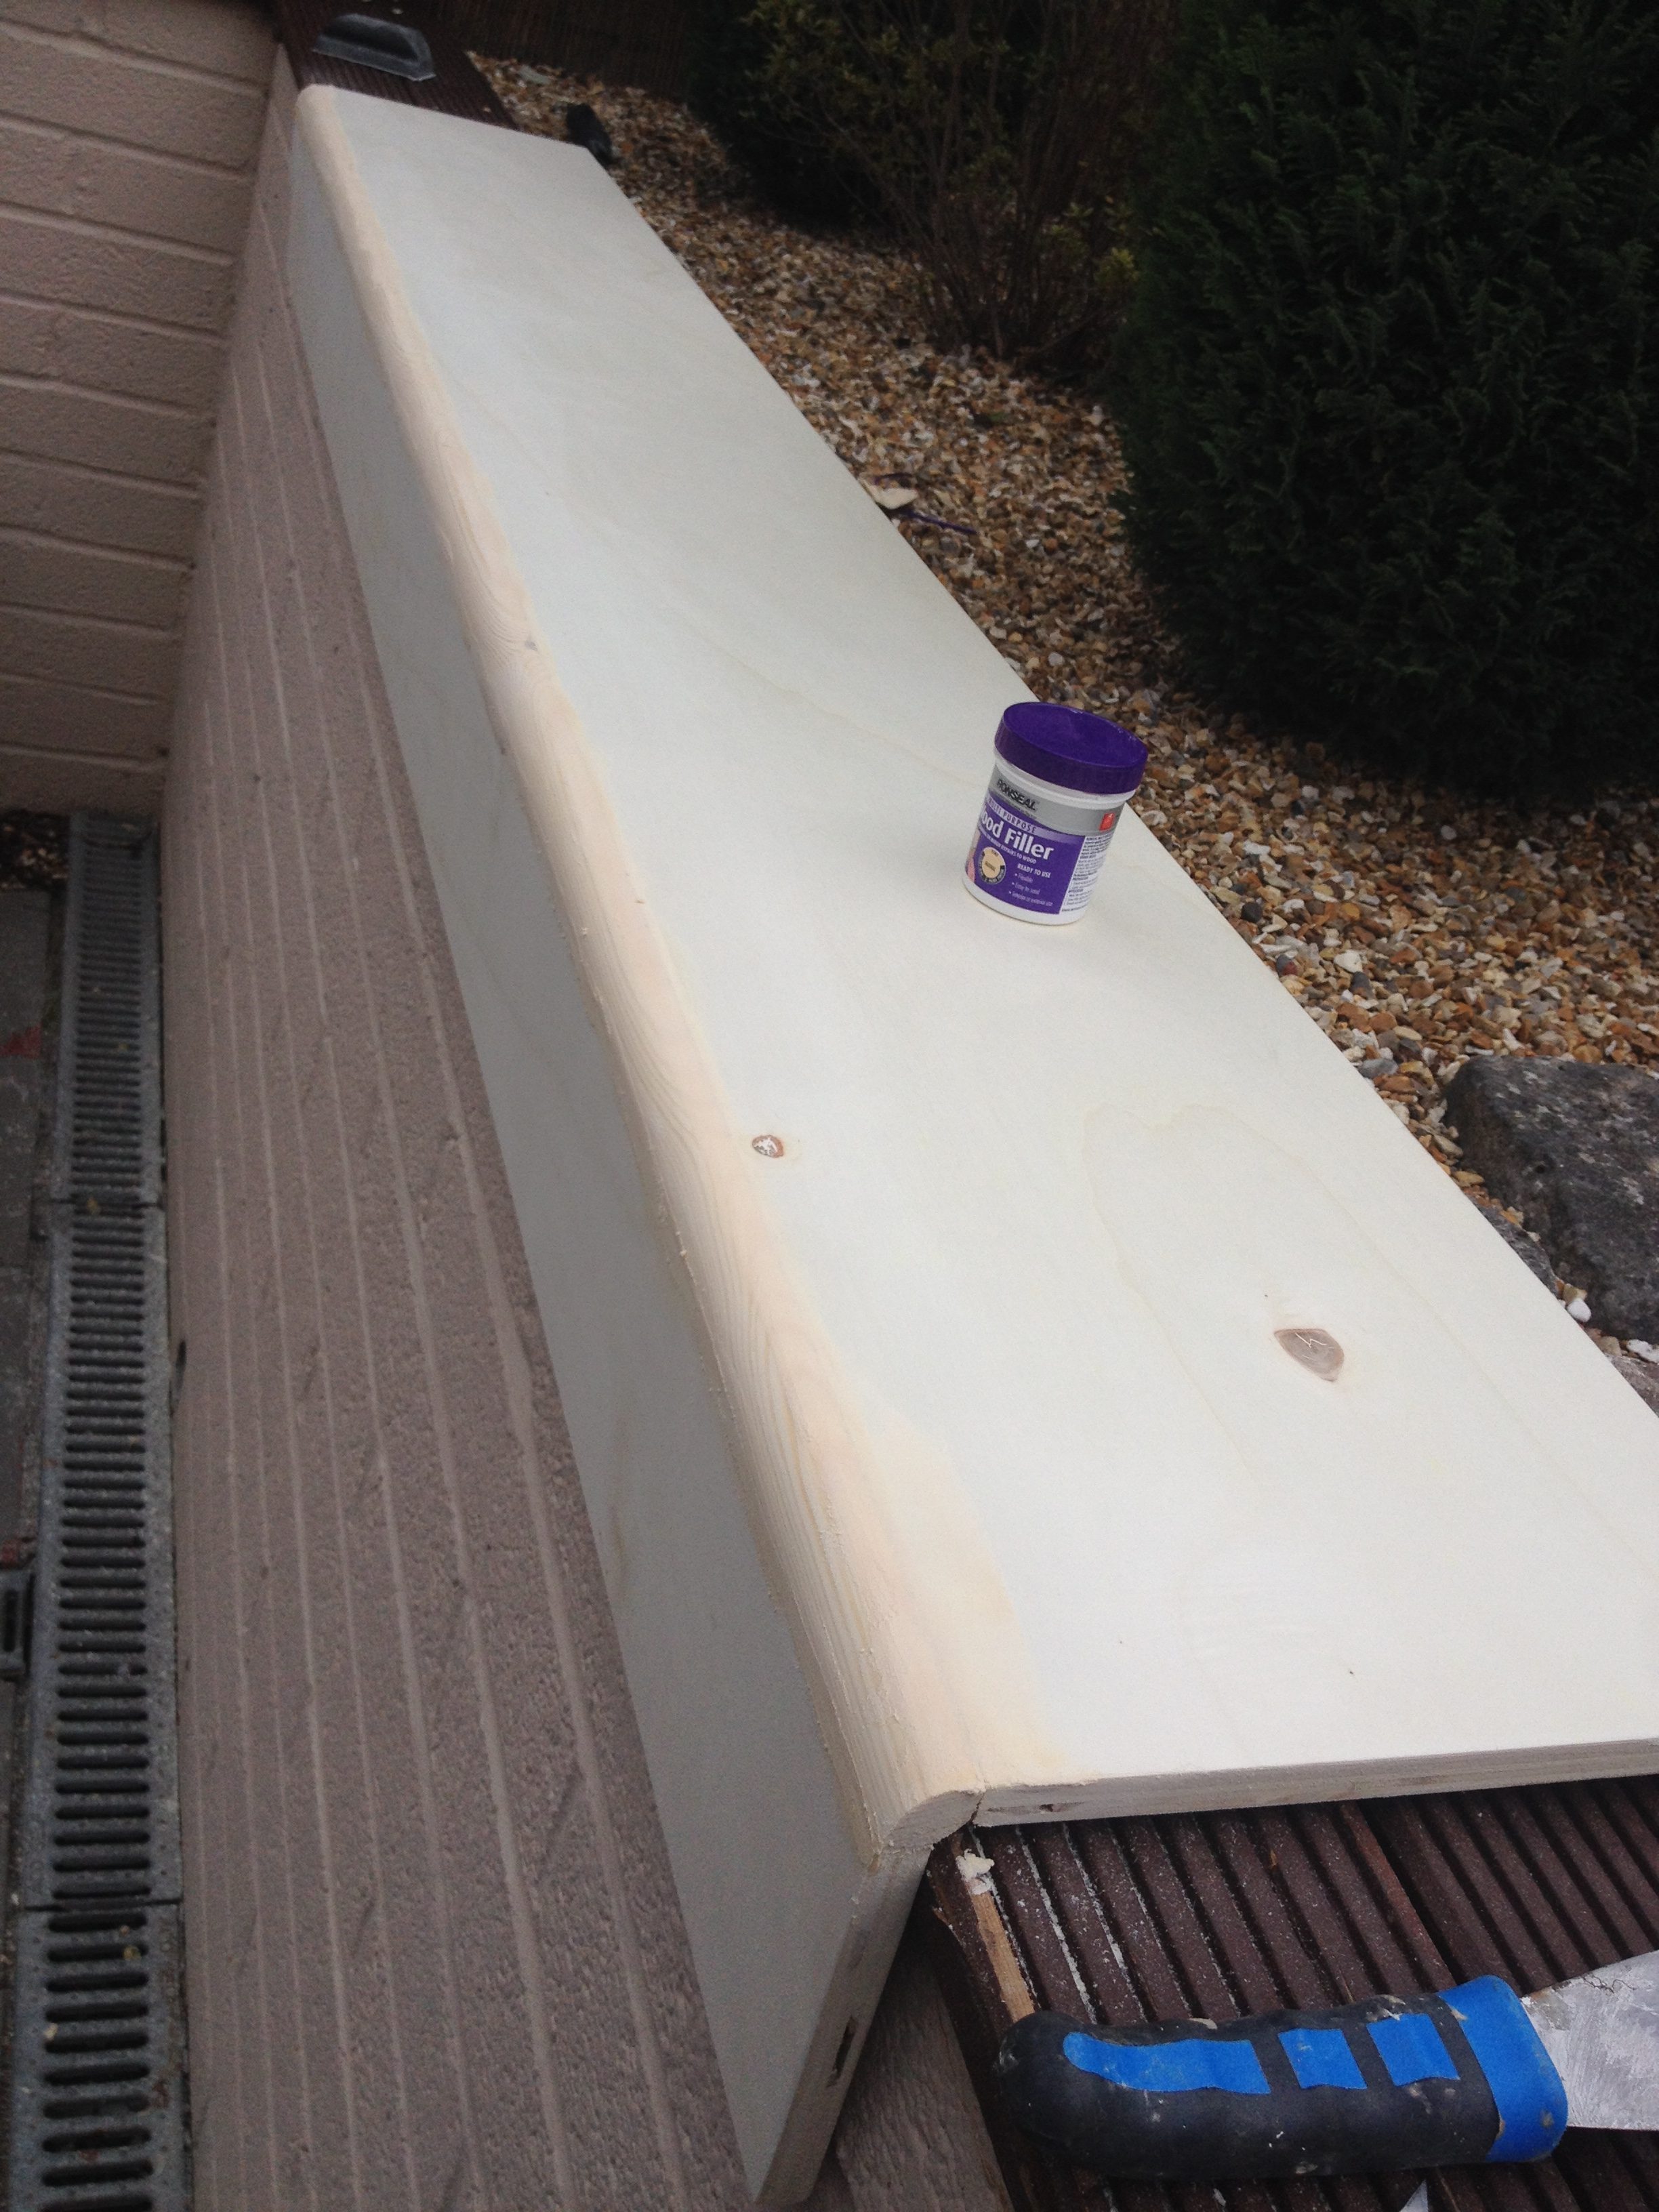
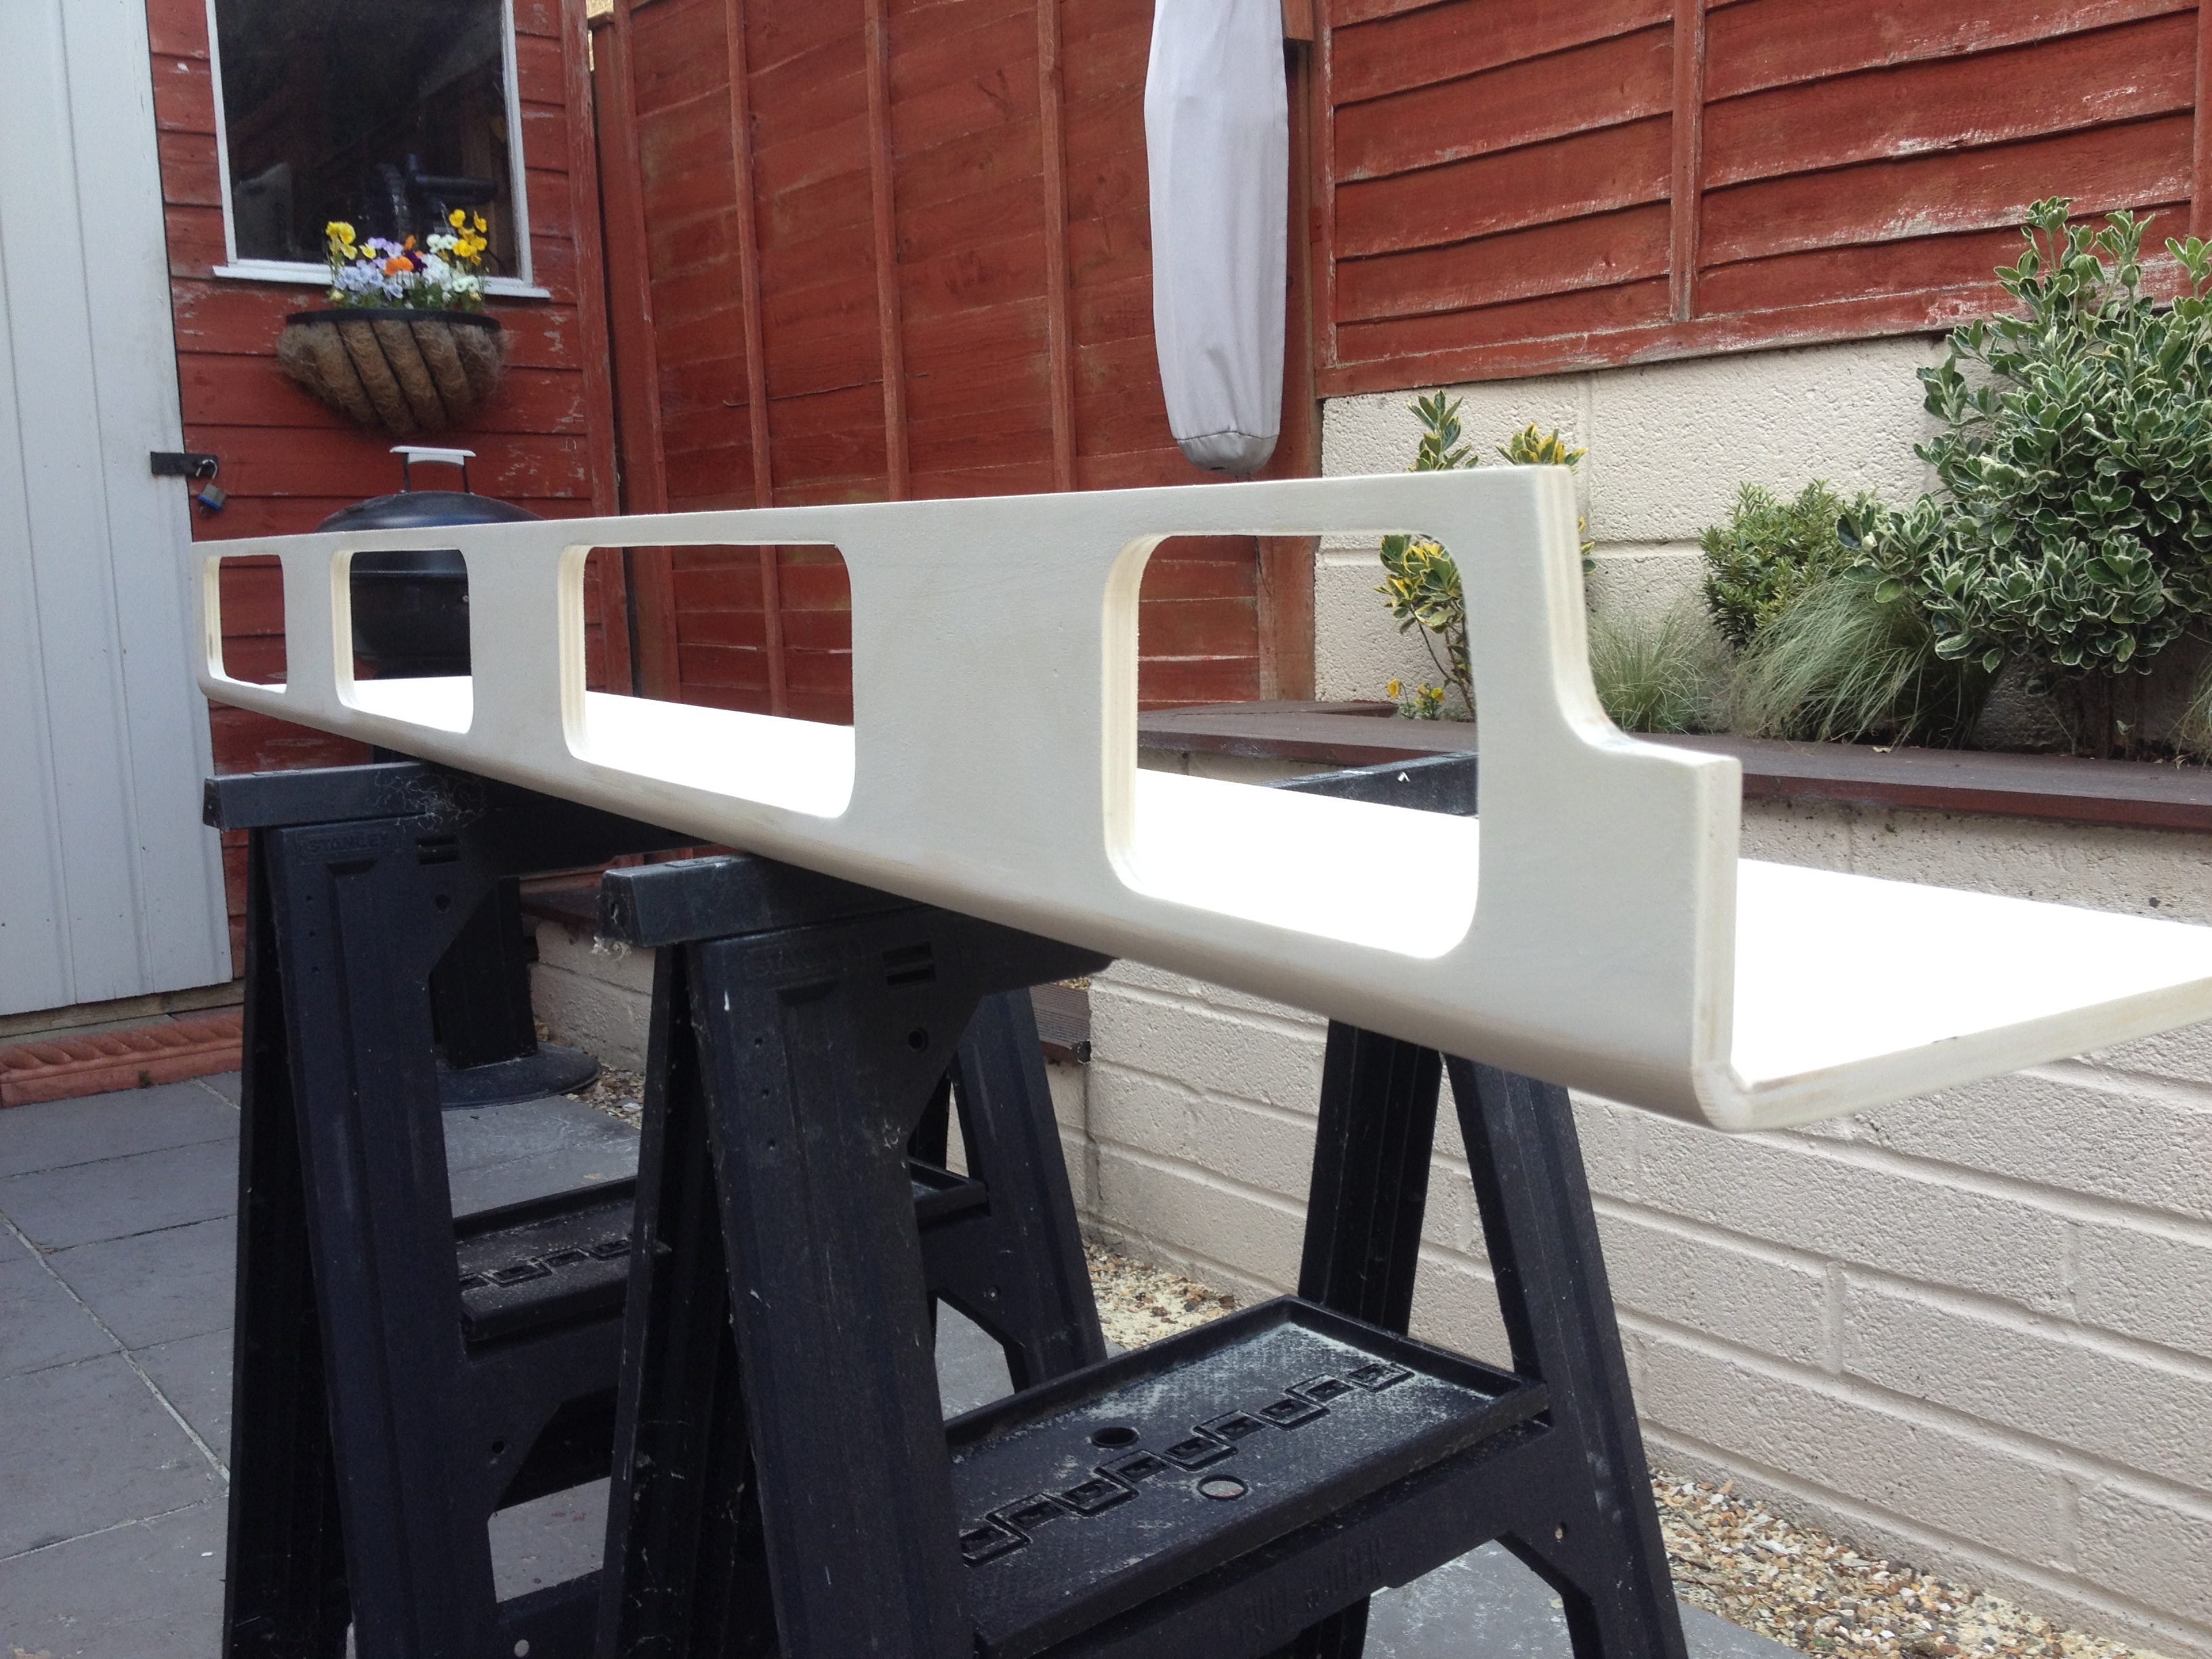
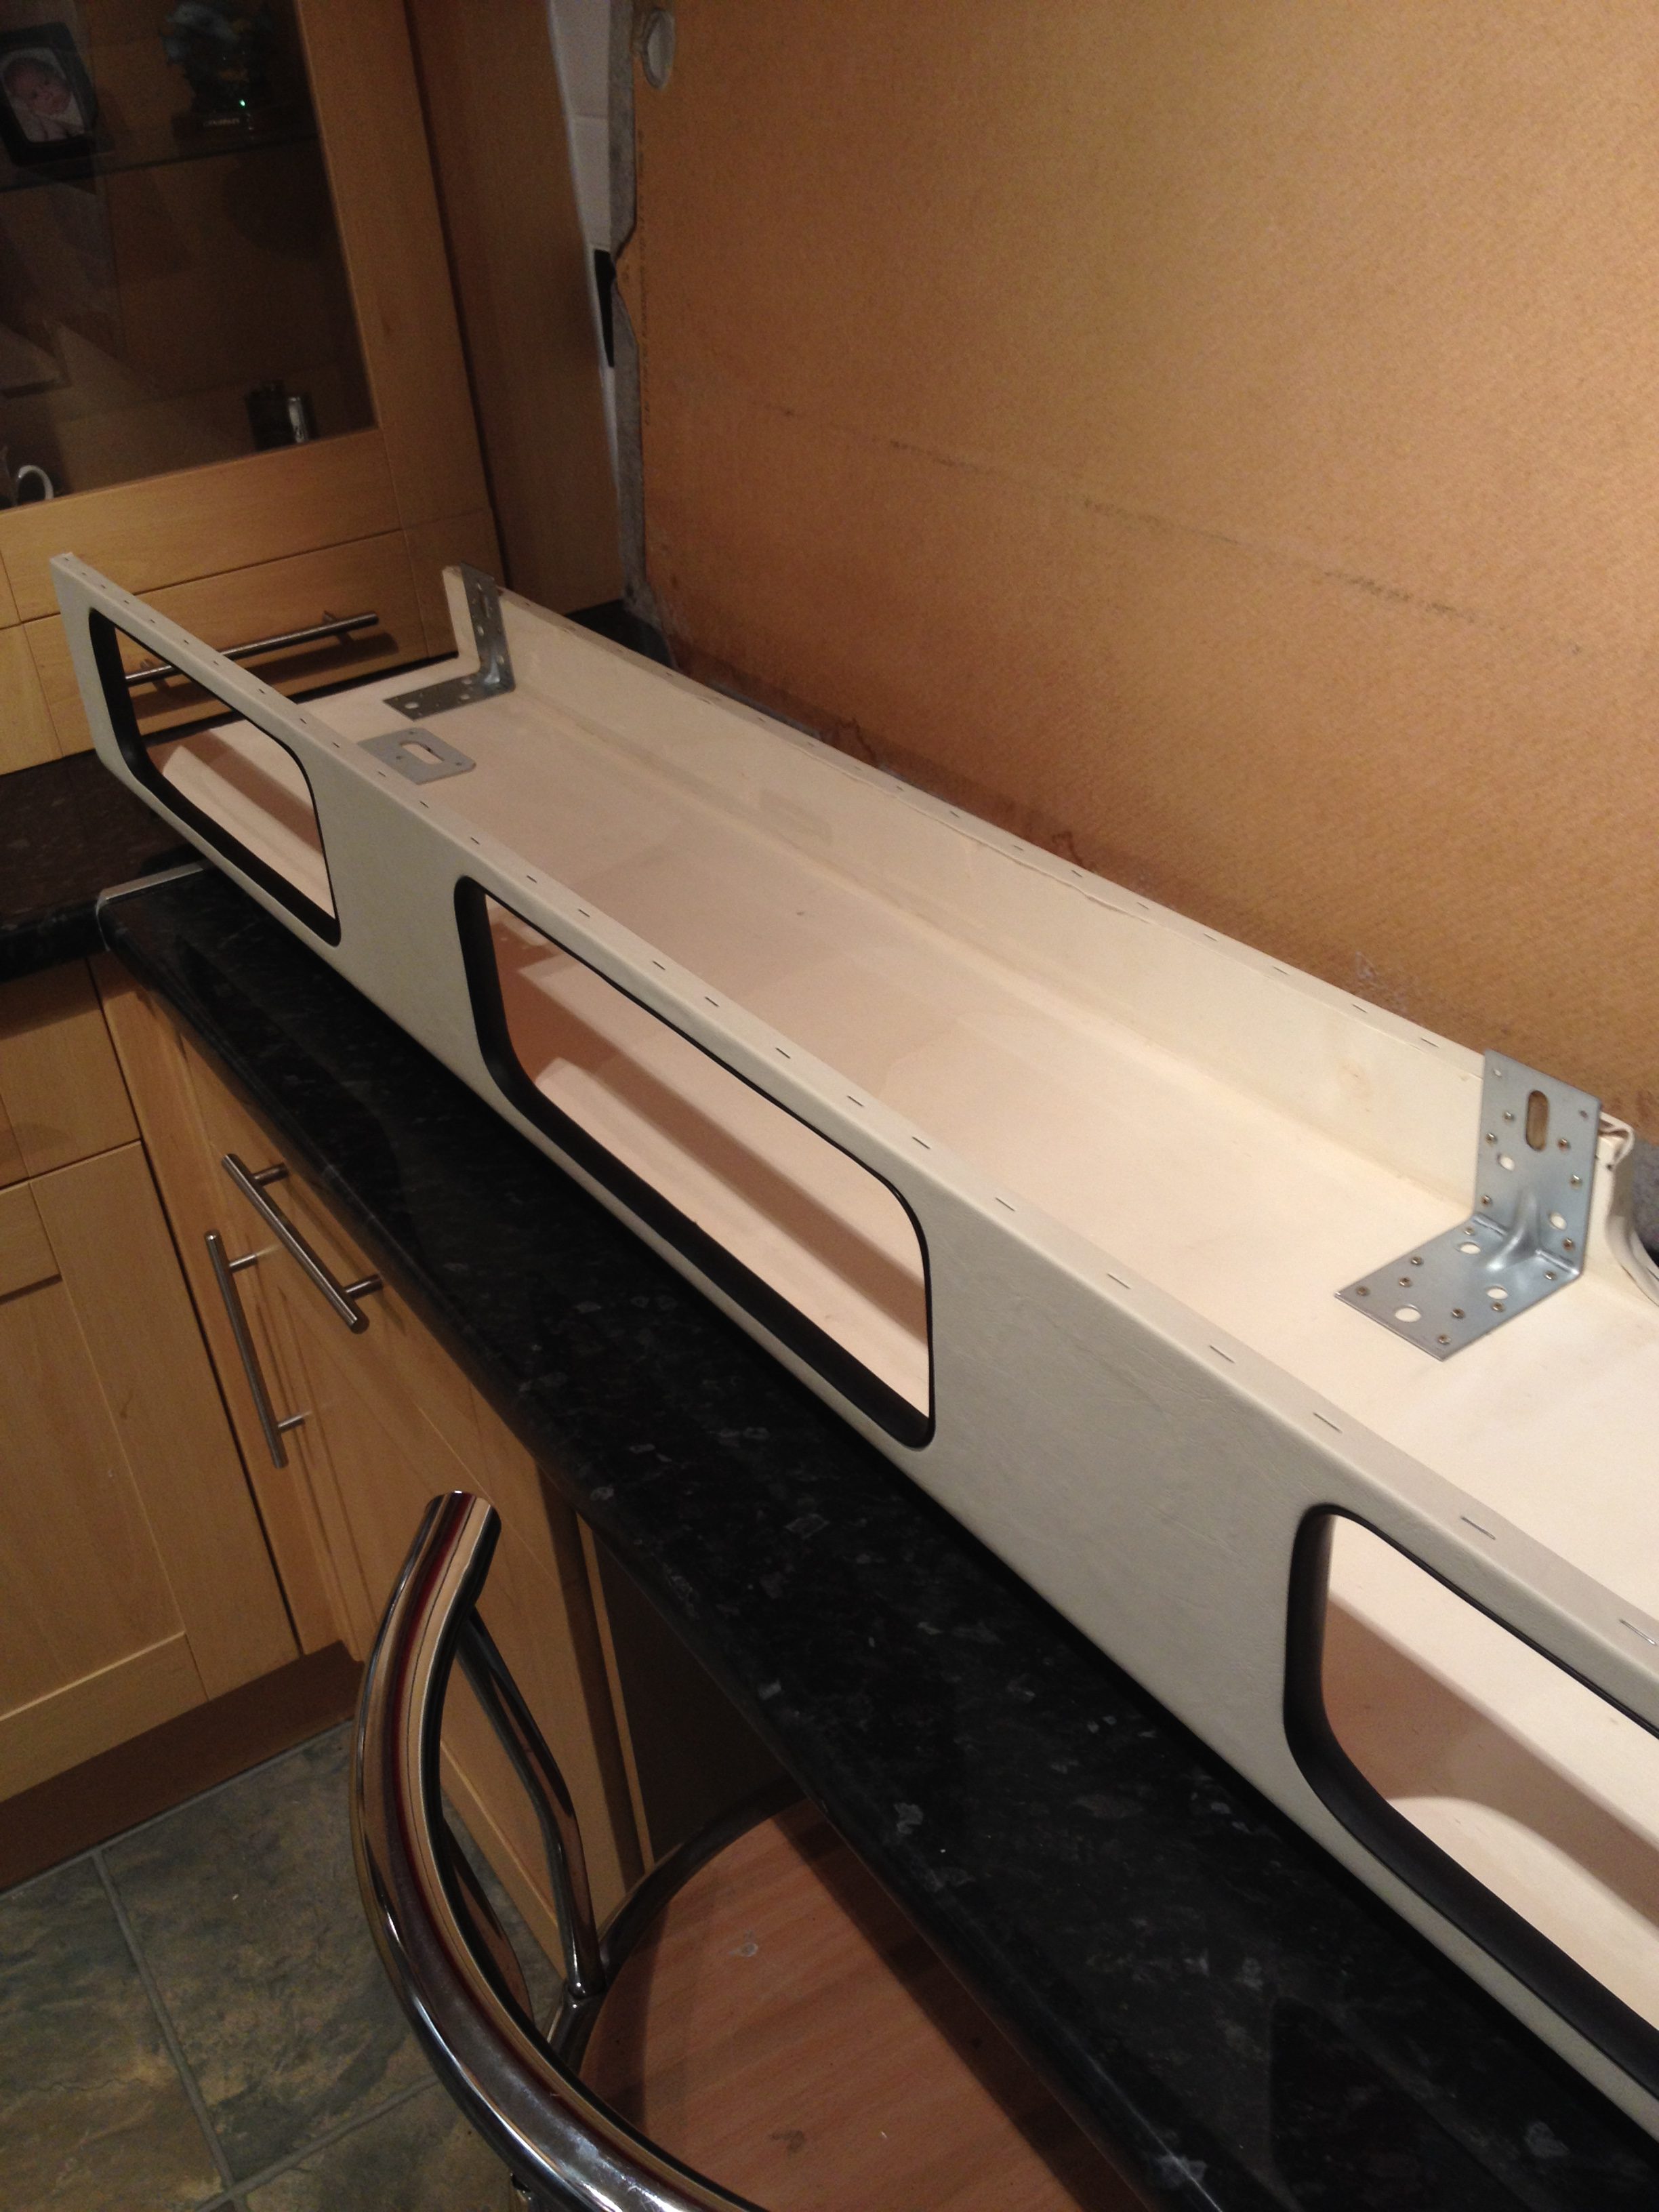
I now had to cut the openings, this was just marked up on the wood and cut carefully with a jigsaw, then finally sanded down with a sanding block.
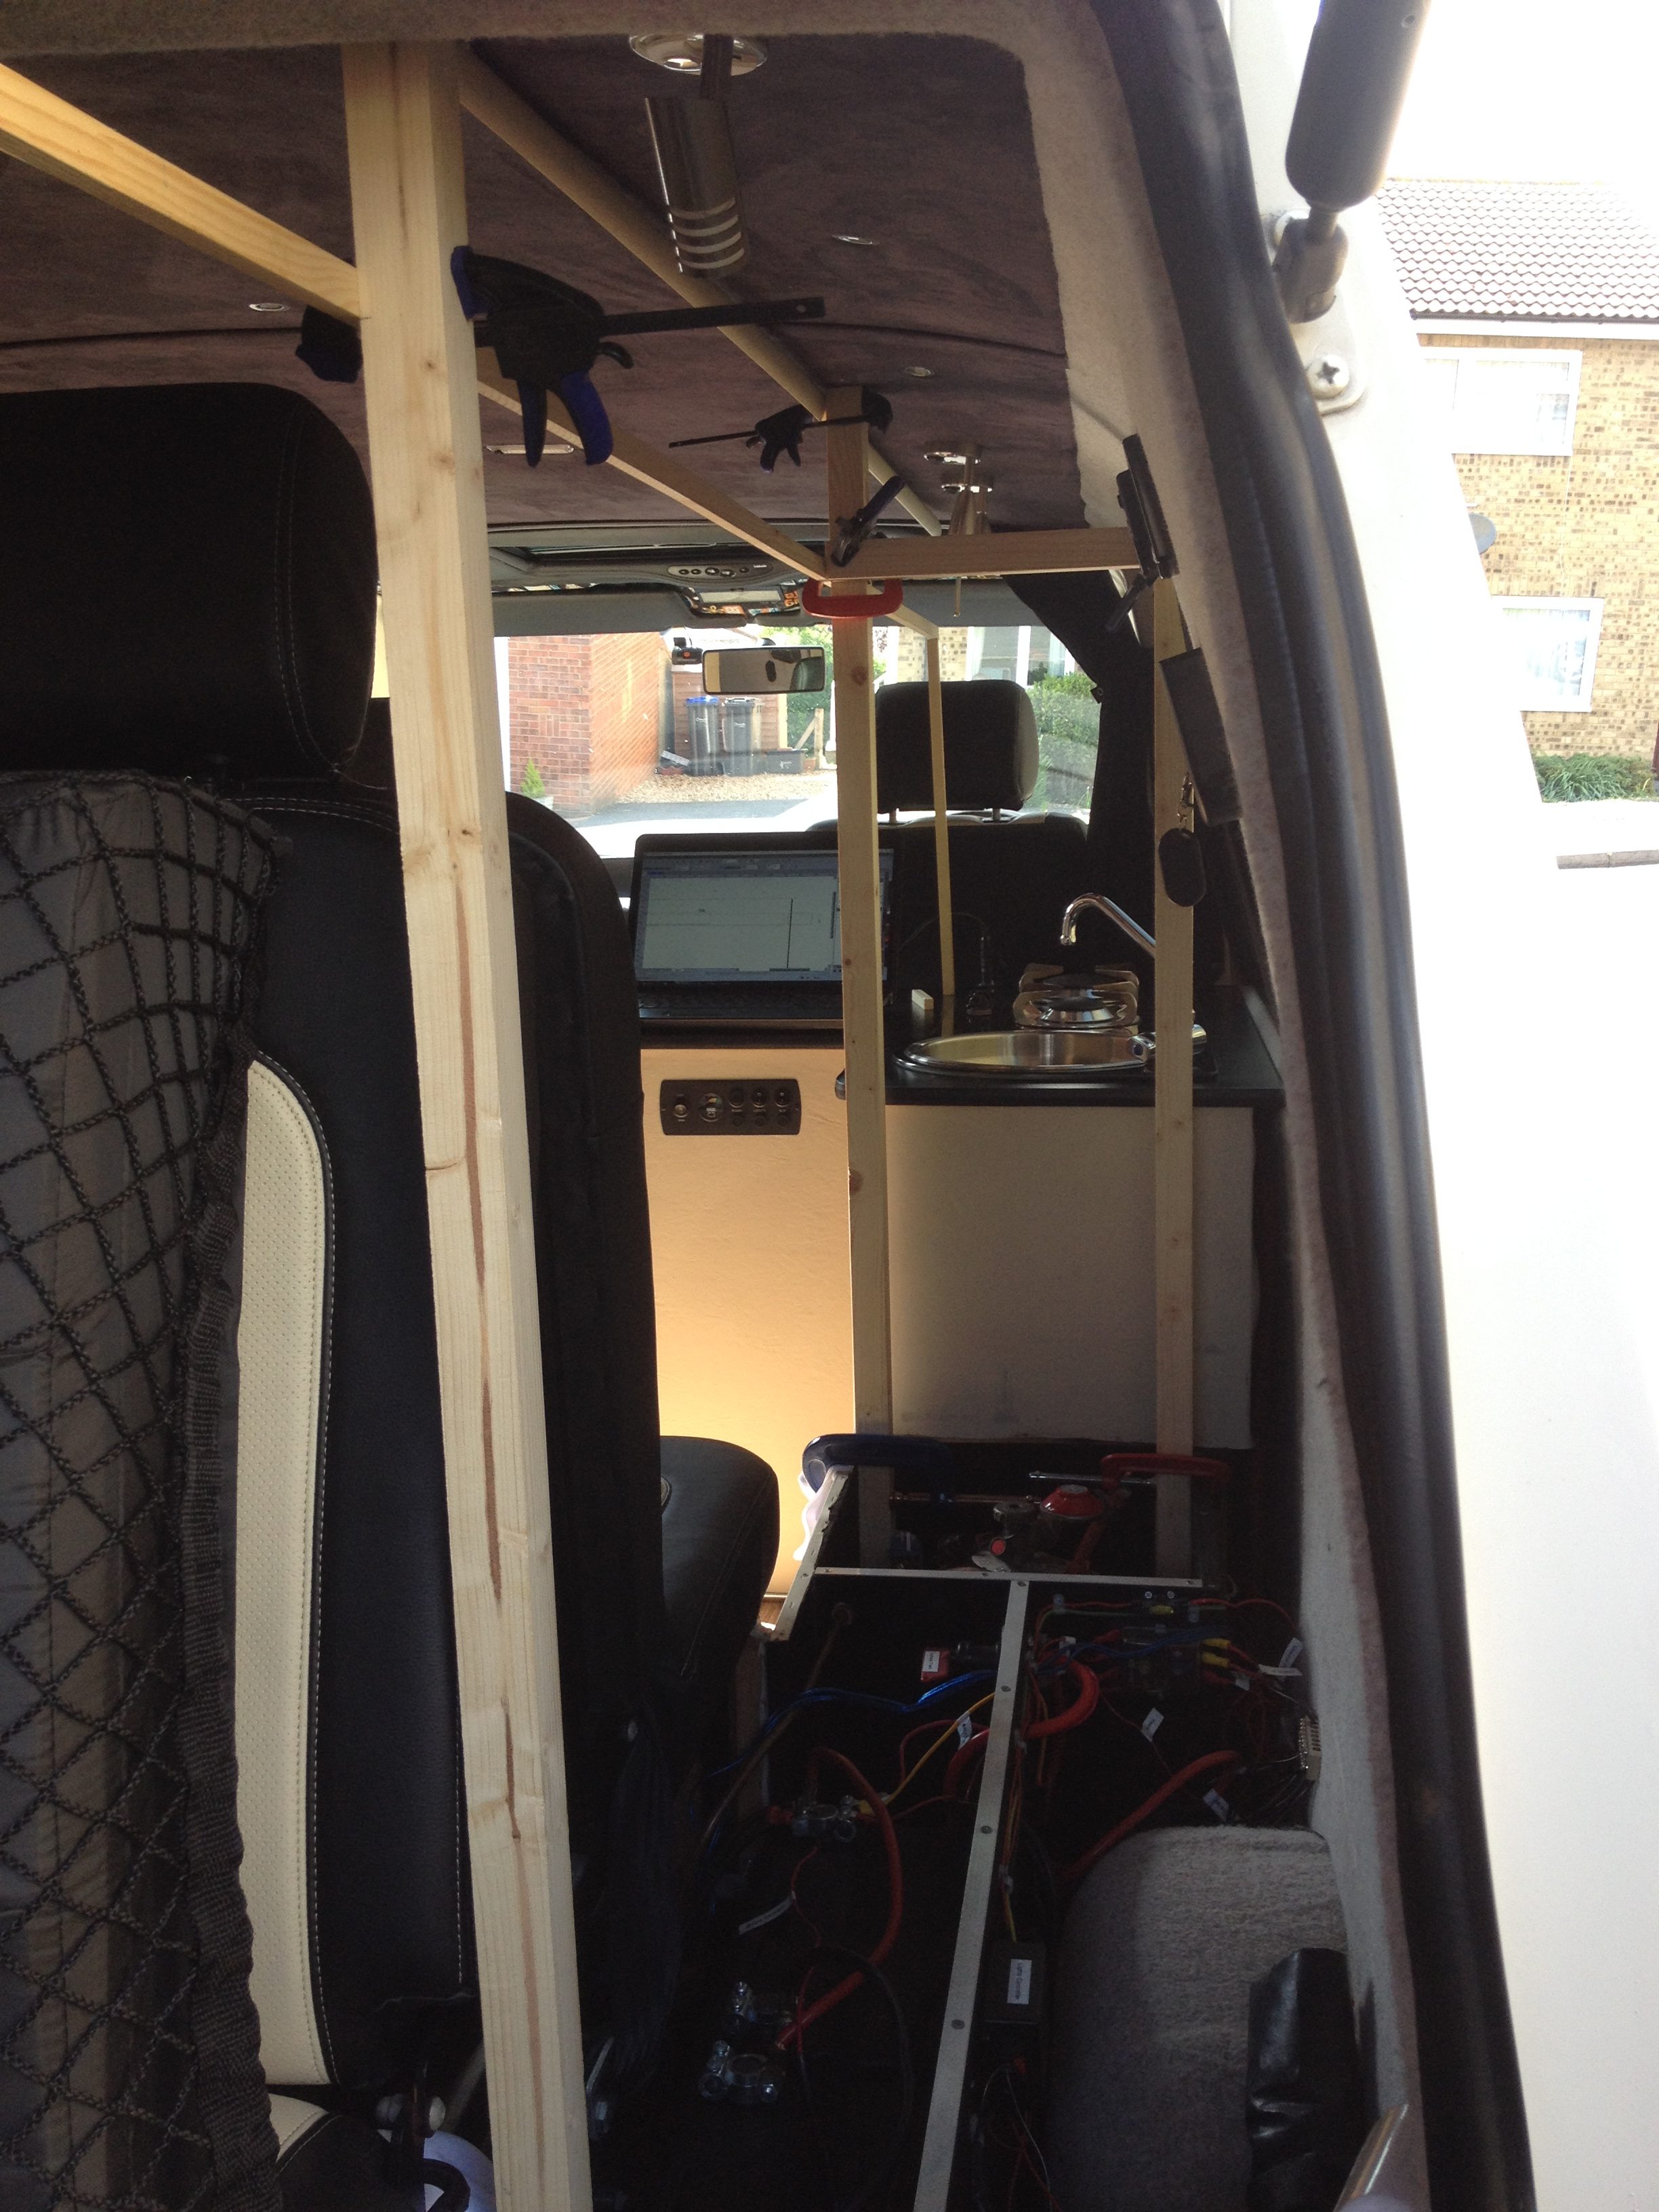
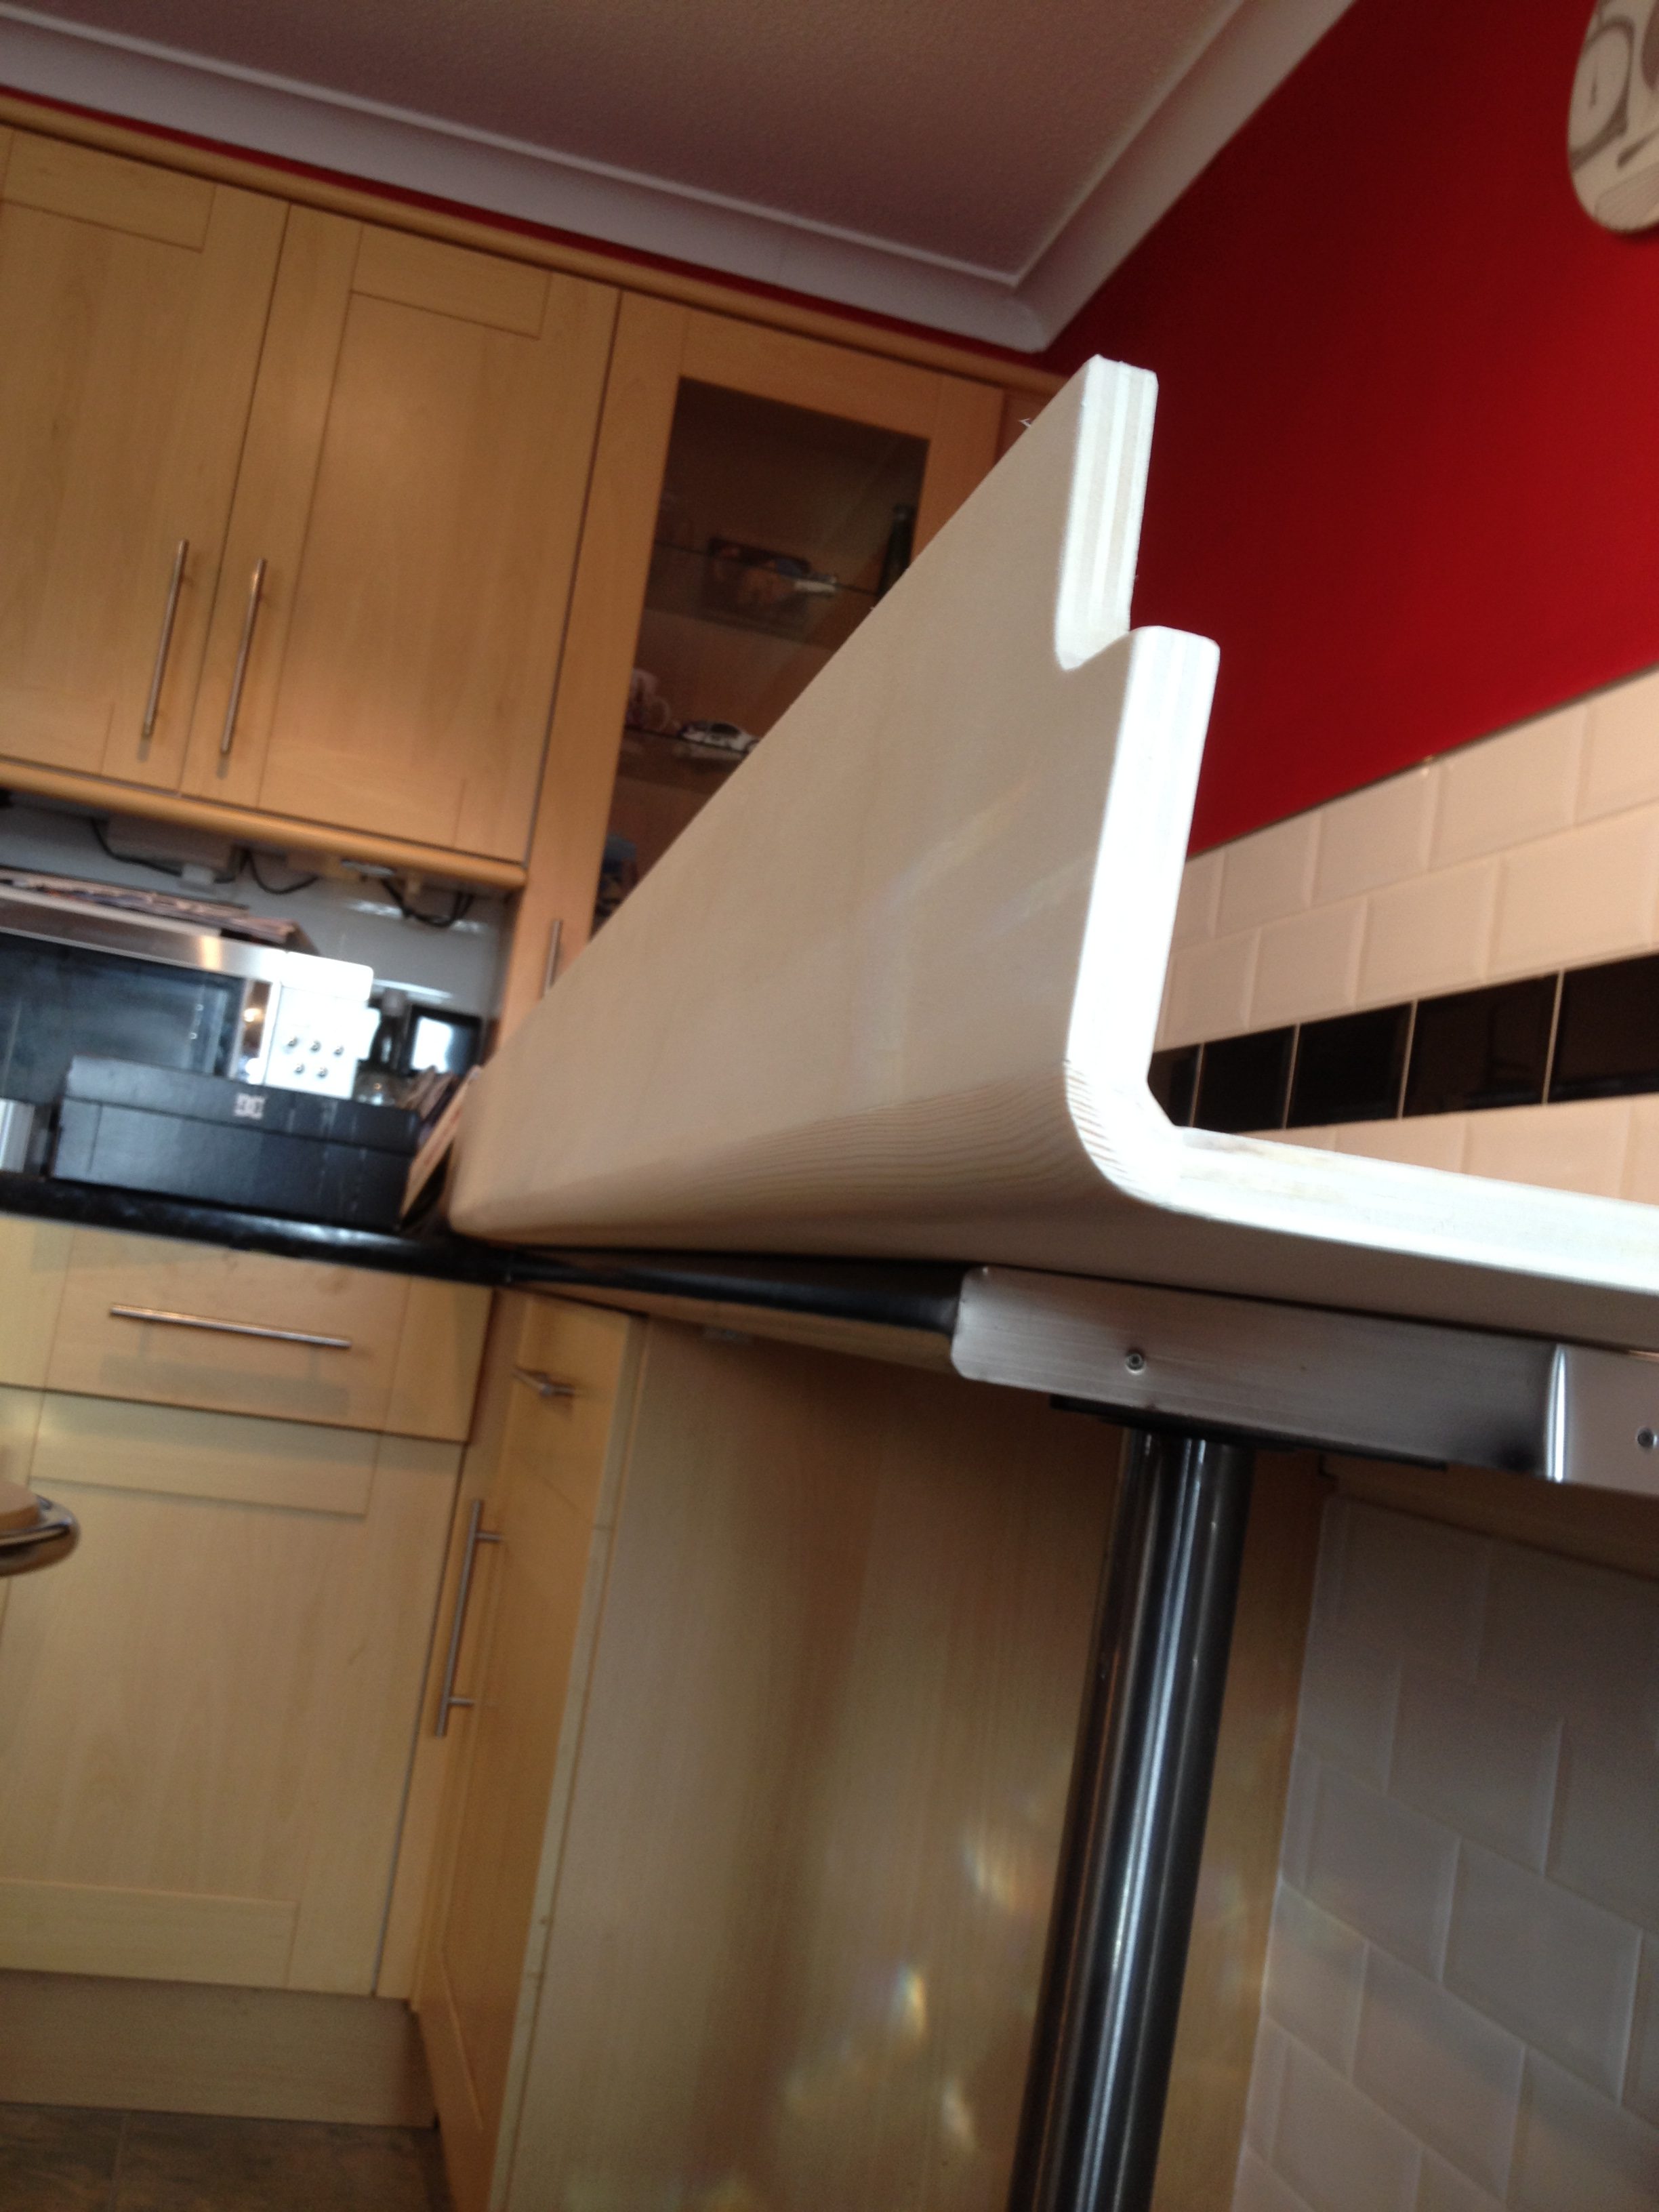
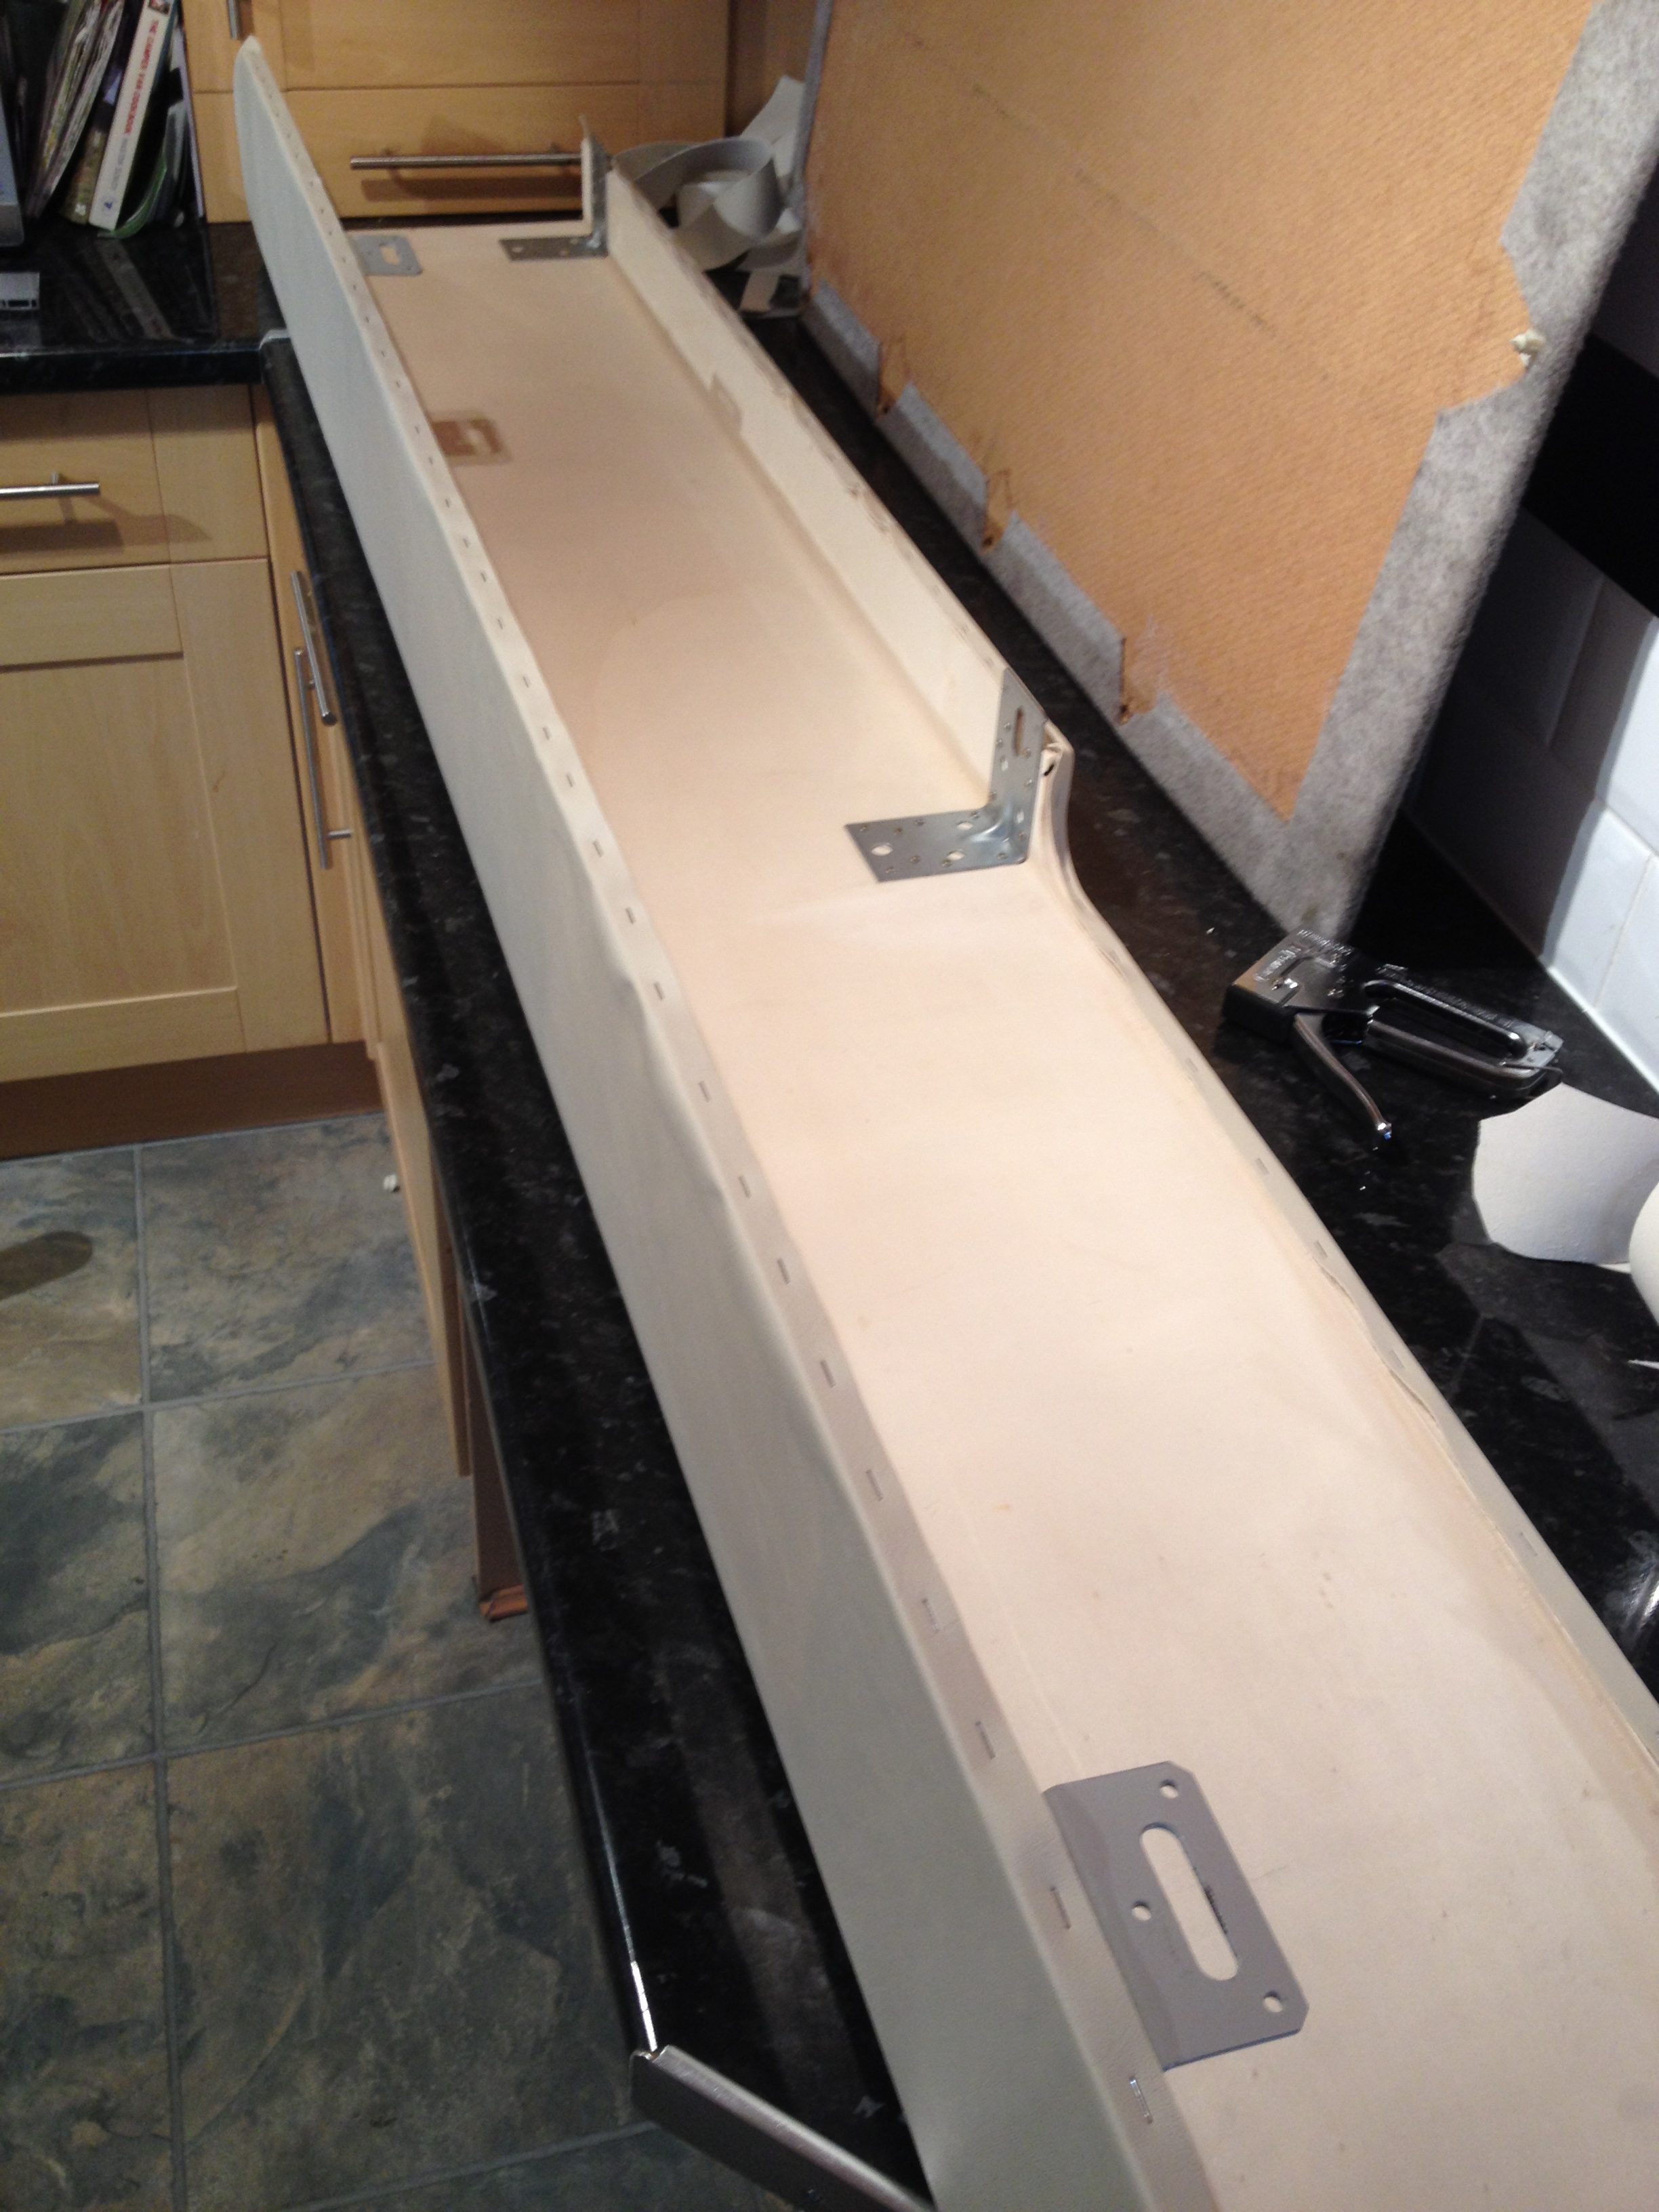
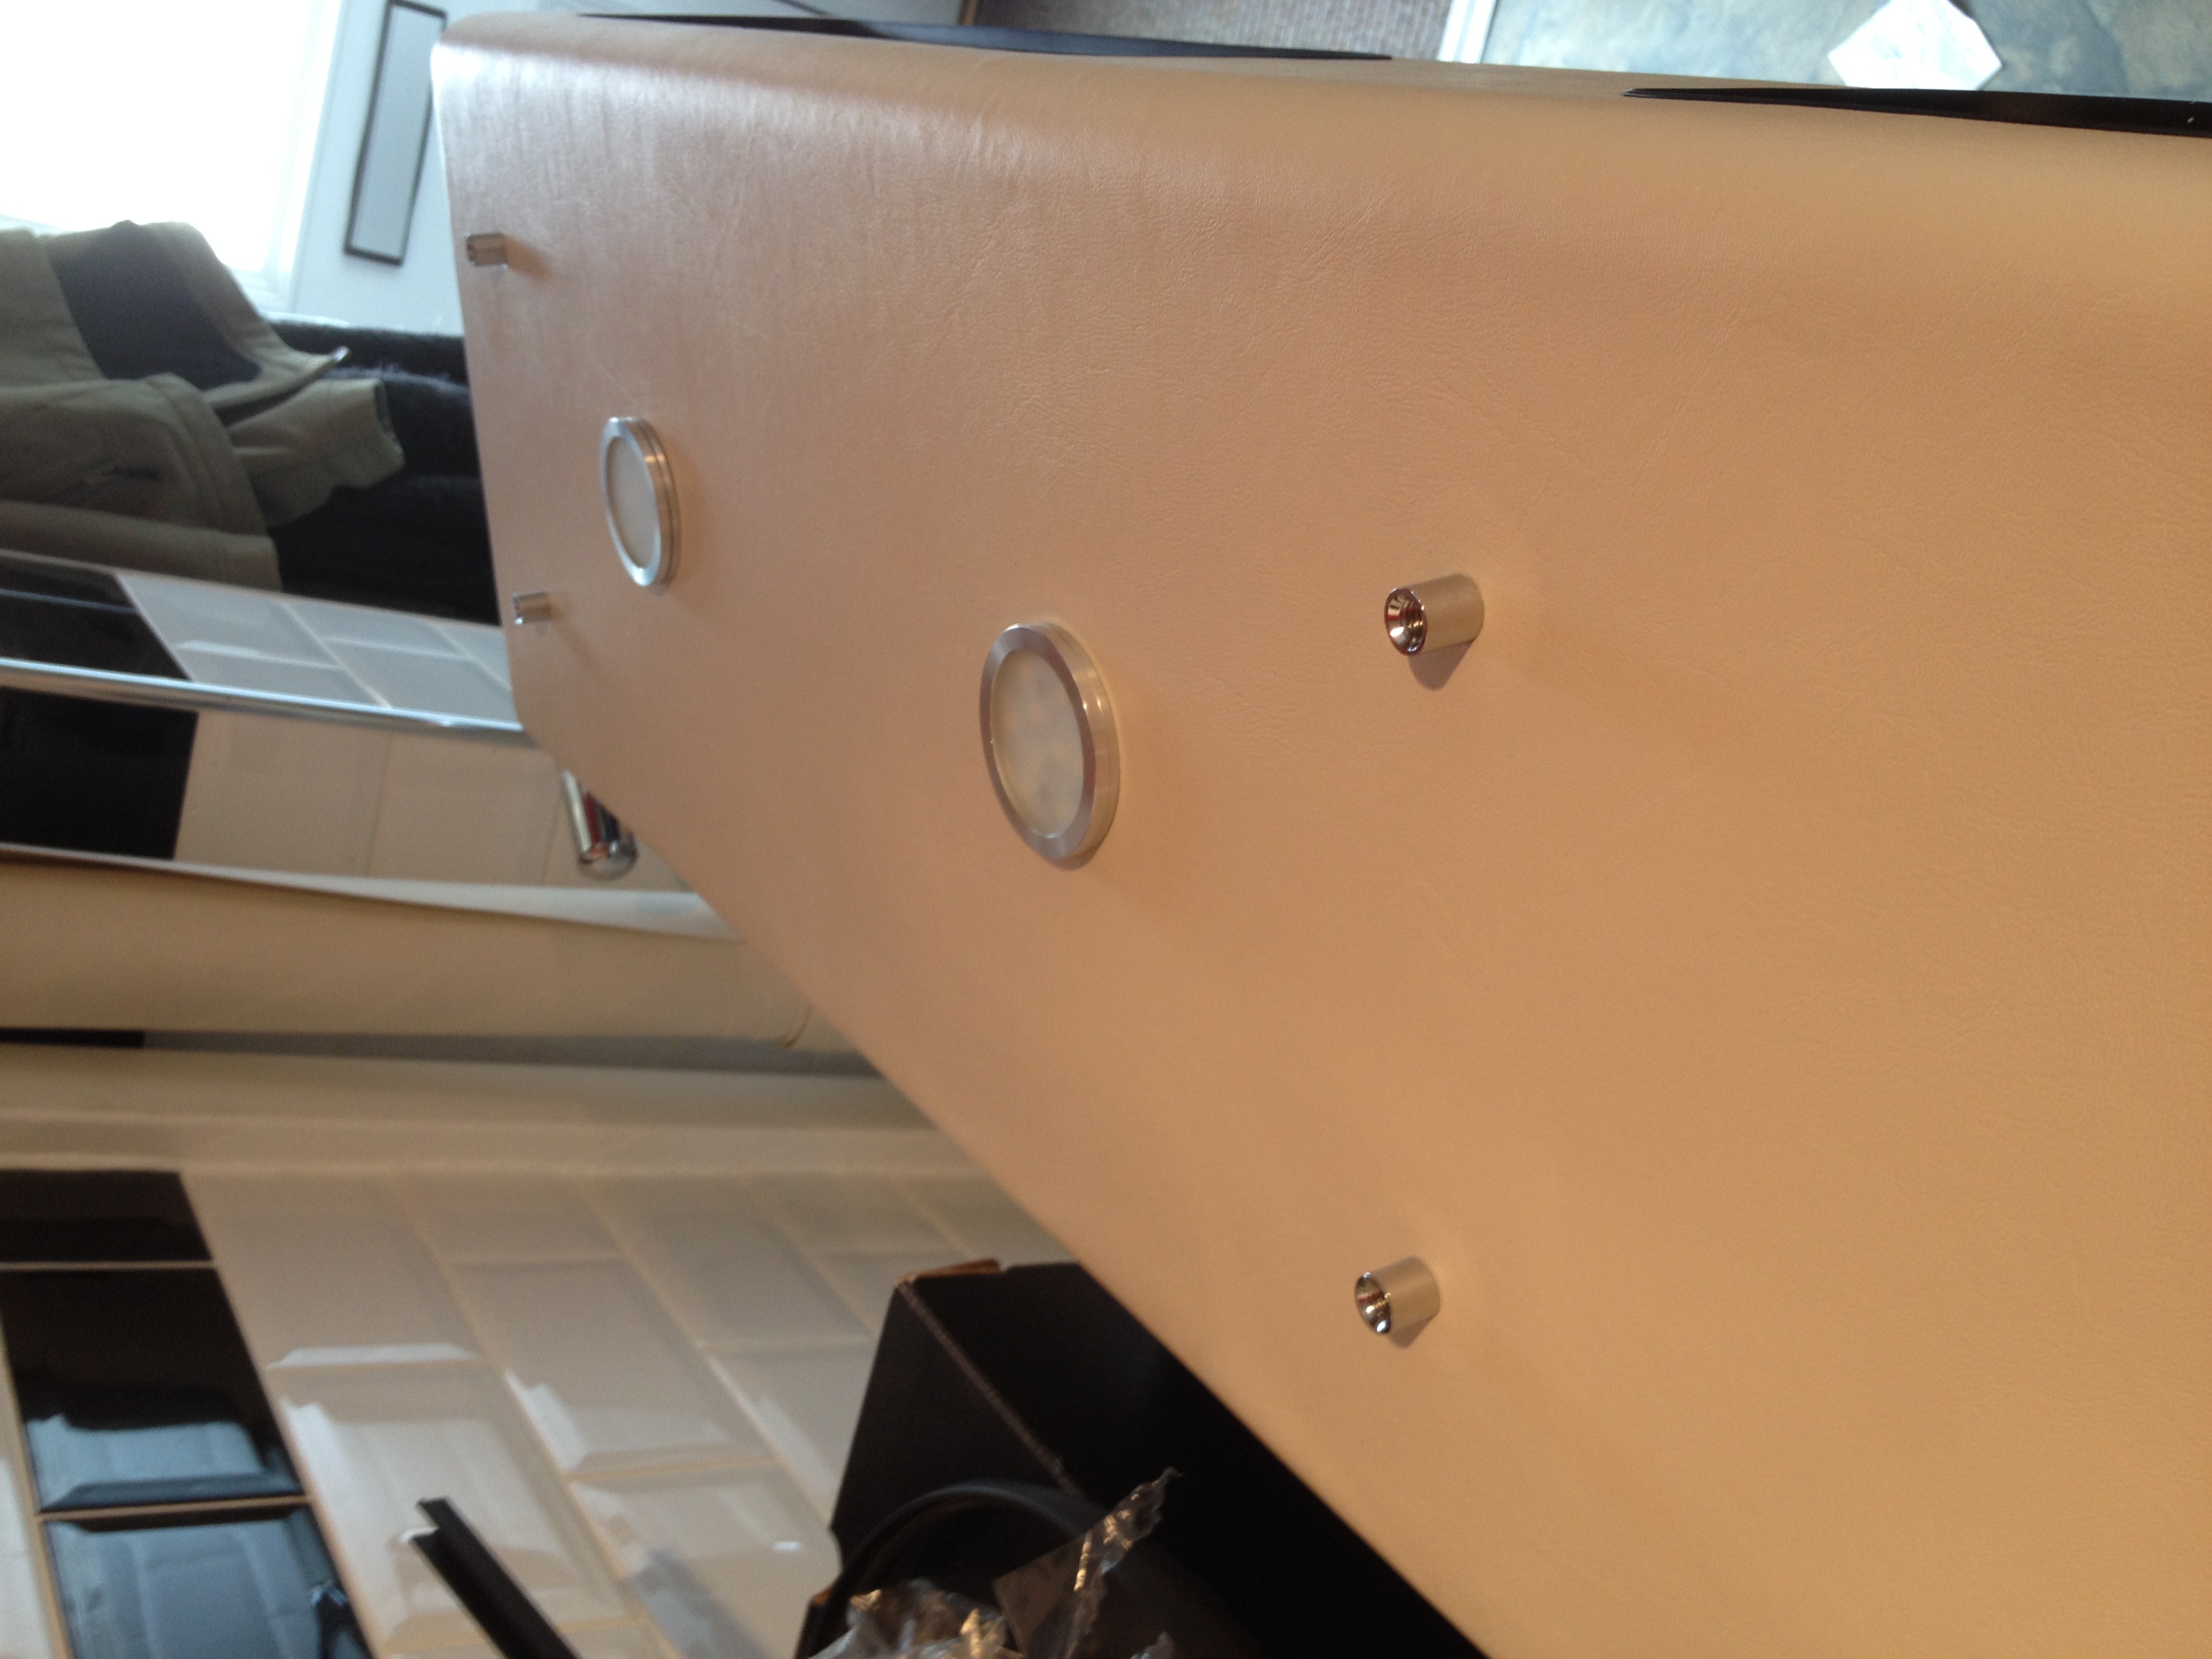
I then wanted to make sure I got my measurements correct and check the unit will fit into the van. The unit is fitted via 4 bolts, 2 attach to the side of the van and two to the supporting struts across the top.
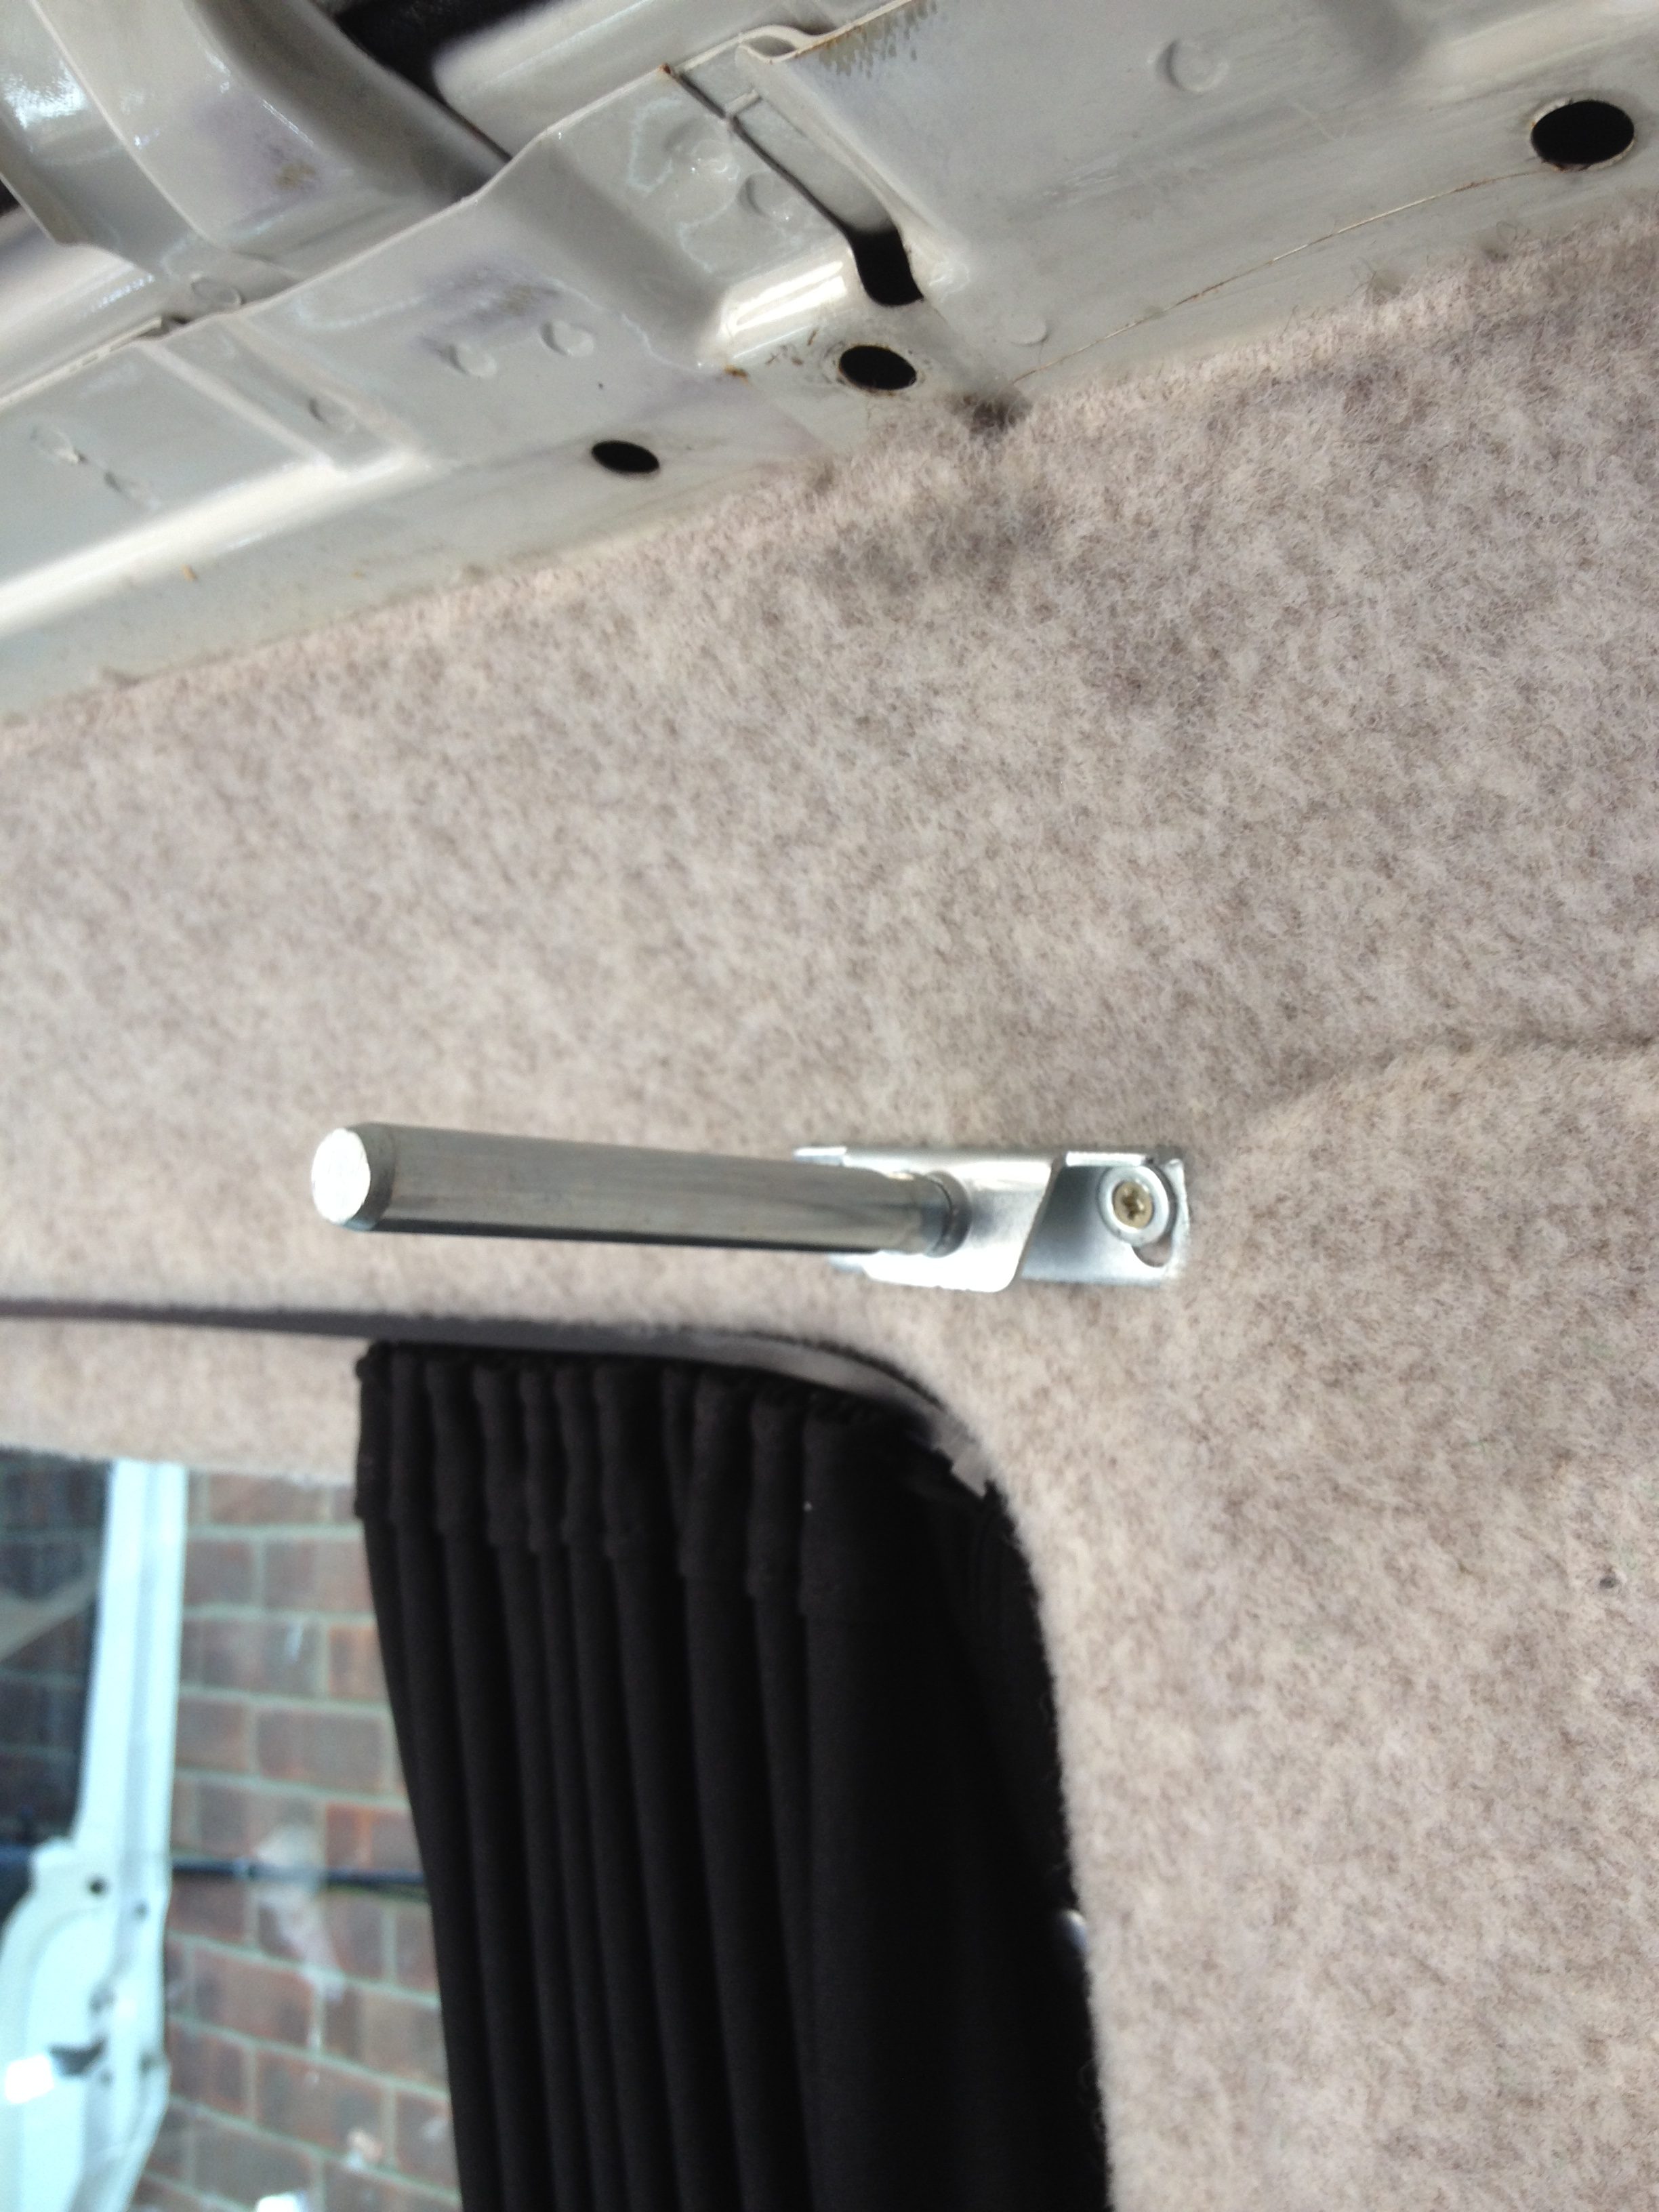
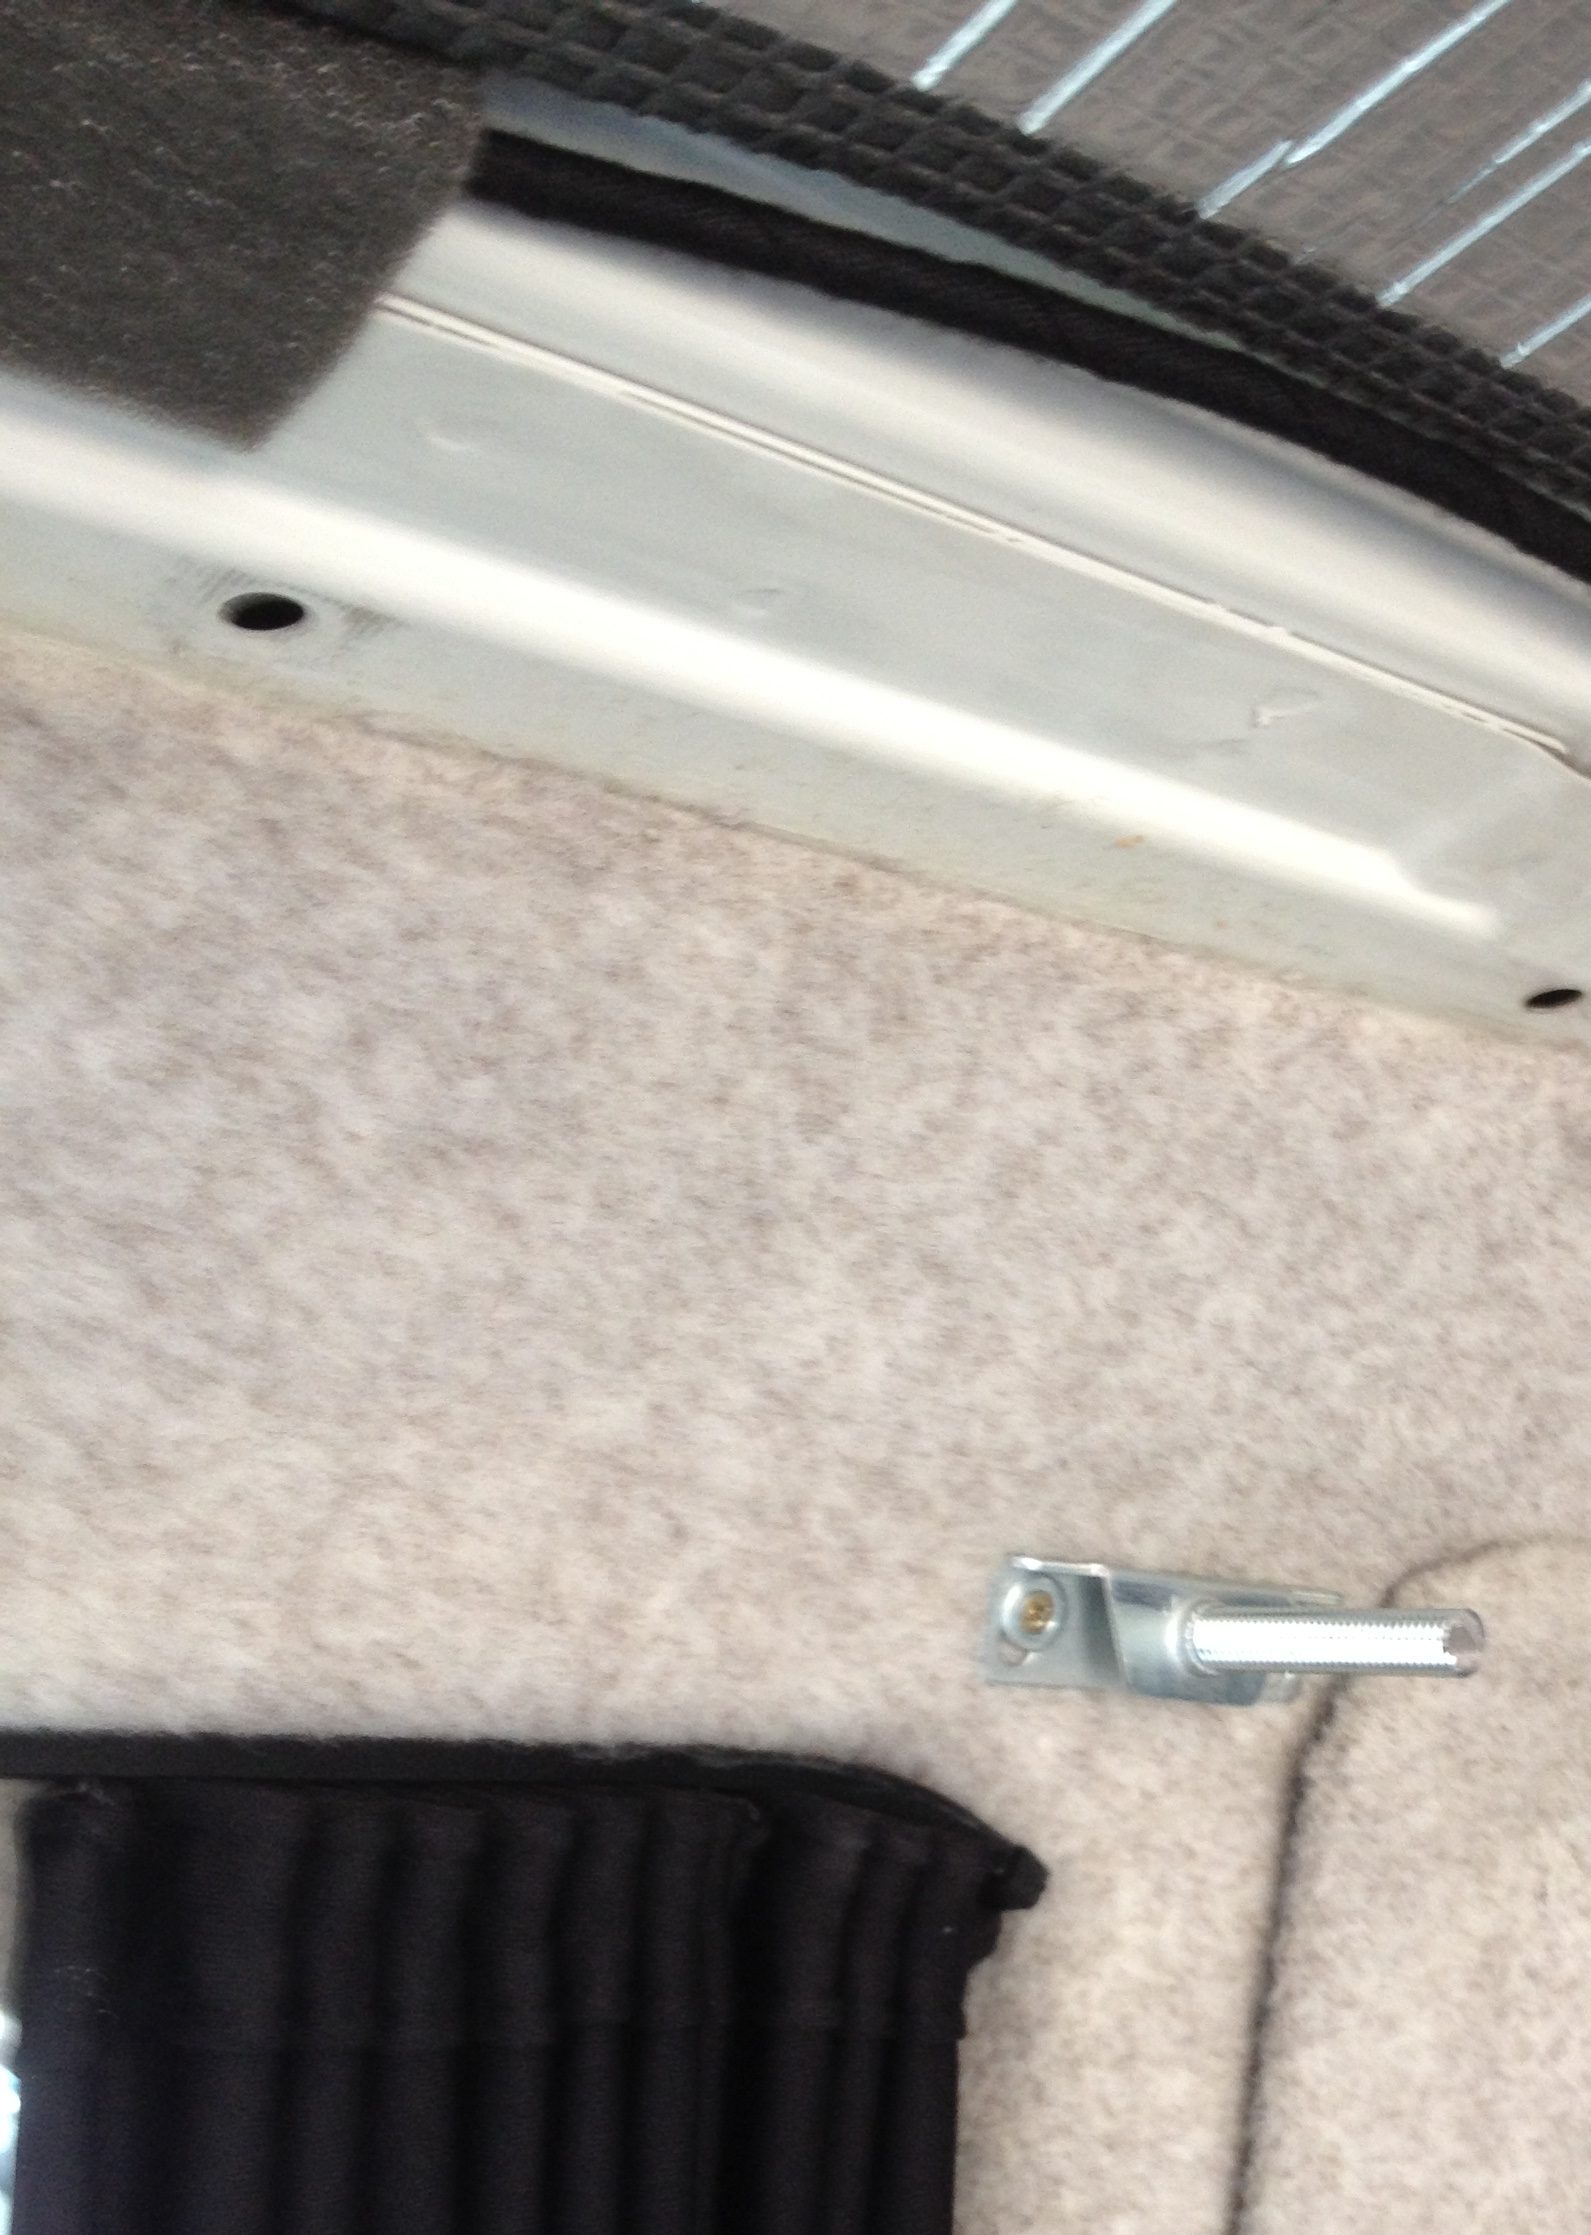
The reason I opted for the floating shelf brackets was so that as with everything on my van, I have the option to take things out should I need to modify it, that has certainly been the case since first doing this.
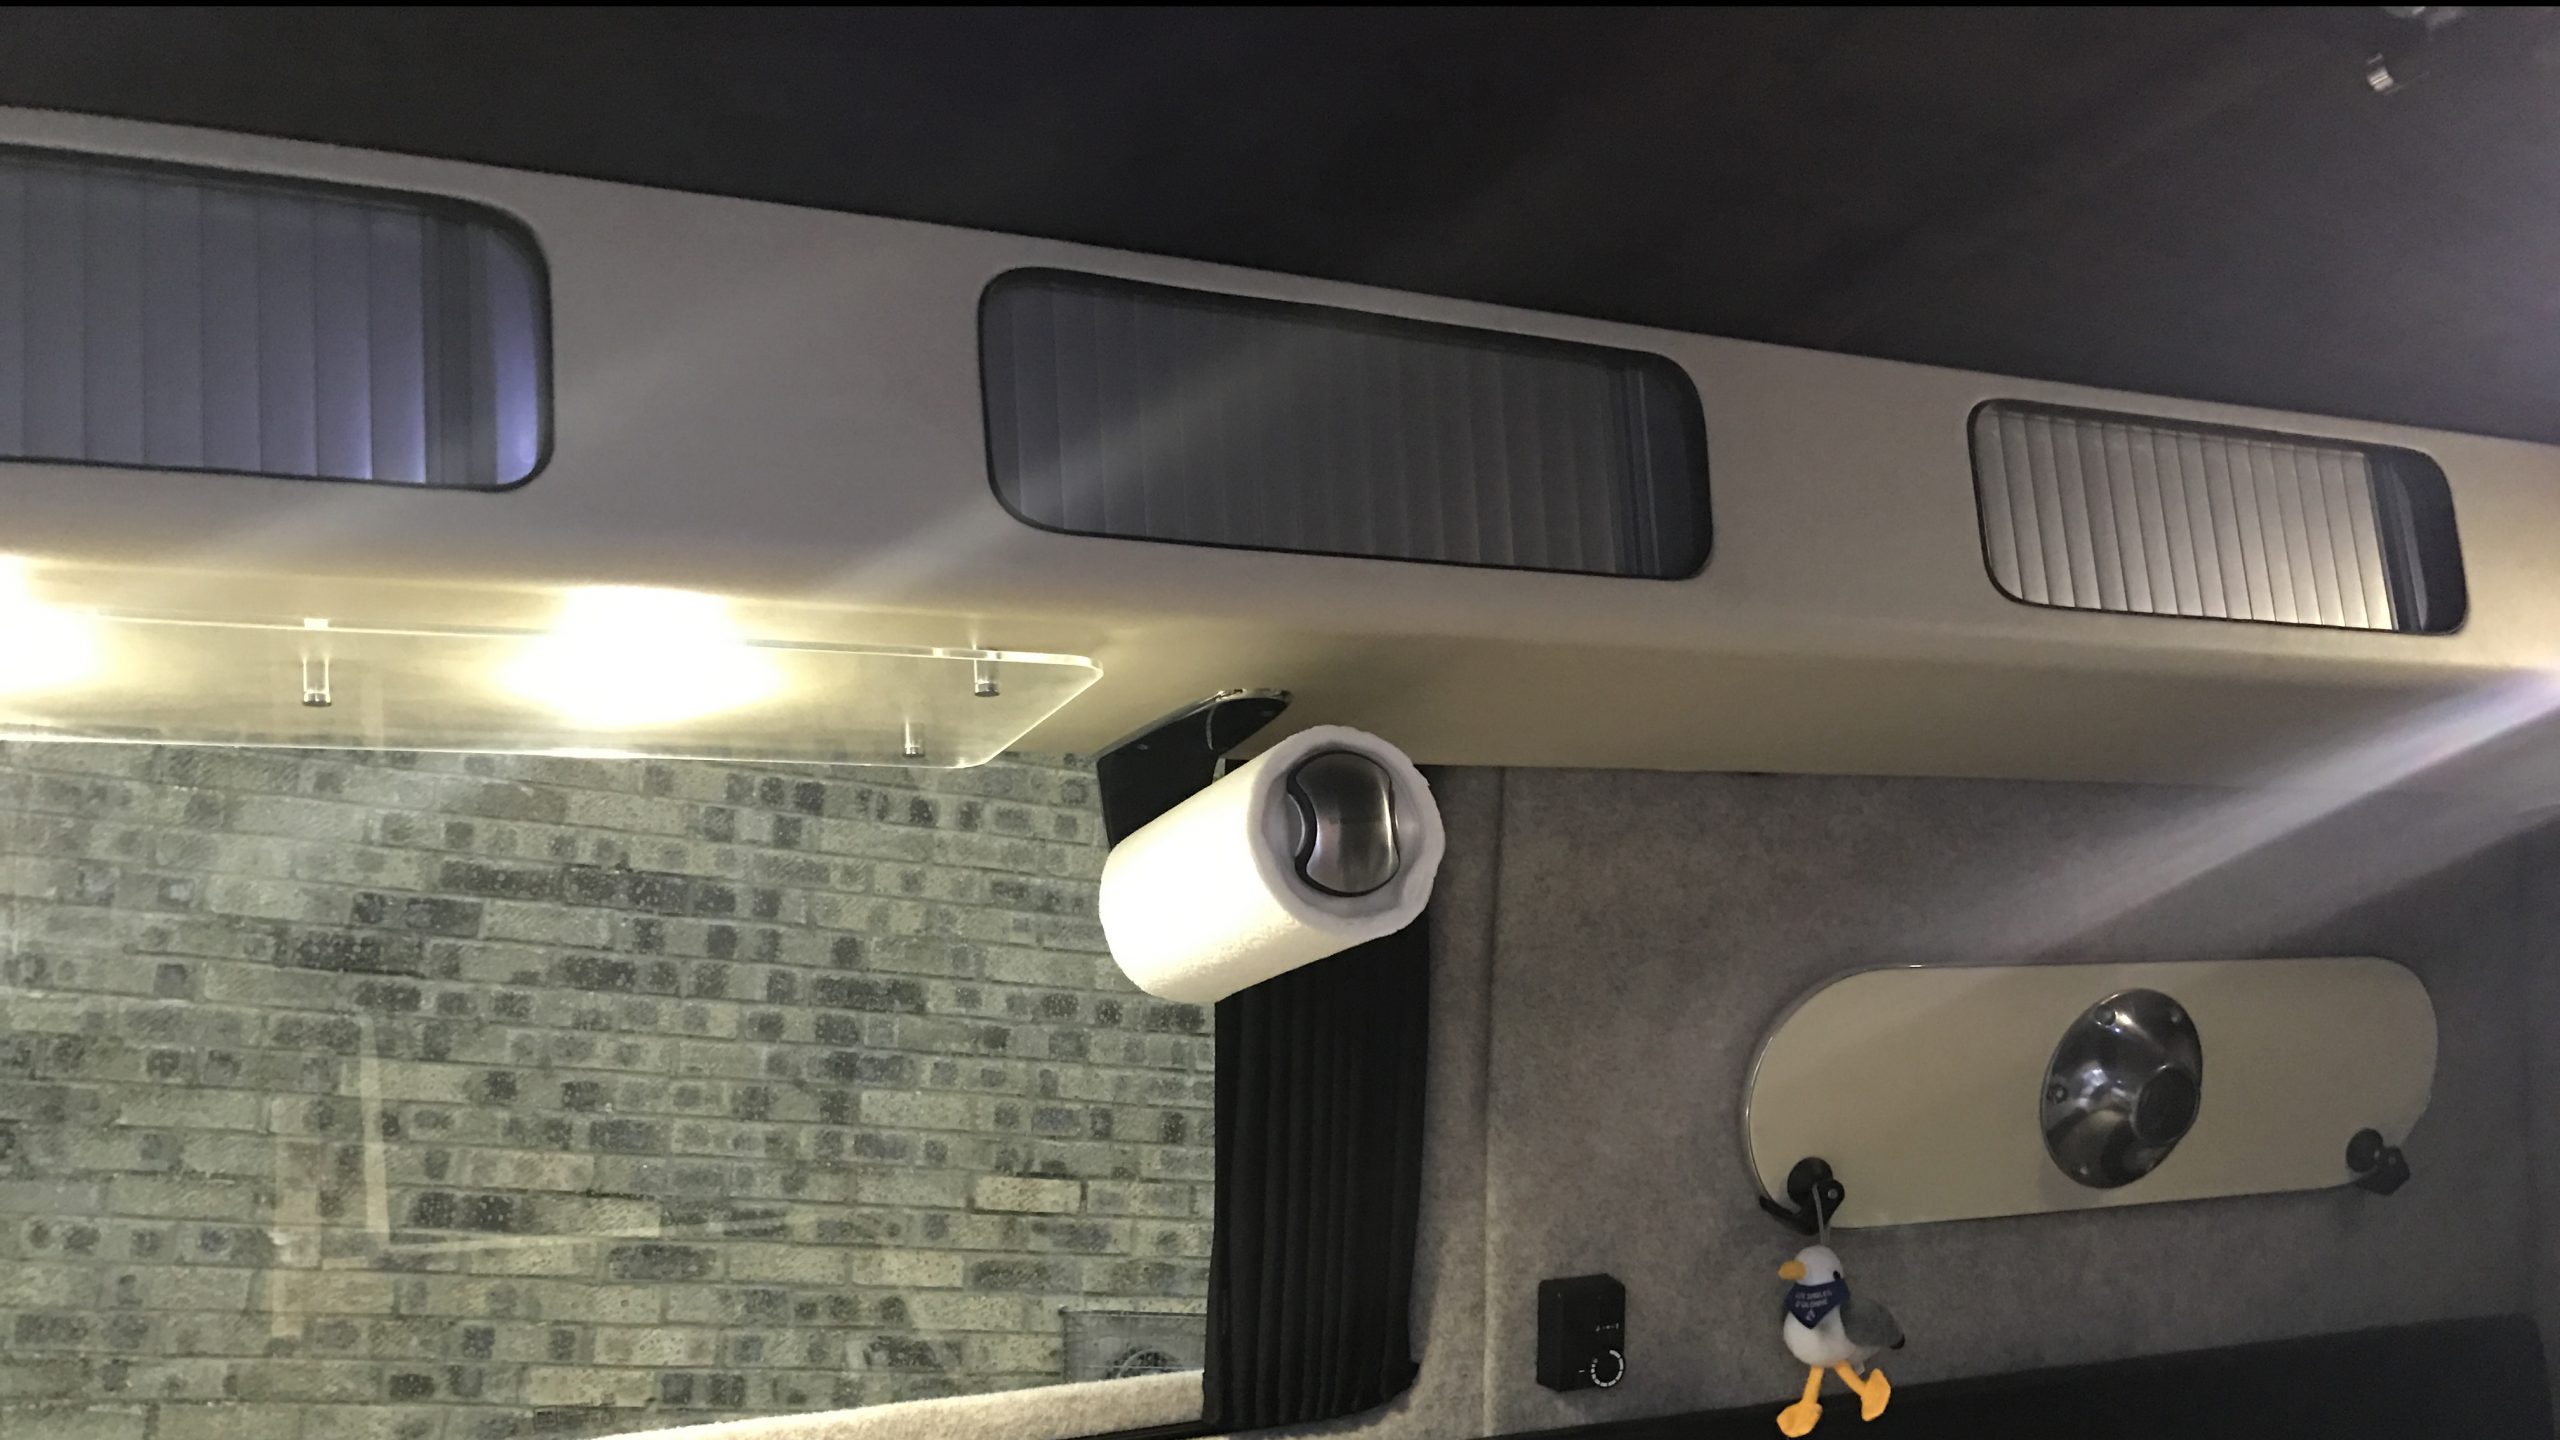
In order to stop anything falling out the back of the unit, I added a small lip to the back of the unit, this needed to be a bit smaller towards the back in order to not touch the roof.
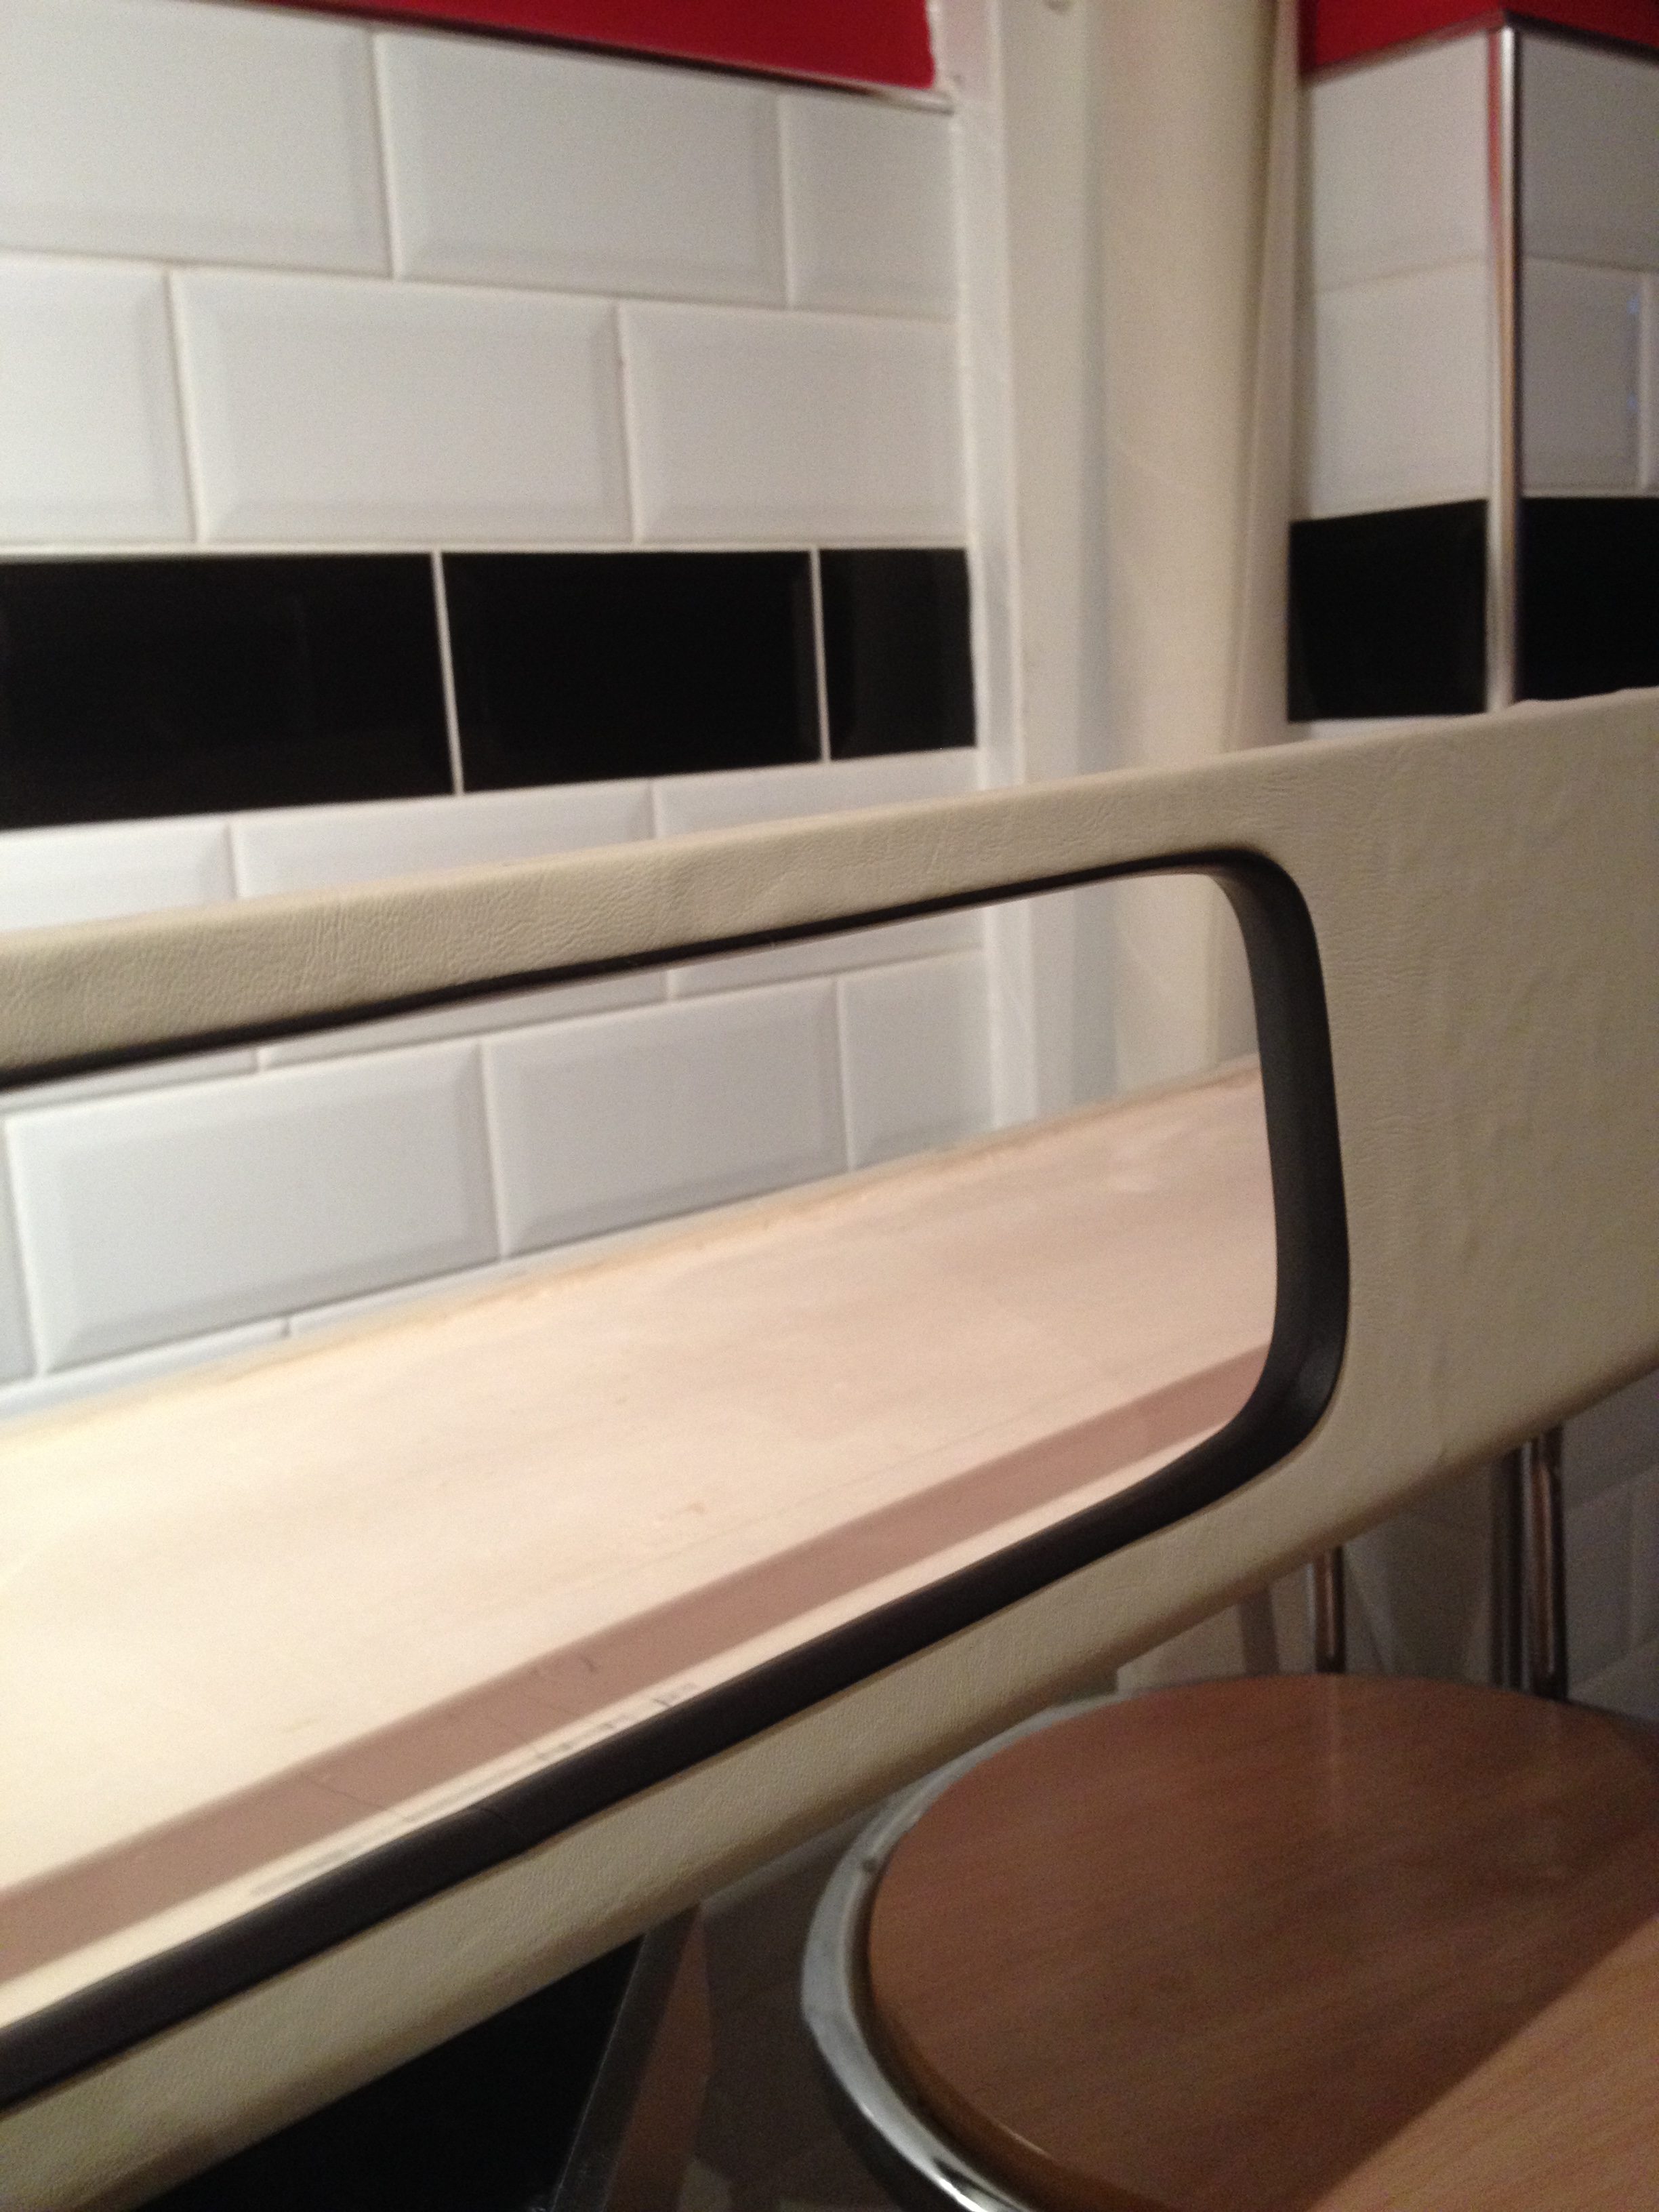
Once I was happy with the fitting, I continued with the construction of the unit. After using a t‑slot router bit around the openings I wrapped the unit in leather effect vinyl, I used the smooth grain ivory which can be bought online from AS Trim, this being stuck down with high temperature contact adhesive. Once this was done, I cut out the openings and added black t‑trim edging.
The next stage eventually became redundant. I had originally built small boxes for each compartment, the reason I had gone for this is I thought it would be good to not have to see the roof when opening up, but this proofed to be problematic and ended up with less space so I since modified and I won’t go into that here.
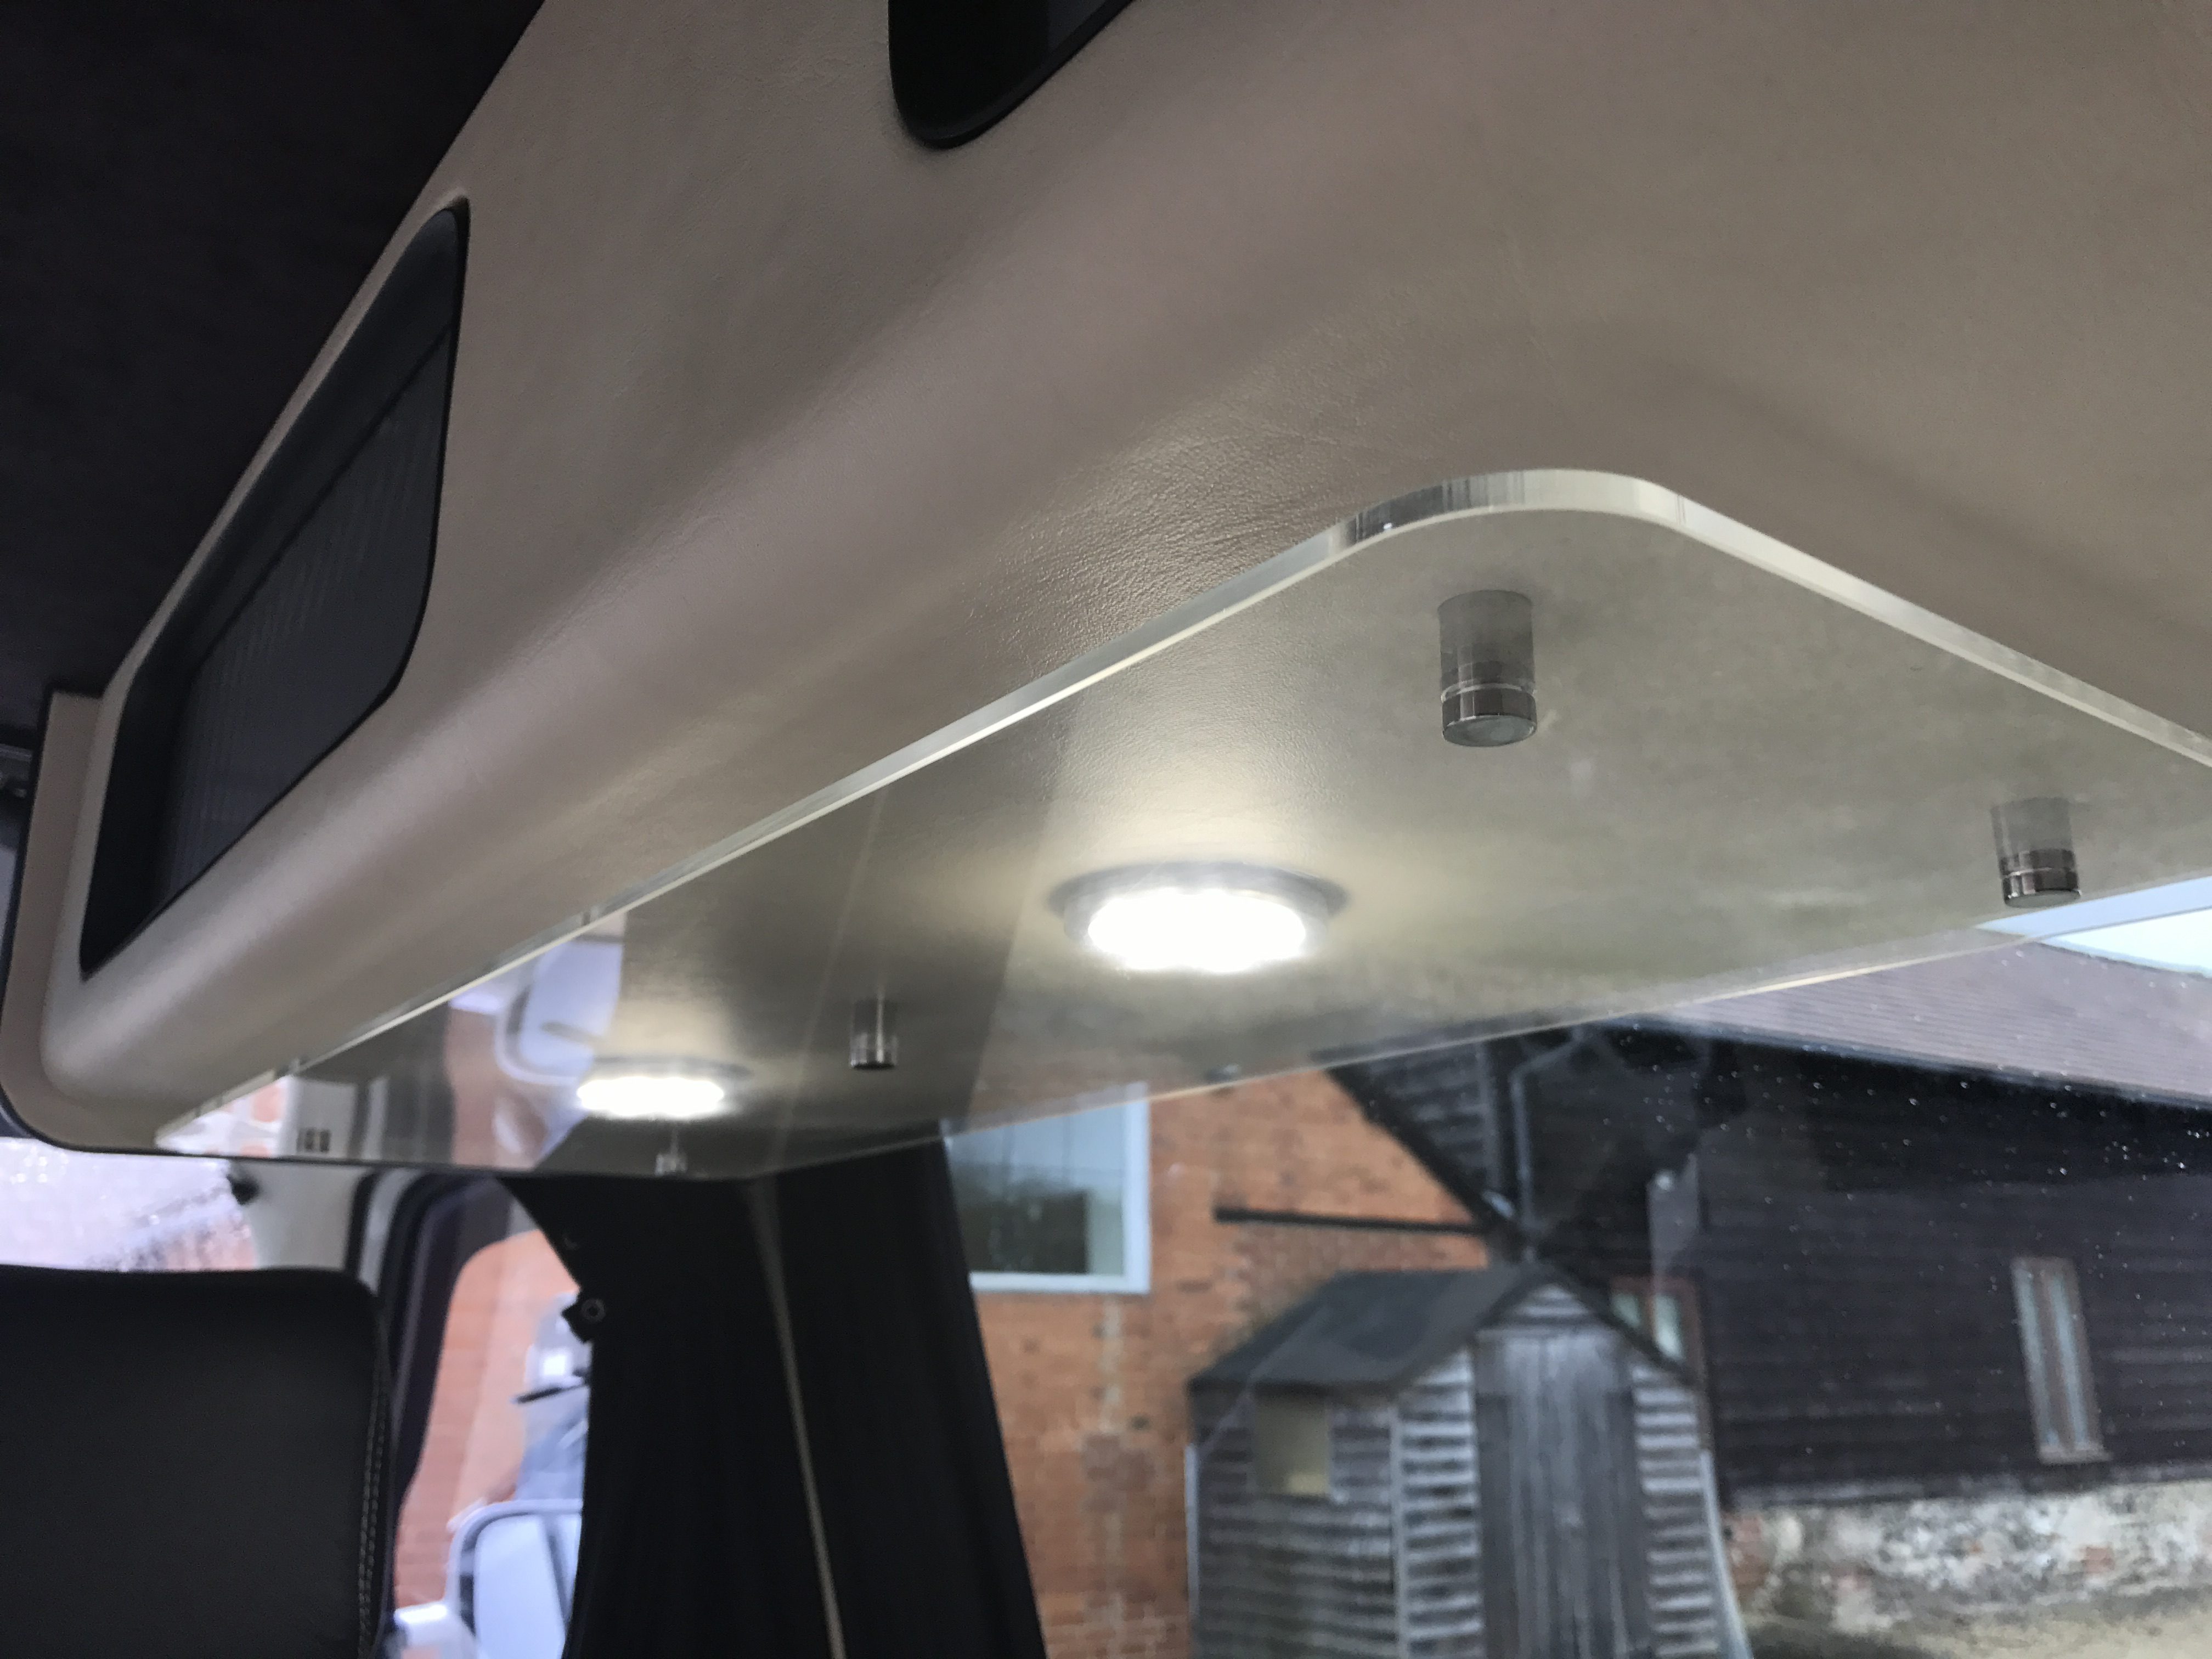
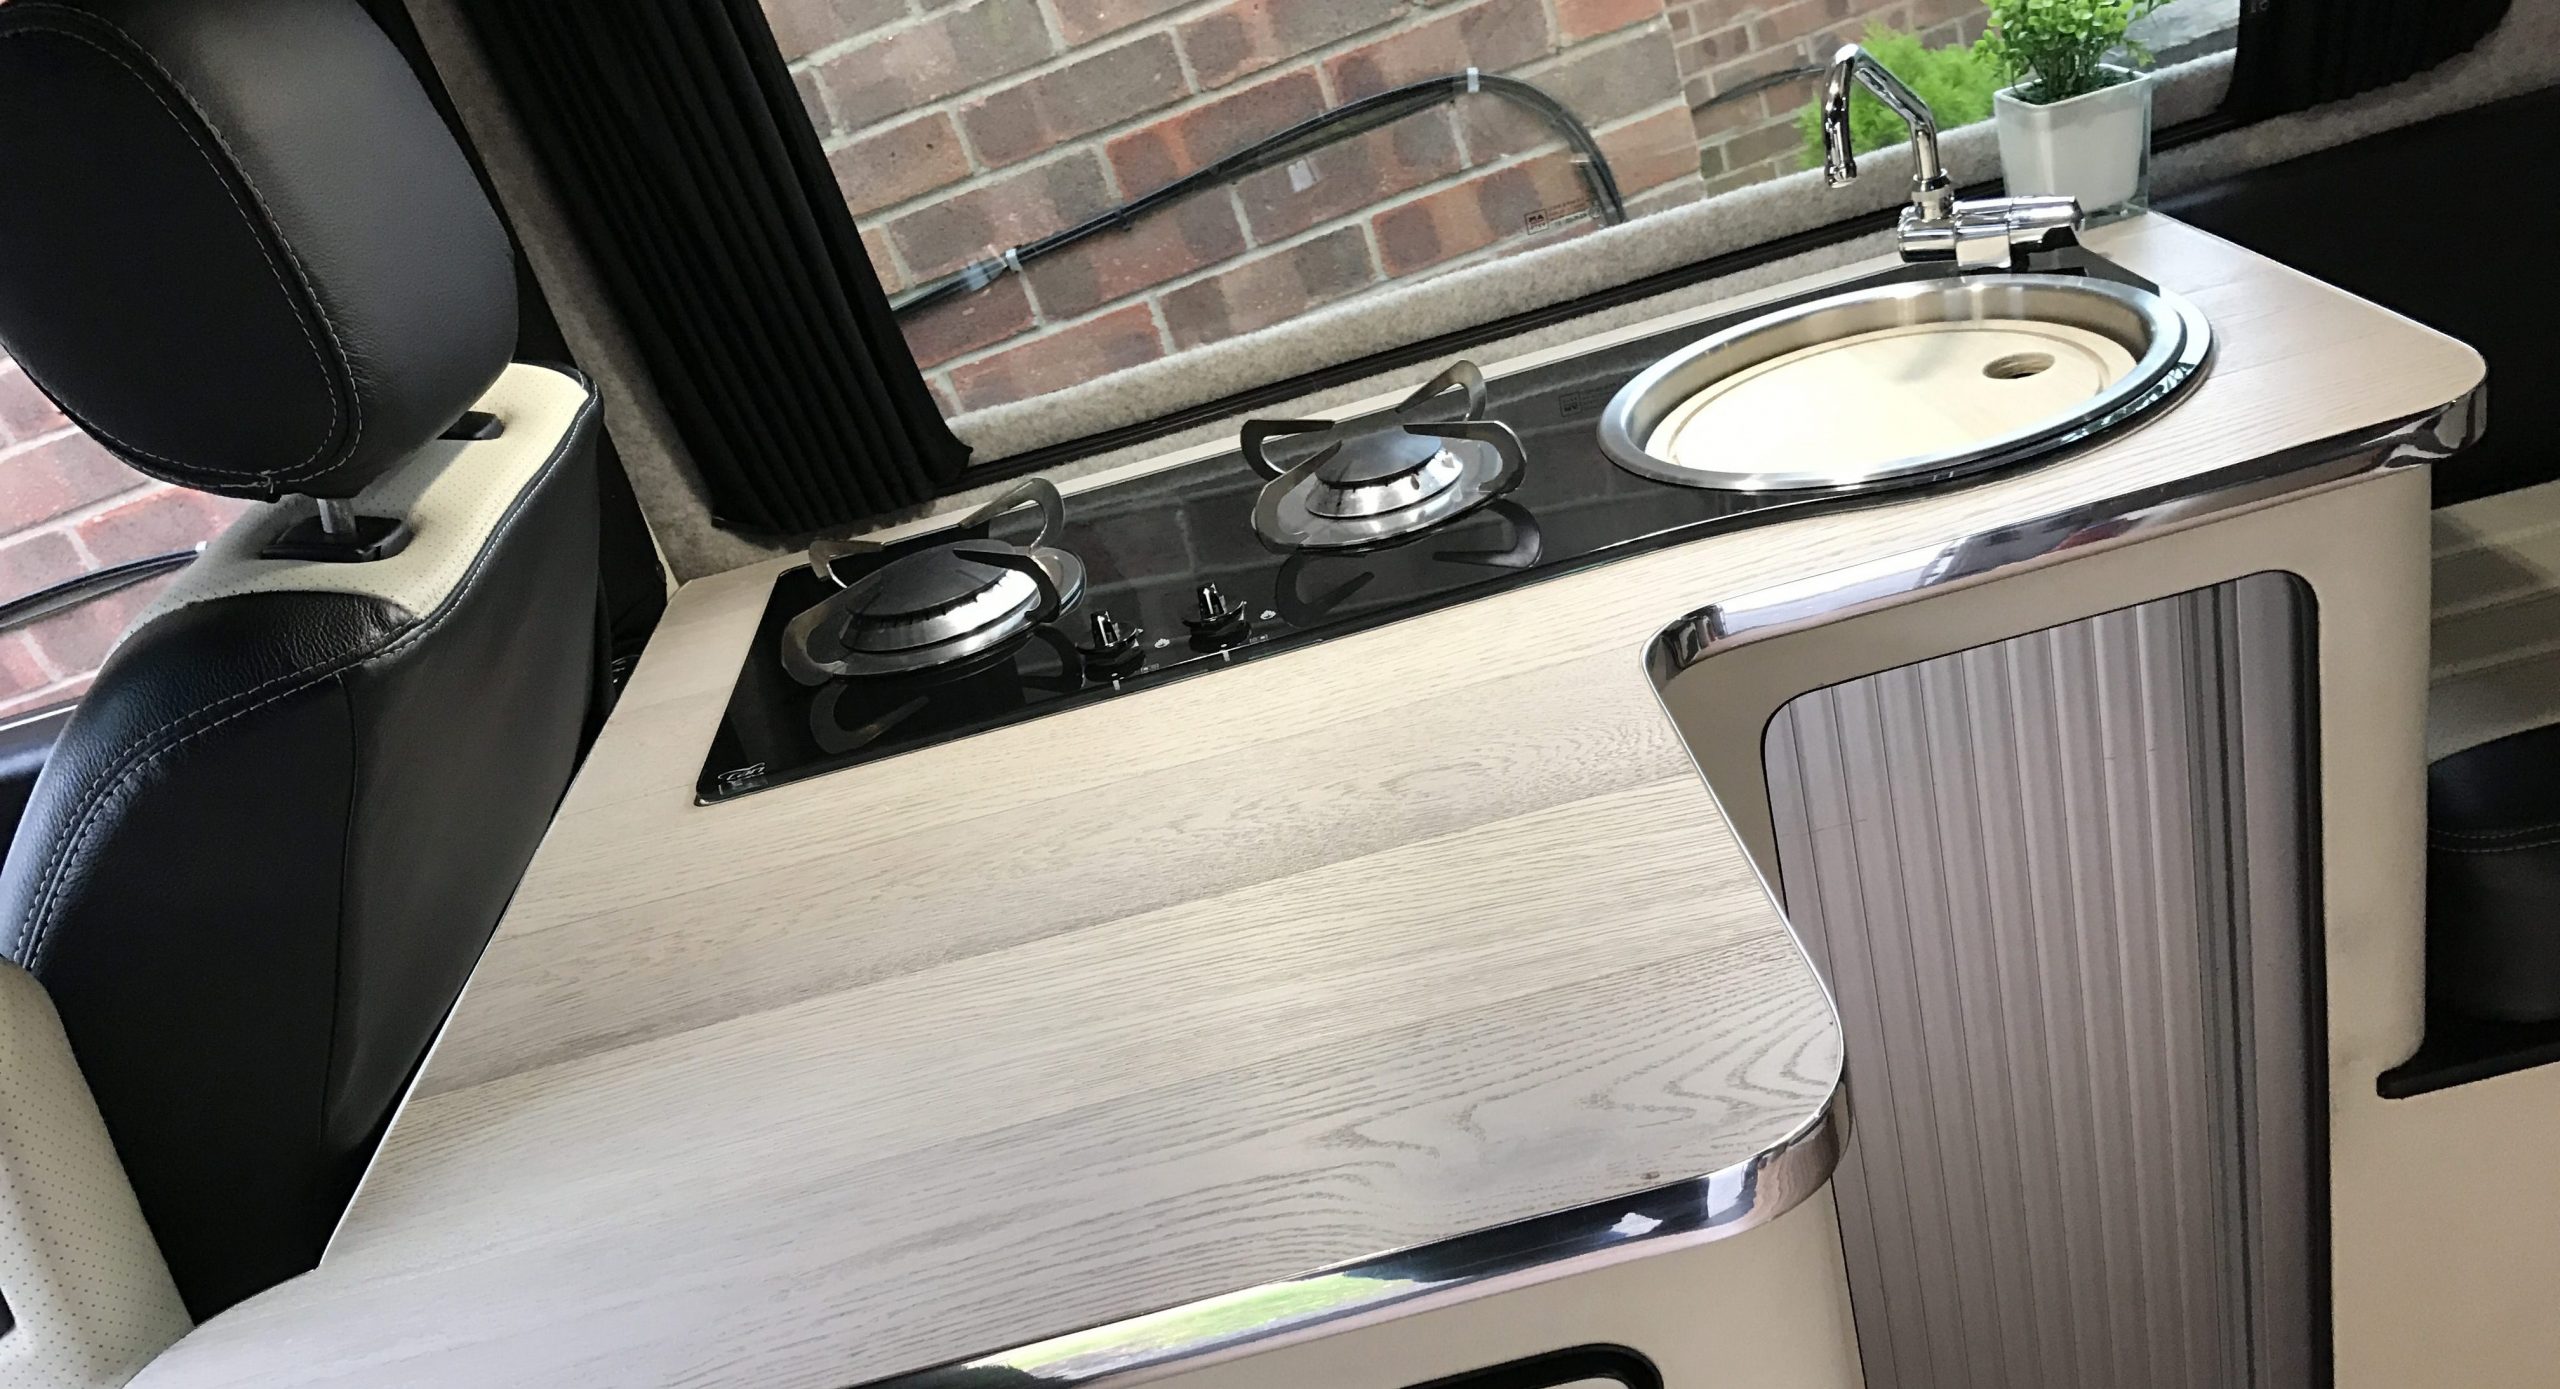
I fitted the down-lights and purchased a custom sheet of perspex online which will hang below the unit above the hob, the raisers are the kind used for signs. Now although I used perspex, if I could afford it I would use glass as it’s above a hot area. It’s generally OK though as long as the hob isn’t on full blast with nothing on it.
The tambour doors were bought as a custom kit from Clearcut Customs who were very helpful in supplying exactly what I needed. I found due to the small height, I only needed to use the bottom spiral guide. The straight guides were glued to the top and bottom and I also added LED strips to each of these.
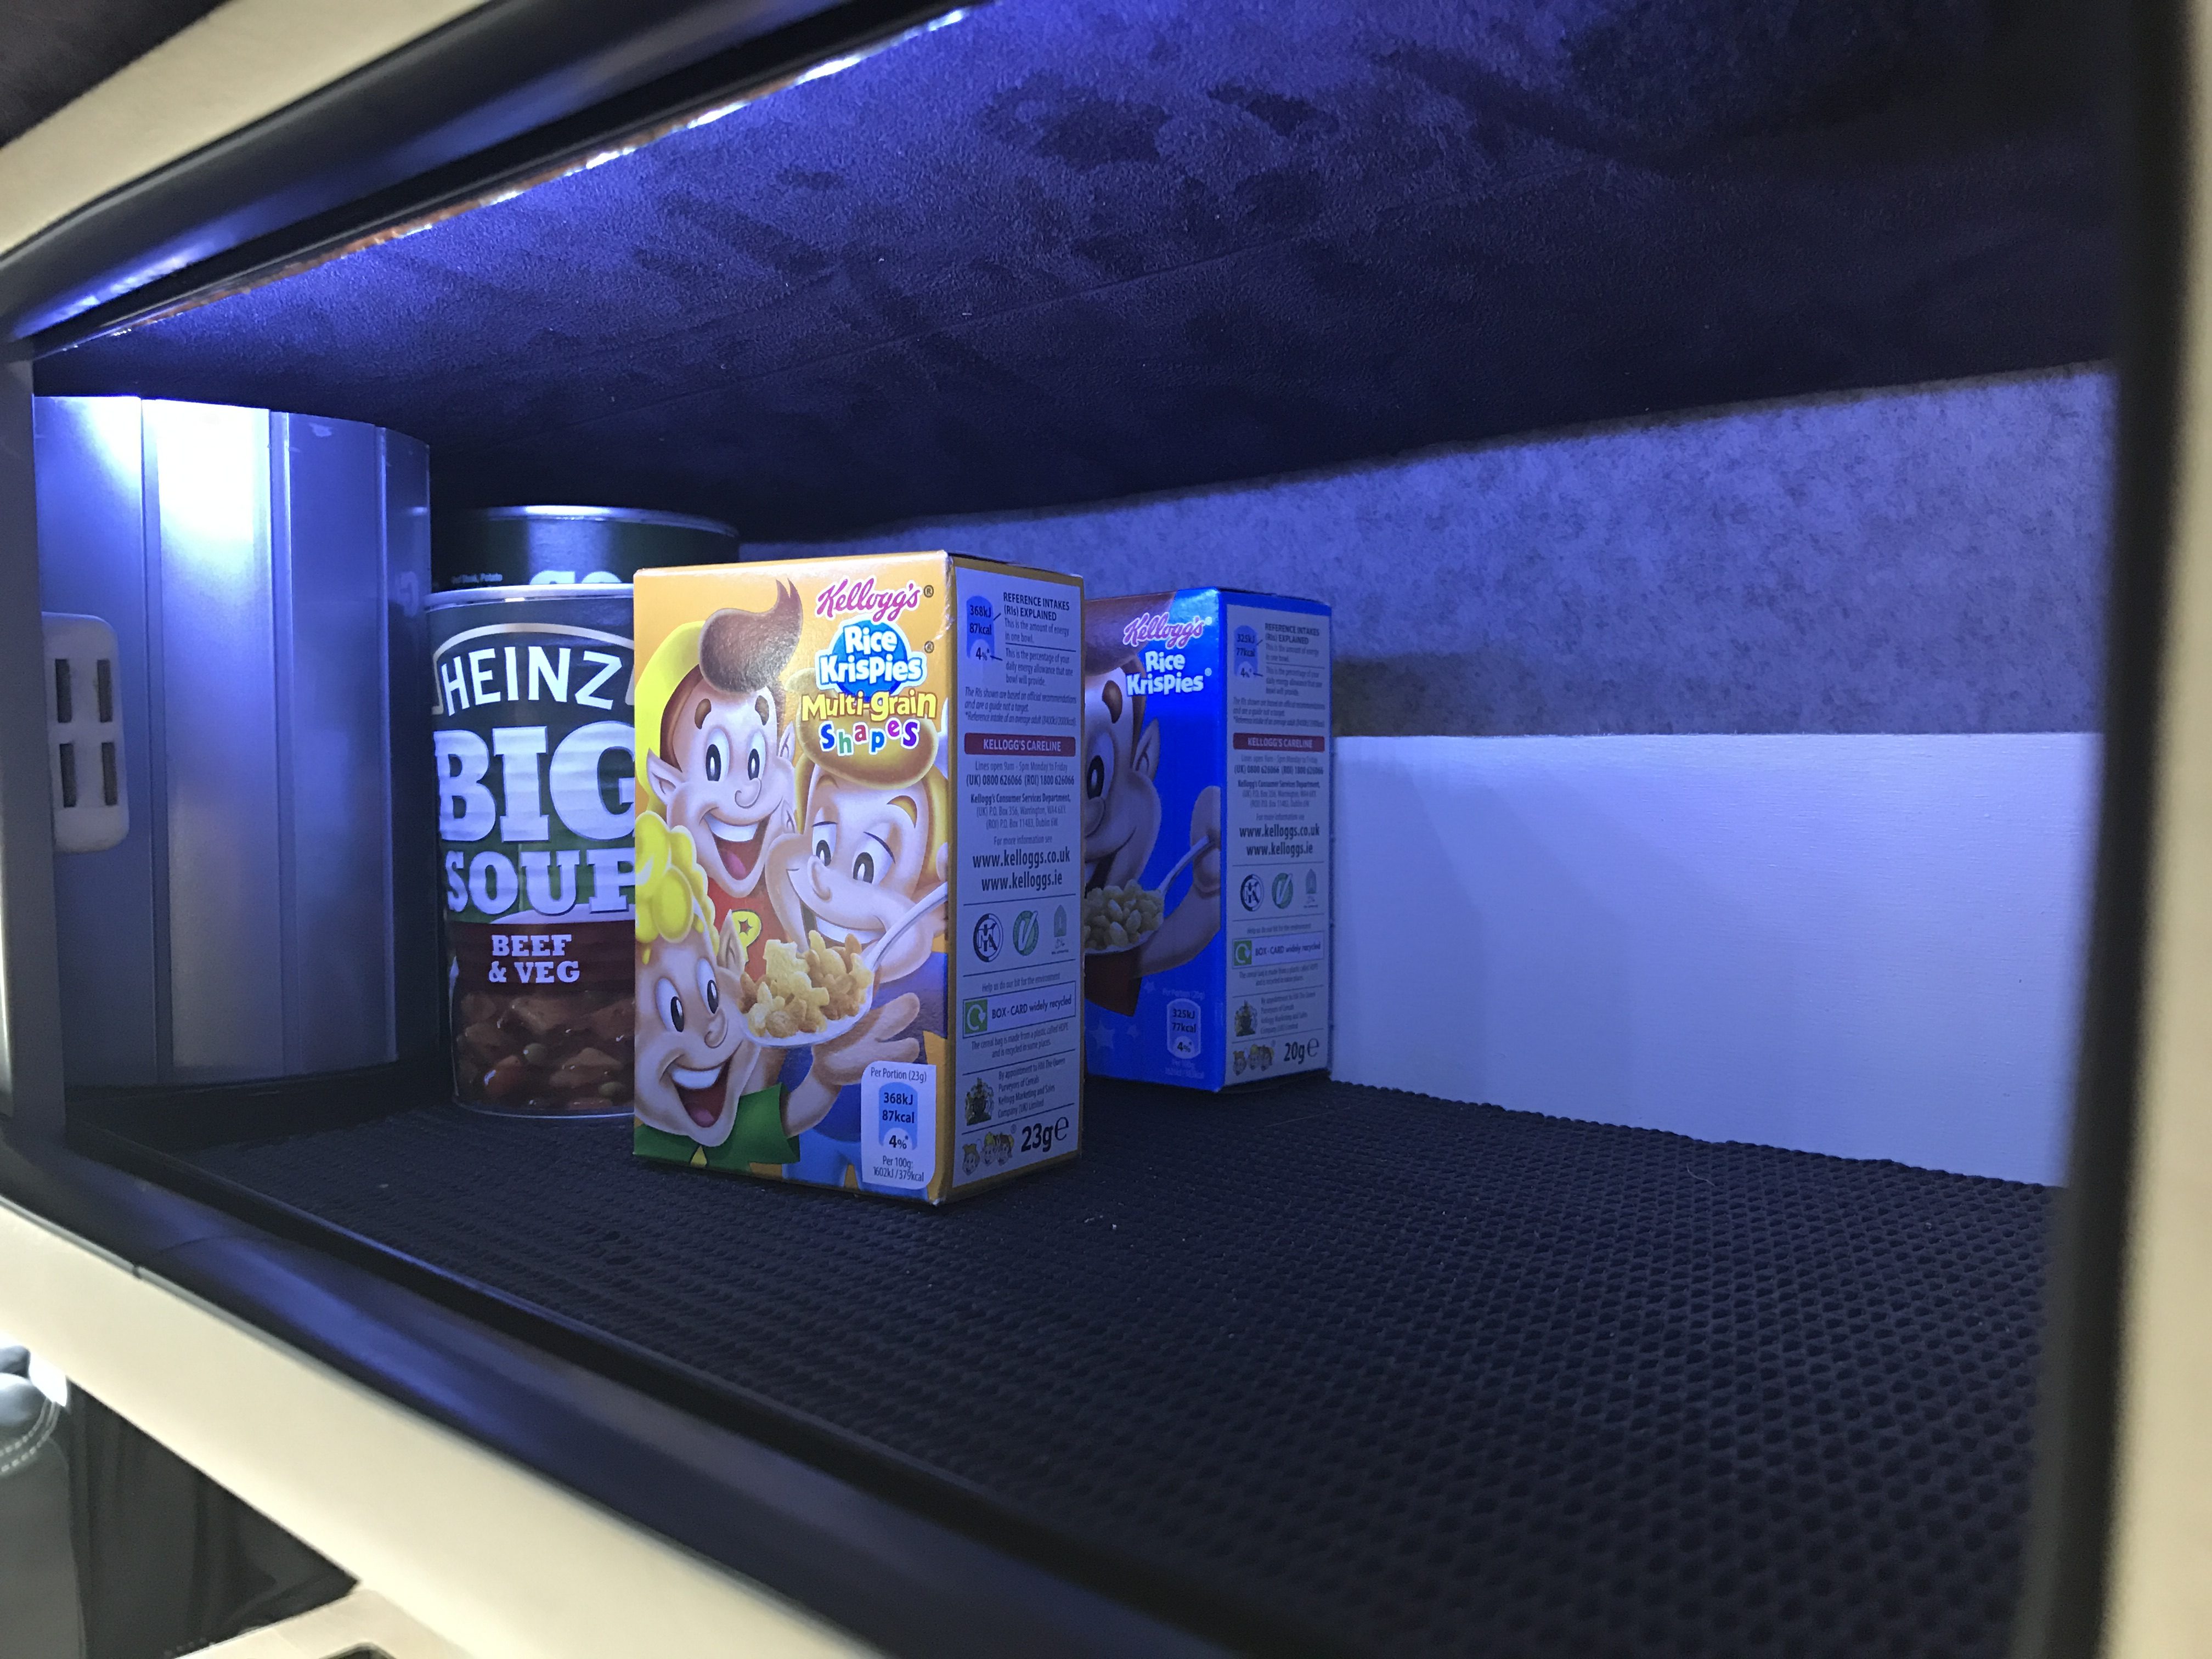
Each section of the unit has a small wood partition just to stop anything flying off down the whole length but I also glued down some anti-slip material which seems to work well.
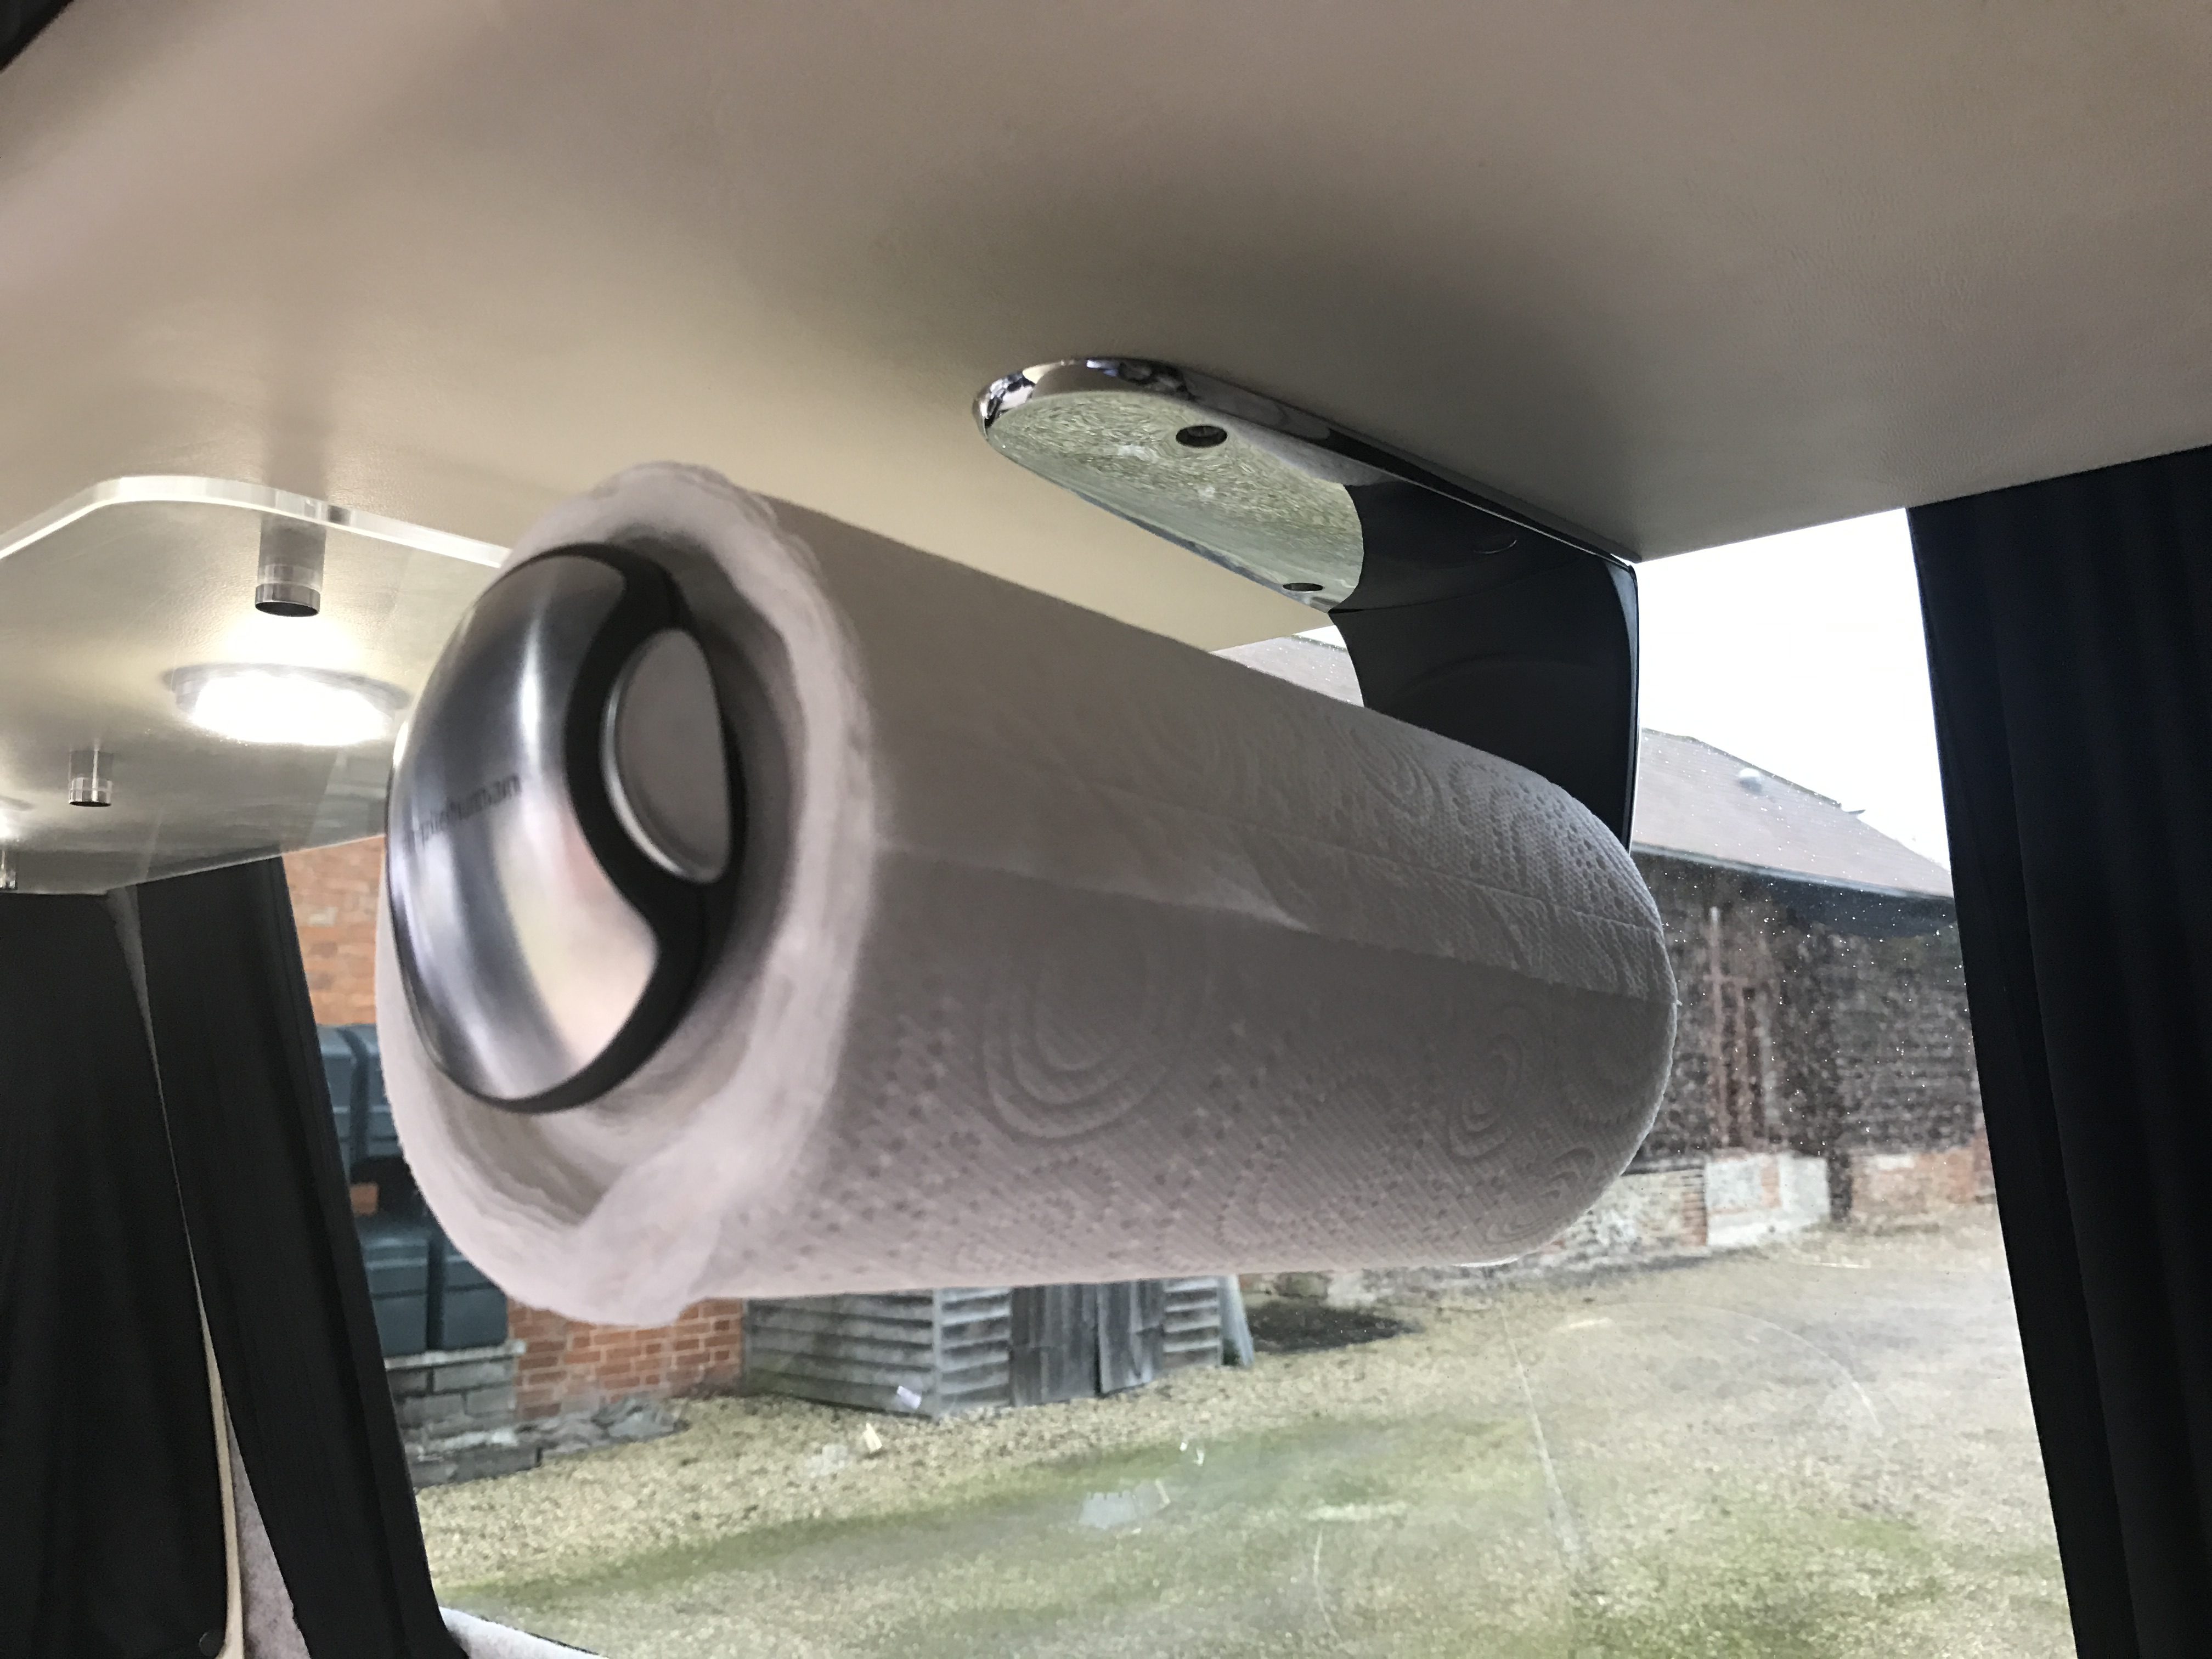
The kitchen roll holder is handy when cooking in the van.
That’s that for now, although I do have plans to build a smaller unit that hangs beneath and inset from this one with just a few cubbyholes I can chuck things in. Watch this space!

