Working with Vinyl
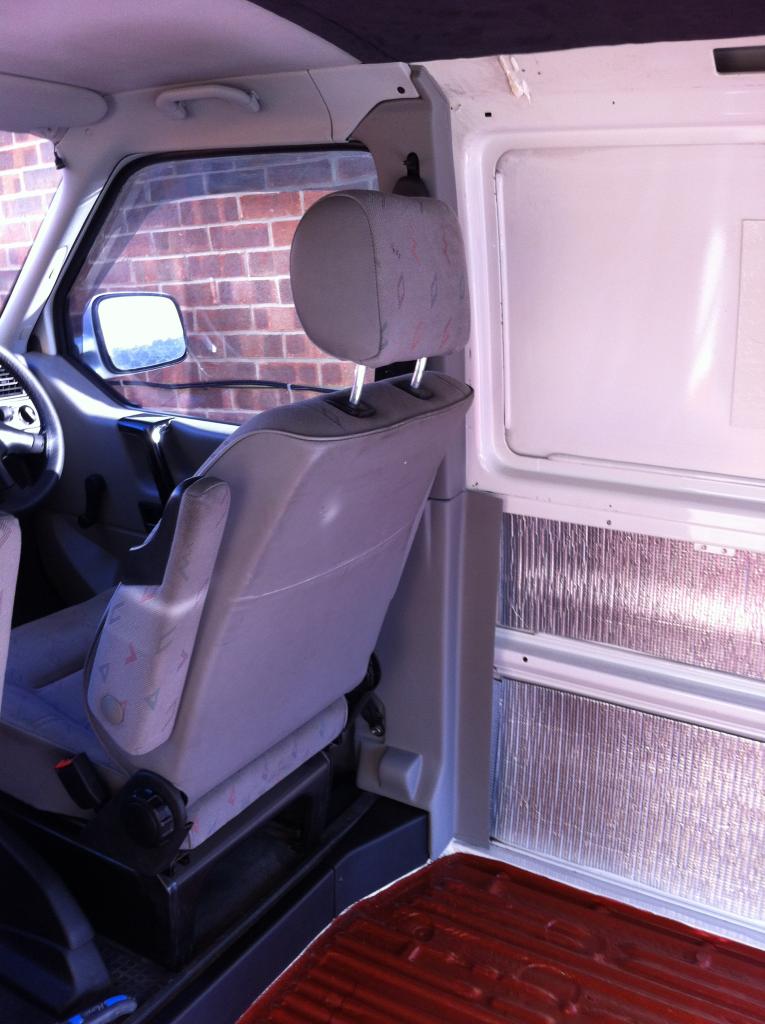
While planning the conversion of my van, I knew that I wanted to get away from the grey interior that comes as standard on a panel van. Seeing how others had done this, I noticed a lot of people had used paint to get results. Some look good but I was always worried about chips or flaking, especially as the temperature can get very high inside on a summer’s day. I was also trying to go for a manufactured look and was looking to use plastic trim as much as I could, but this has colour problems of it’s own. I purchased the Trimtech kit to cover the B pillars and sliding door rail, as you can see from the following picture, the greys are not even the same.
As mentioned in my previous post, the style I was trying to achieve was similar to the Range Rover sport black and ivory interior, hopefully giving more of a prestige look rather than sporty so nothing seems to say prestige more than leather. Of course trimming the vehicle in leather, though maybe possible, would be very expensive and tricky, definitely beyond my skills. The solution was to use vinyl. I found a supplier online who had exactly the colours and style I wanted, AS-Trim. I purchased the smooth grain leather effect vinyl and contact adhesive.
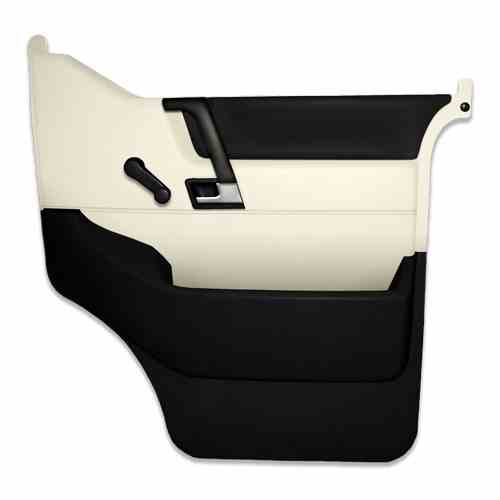
My idea for the door cards was originally designed on Photoshop combining the black and ivory vinyl to give a slightly less builders van look.
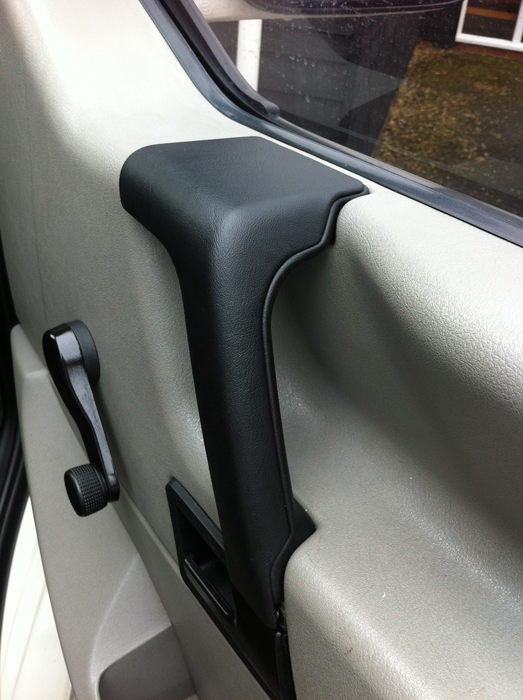
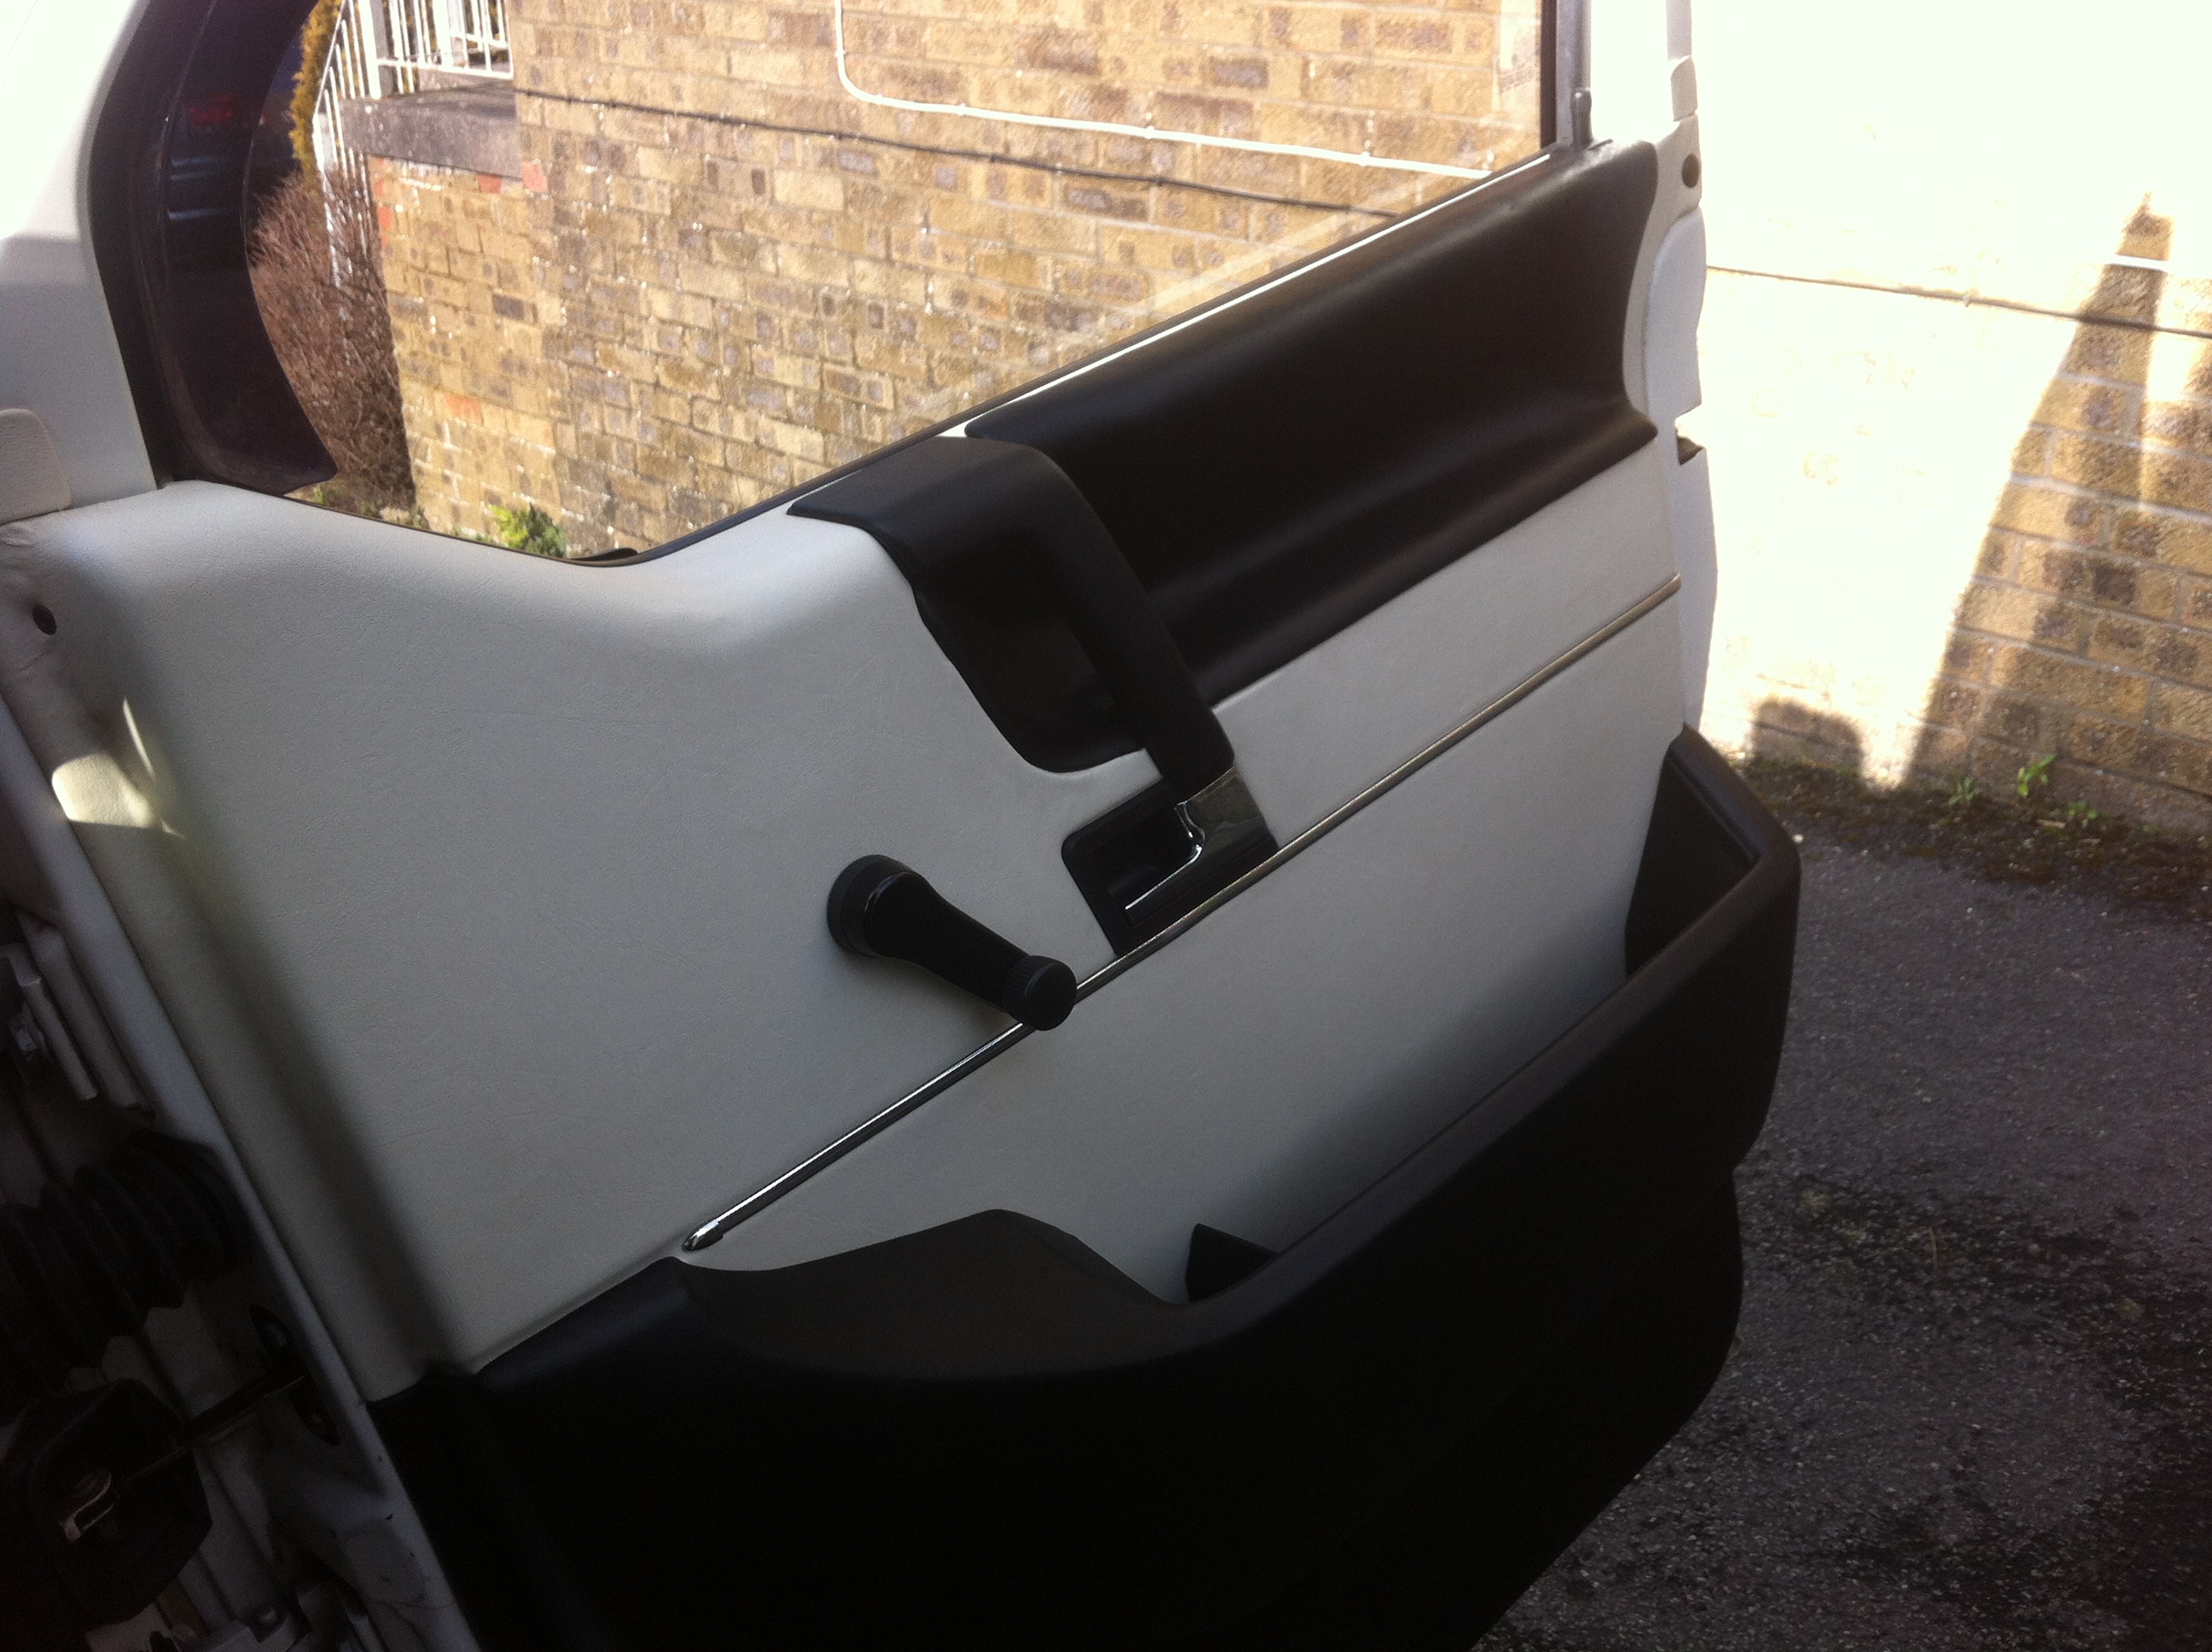
I had previously worked as a sign fitter so had a bit of experience in fitting vinyl, though this was much thicker than what I was use to. The first thing I worked on was the grab handles, with a lot of patience and the use of a heat gun, I managed to work the vinyl around the edges of each half of the grab handles, end result is a comfortable to the touch leather like handle. With the slight extra gap caused by the vinyl, they need a good banging together to stick, but it does work.
I wanted to achieve the Caravelle style padded section at the top, in order to achieve this I marked out an area to cut from the door card using a permanent marker, I then cut this out using a dremel.

Once I had two pieces, I needed to create a lip for the cut-out to stick back onto when it was finished, this was made from fiberglass. To do this, I covered the back of the cut-out in foil tape and vegetable oil so that the fiberglass would not stick to it, then taped it back onto the door card. The fiberglass was then placed around the edge on the back of the door card and as it molded around the cut-out, it gives a good lip for it to sit back on. Once the fiberglass was set, the cut-out could be removed, ready for covering.
To give it a padded feel, I used scrim foam (also available from AS Trim) underneath some black leather effect vinyl, tucking it around the edges of the cut-out. Once that was all done, I stuck the cut-out back into place on the fiberglass. I had a couple of clips lying about which I used to position the arm rest section onto the door card and some contact adhesive too.

The vinyl that covers the main part of the door card would not stretch inside the arm rest area unless I created the arm rest area anyway, so besides giving some nice detail, it is essential when using vinyl.
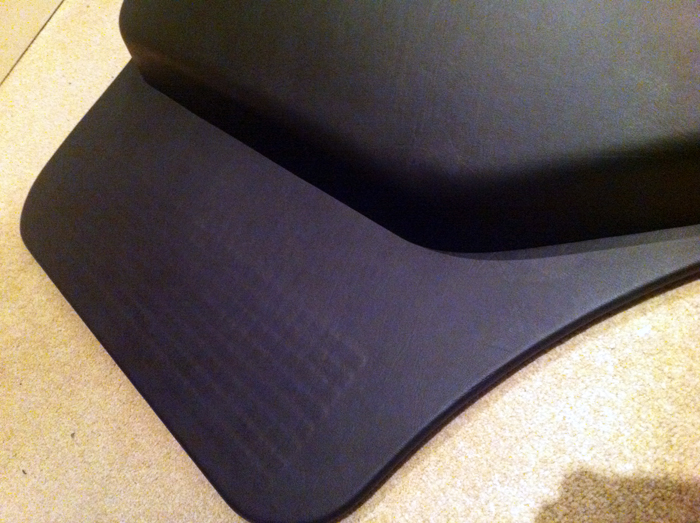
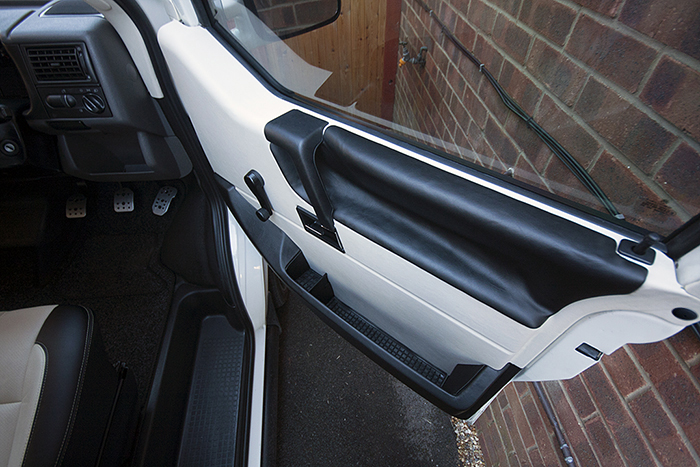
I needed to find a point on the door card to join the ivory vinyl at the top with the black vinyl at the bottom. After some thought, I solved this by cutting a slot into the edge of the door card, one at the front and one at the back, this only goes up to the door pocket, I then wrapped the vinyl around the back to give a smooth join which will not peel off in time. This method will only work if you have a door pocket though. This is illustrated in the image below, the vinyl at this stage needed rubbing on a bit more so looks a bit lumpy.
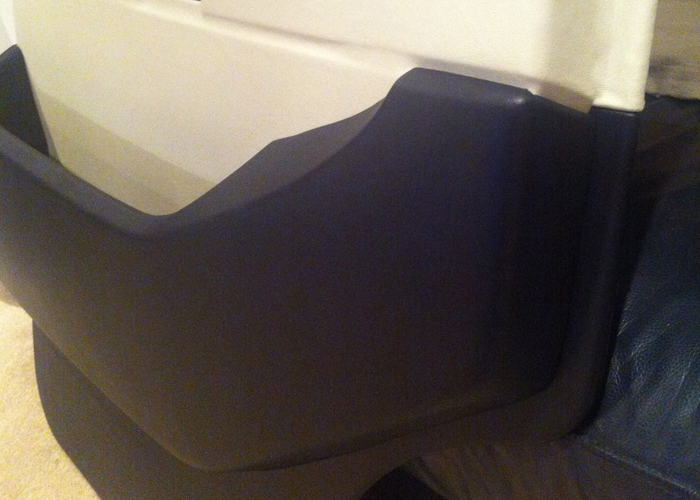
The door pockets were removed from the door card and wrapped separately.
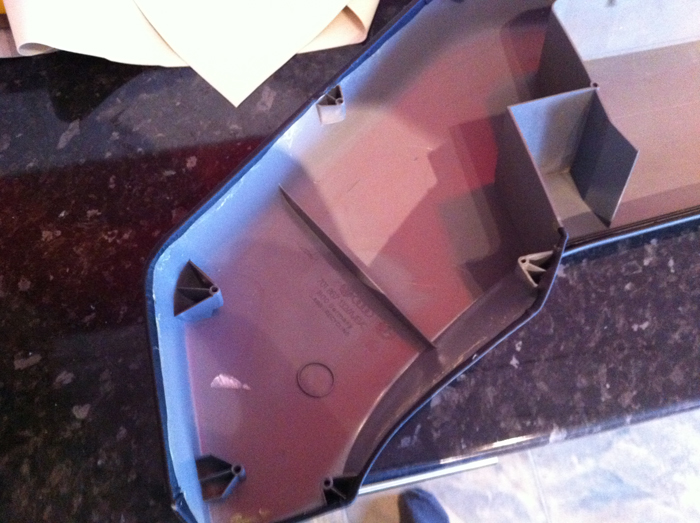
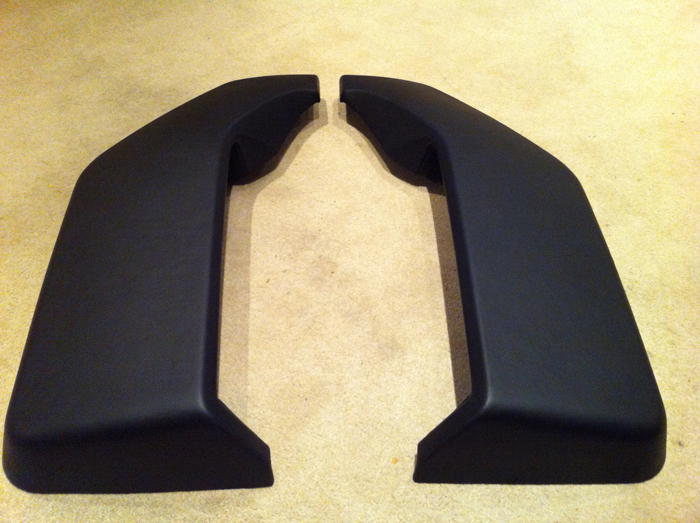
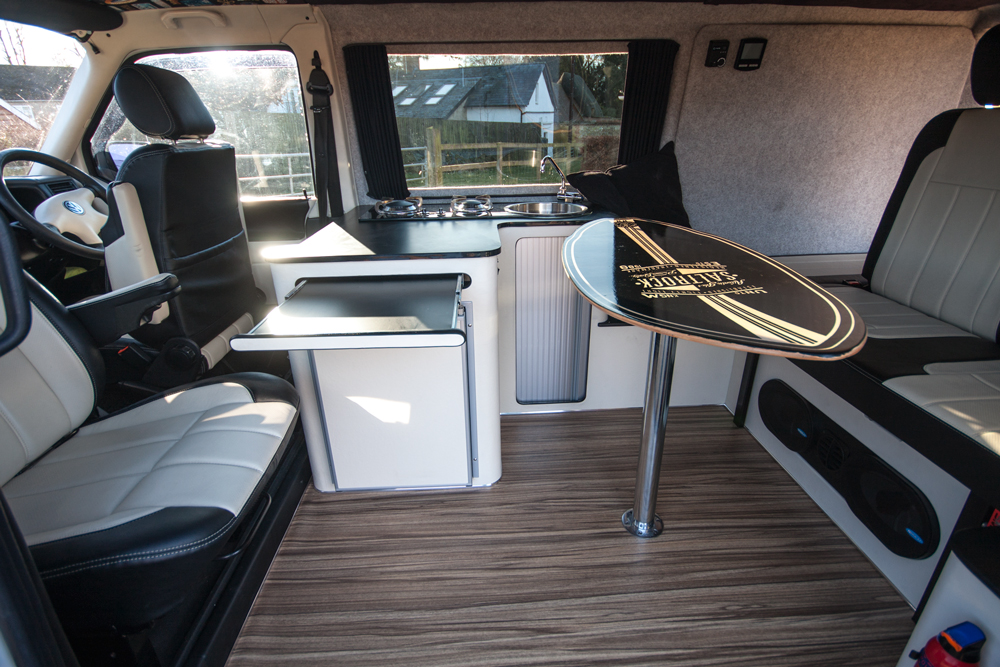
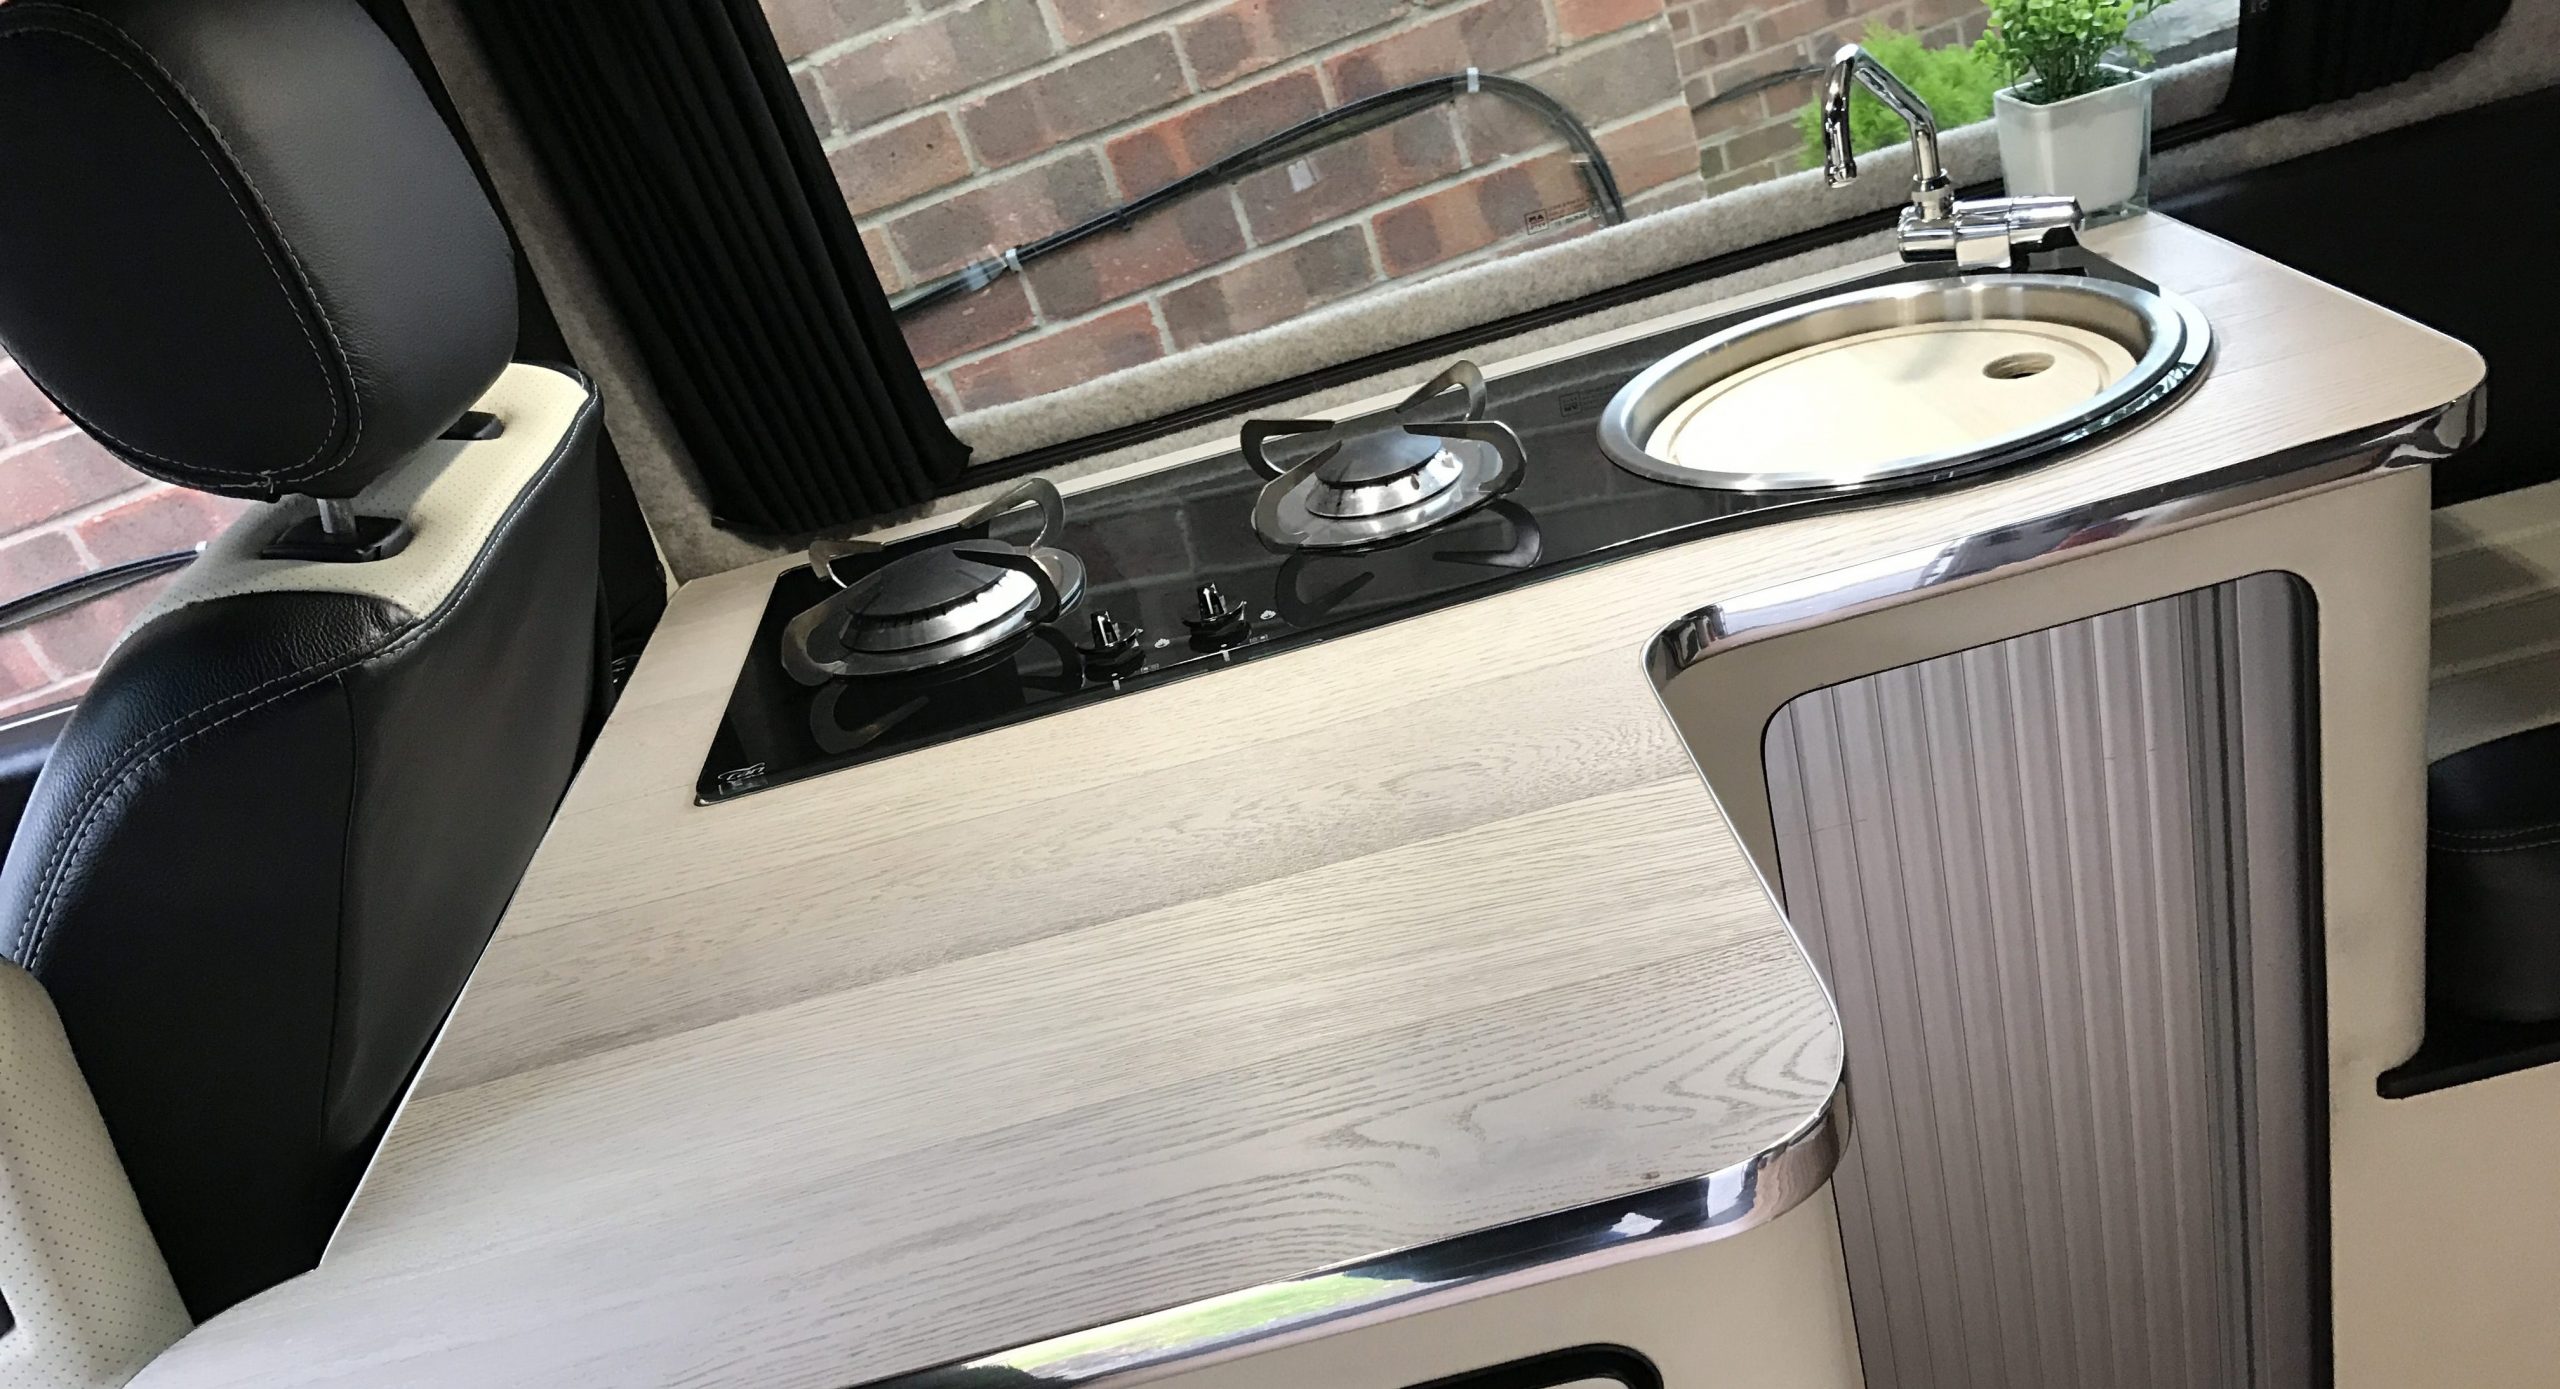
As well as the door cards, I applied the ivory vinyl to the remaining plastic trim, this ensured the same style was carried throughout the van. The Trimtech plastic trim was a lot easier to cover than the door cards and the full furniture unit was also covered in the same.
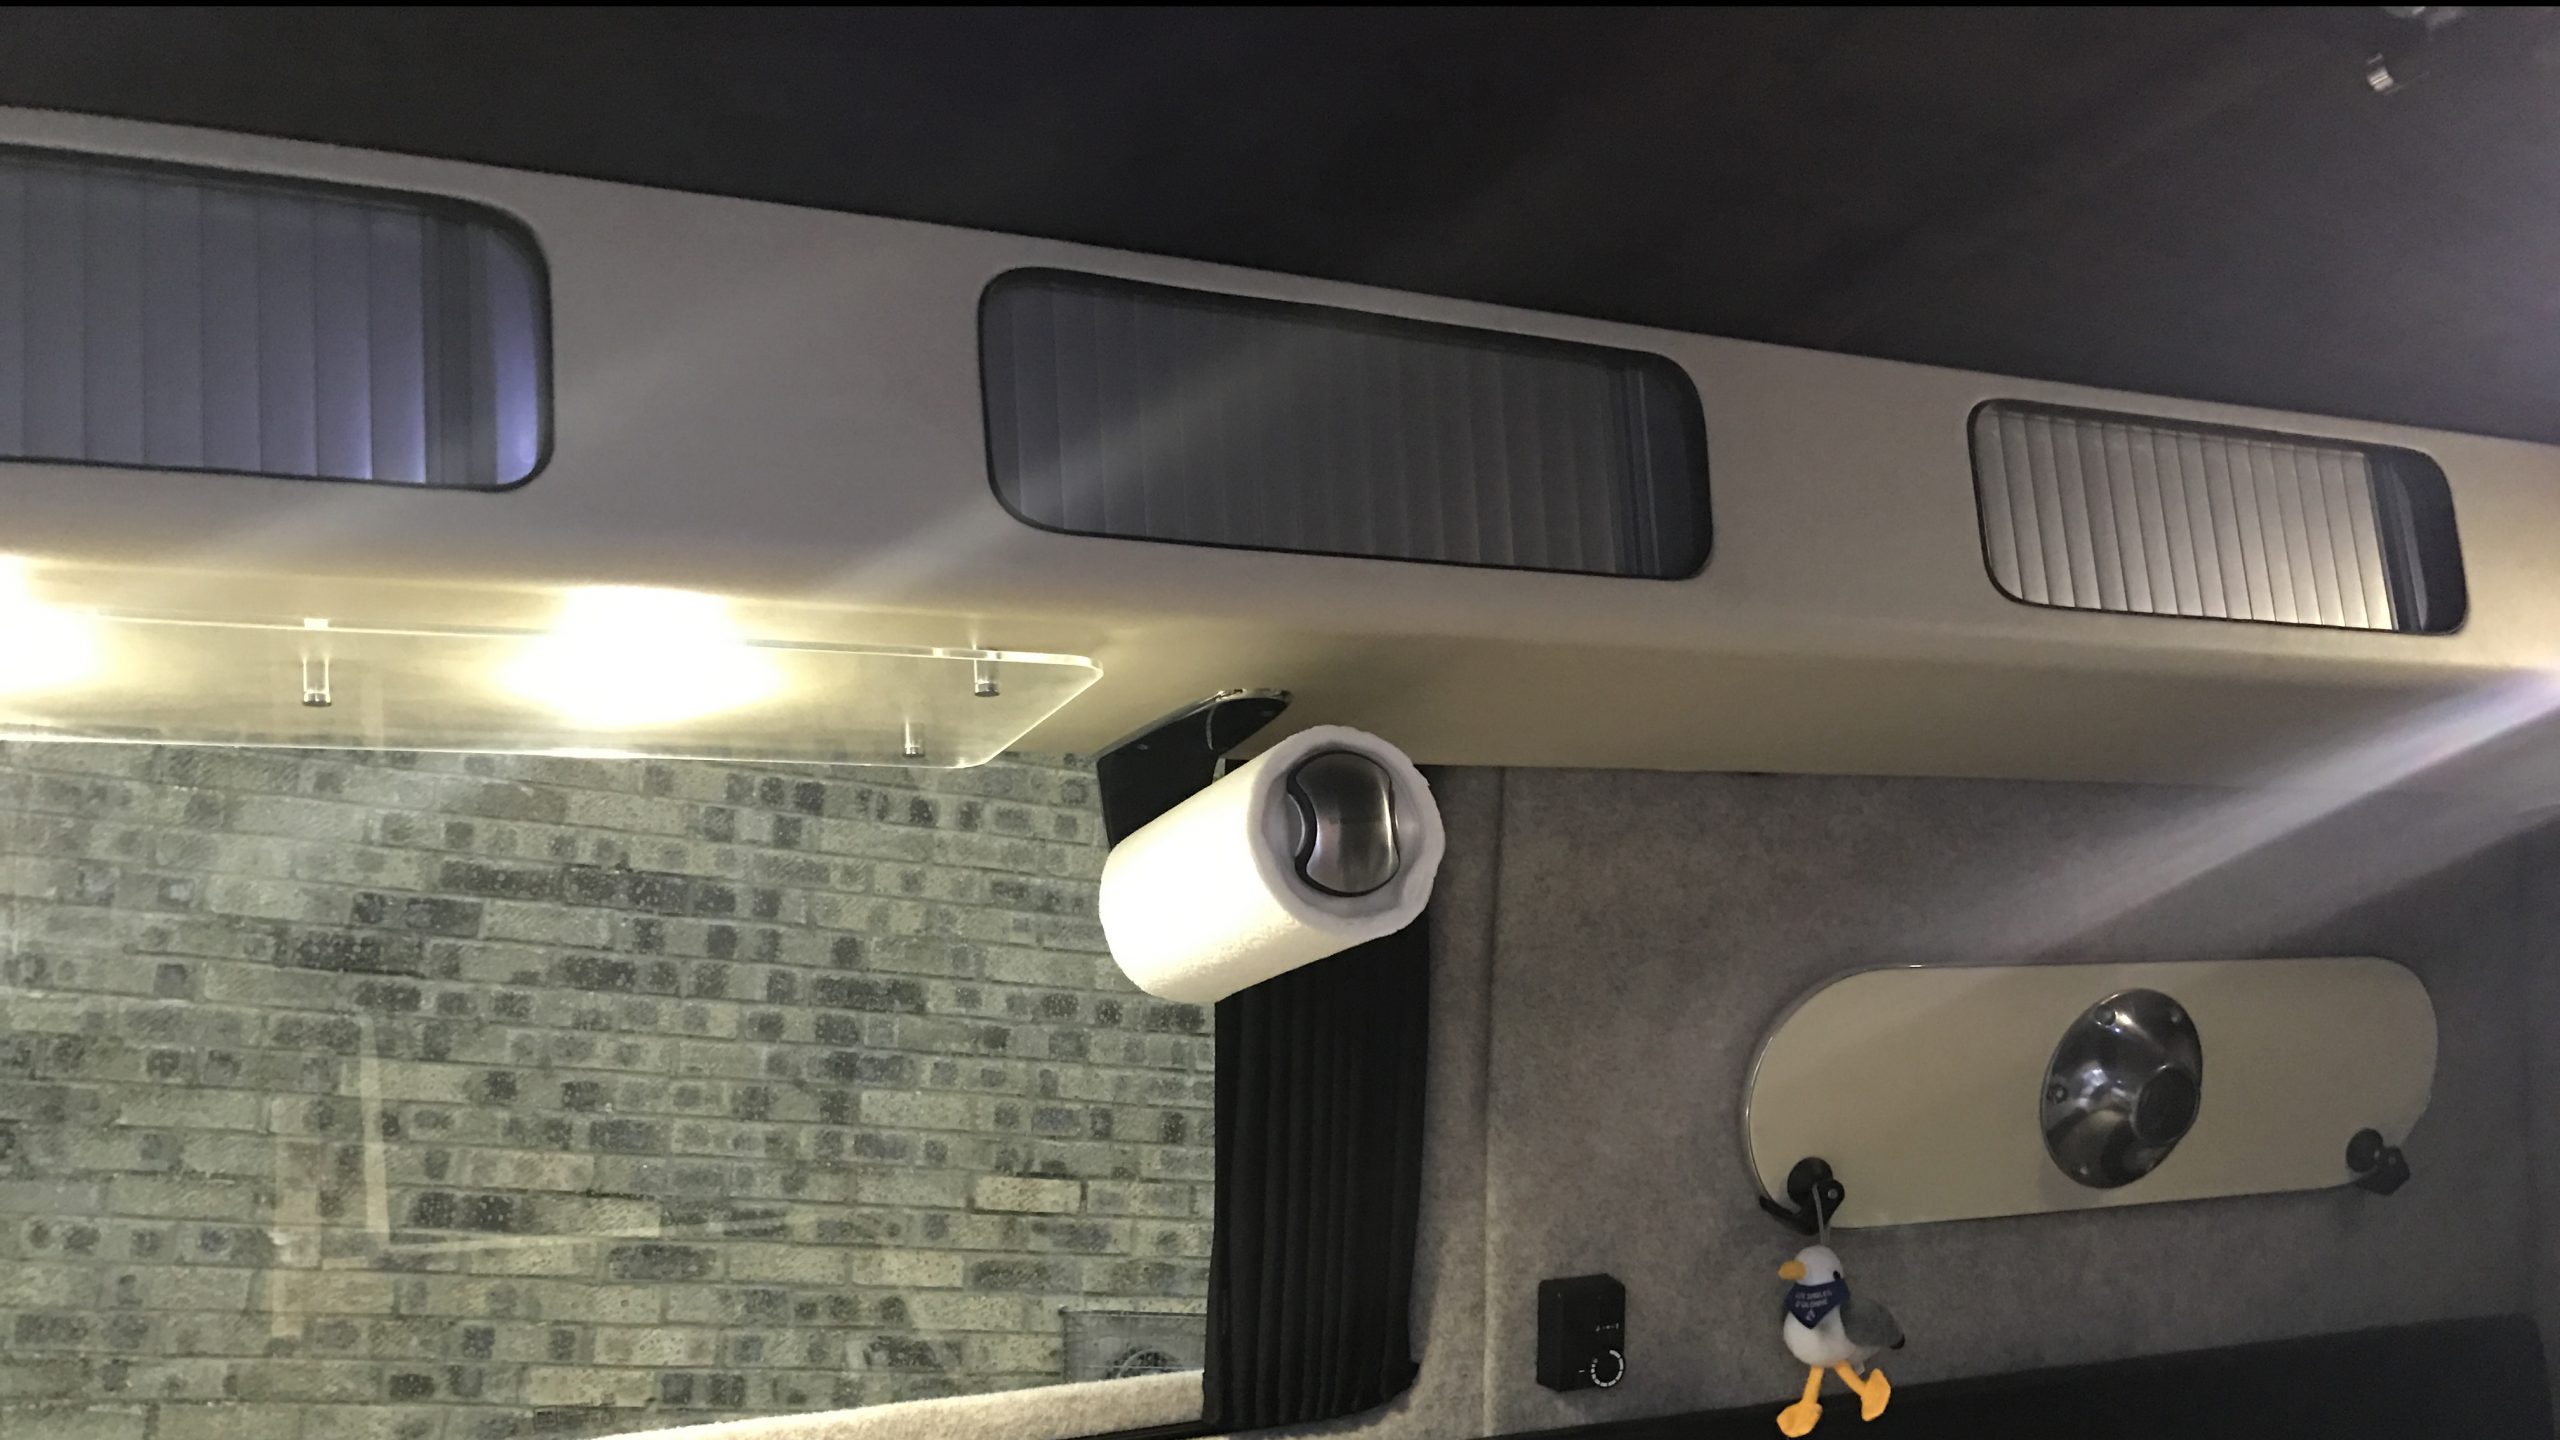
The one thing I did not cover in vinyl was the dashboard, the contours of this I find to be just too varying for vinyl to work. At the moment the dashboard is painted black, but I have plans for the spare one I have at home which involves Wicked Coatings in Poole and a padded finish so watch this space.



We have a T4 , bucket list job , my first ever adventure 1974 , was a trip round France with friends in a bay , mid 60,s , picked grapes , got laid in other words the life of a 70,s student . Time moves on , now my wife and i live in France ‚have done for more than 15 yrs , to cut this long and tedious story i am riddled with cancer , the terminal kind , at this point people mumble the usual stuff , but this has nothing to do with my imminent demise , this is about vw t4,s . First , converting it to fit my needs , toilet , bigger water tanks ‚plenty of 12 volt 230 for camp sites and my wonderful wife making it special inside , why a t4 ? , we are not poor , we dont have to budget for anything , we spend what we need to , We have a 2.4 lwb 4 berth pop top barn doors , Engine in great order , tatty paint work , to spray or not to spray ? . so why a t4 , i suppose it,s a foot in both worlds ‚if we had spent £30 k plus on a newish one we would of climbed aboard and sodded off , but the t4 means we can make it our own and although i can do none of the work myself friends and family make it easier . This site is a godsend ‚other sites the same , ideas all over the place ‚so thank you and i need to know charging the leisure batteries , best solution , my body lacks power ‚its difficult to lift the pop top , any ideas ? , my body has a problem with staying warm , everyone else hot sweaty , and i shiver so heating solutions , any suggestions , and of course awnings , all ideas gratefully received , thank you .
Glad it’s been of some use, wishing you well for the future